Remote technical interview setup: audio, mute, and screen share checklist
Remote technical interview setup: audio, mute, and screen share checklist
A quick “Can you hear me?” won’t catch keyboard noise drowning out your explanation or code that’s too small to read on screen. Rehearse talking while typing and sharing your editor, including finding mute without losing your place.
Candidates juggling several interview loops, including introductions from talent firms like Zelcast, can easily end up on three different meeting apps in one week. Knowing one app doesn’t mean you’ll find the controls in the next.
Test the exact meeting app the company sent
Check whether the invitation opens a desktop client or a browser meeting, then use that same format for a test call. A successful Zoom desktop test doesn’t verify Zoom in your browser. With a friend, check your camera, then explain code while typing. Ask them to flag dropped words and keyboard noise, and check whether your shared editor is readable at the window size they’ll use during the interview.
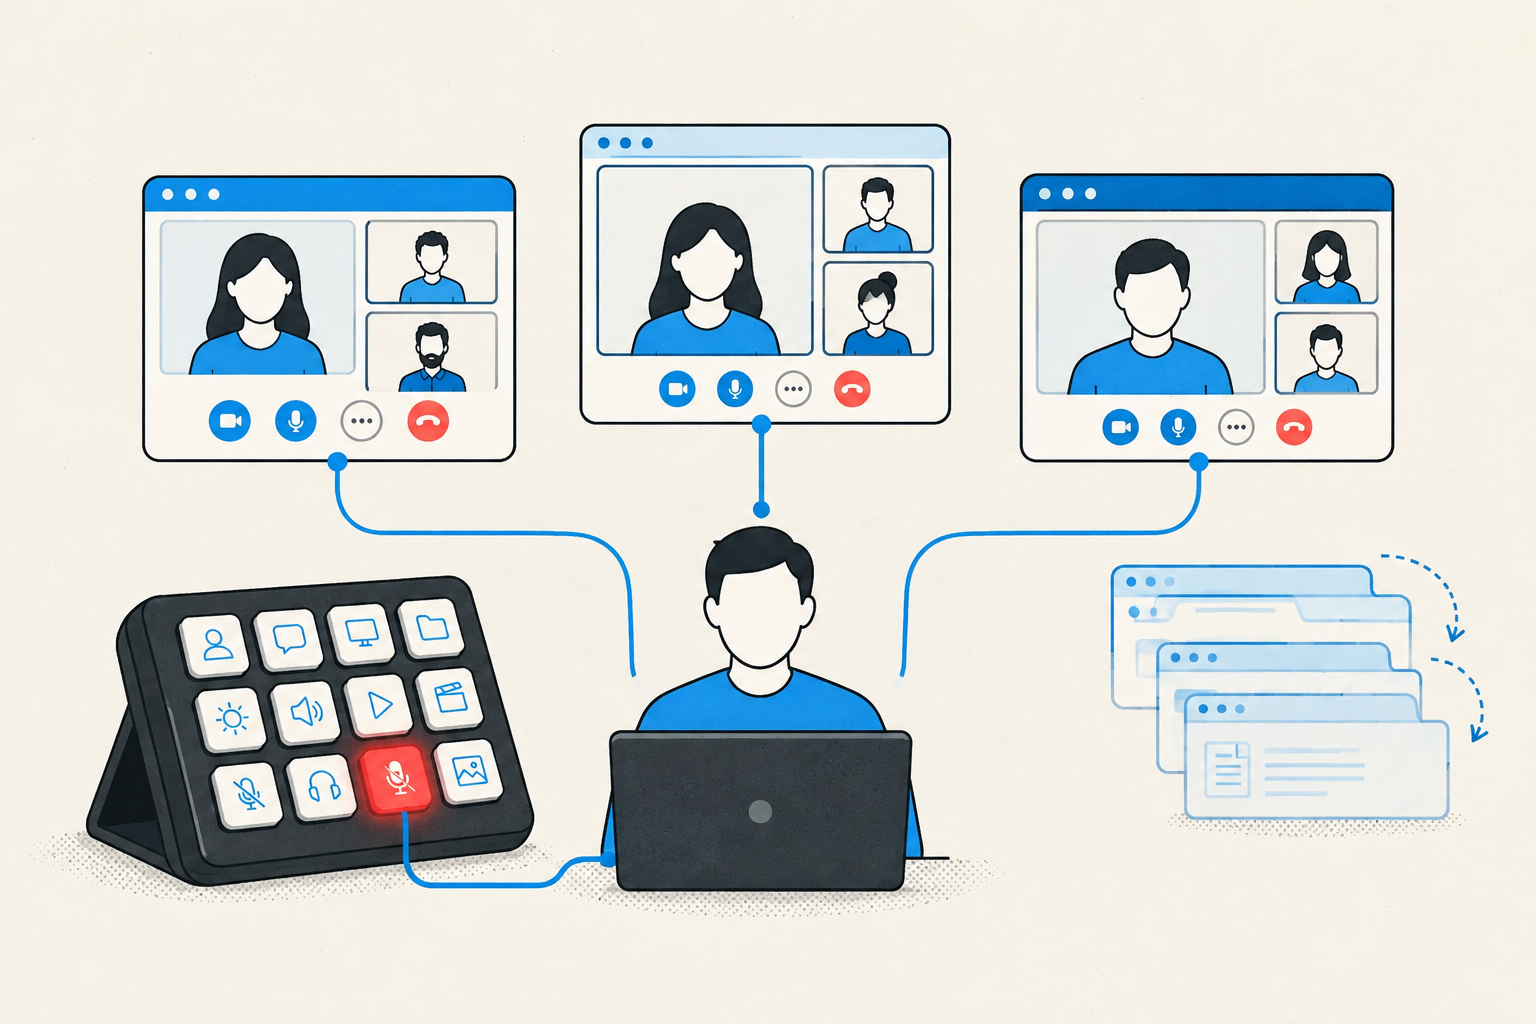
If you use MuteDeck, check the integration for that app:
- Zoom desktop: Enable Settings → Meetings & Controls → Keep meeting controls visible in Zoom. Without it, detection can be intermittent or fail. Older versions call this Always show meeting controls. See the Zoom setup guide.
- Teams desktop: Teams needs a supported interface language. In MuteDeck’s Settings → Application Sync, make sure Teams is enabled and the Language option matches Teams. Auto uses your system language, which may differ. Check the Teams setup requirements.
- Google Meet: You need the MuteDeck desktop app and its browser extension. In a test meeting, check that the extension reports Connected to MuteDeck.
Close unused meeting apps and meeting tabs afterward. MuteDeck detects only one active call at a time and controls the most recently active meeting app. Leftover calls can leave your mute control targeting the wrong meeting.
Tune audio for talking and typing
Use headphones to keep the interviewer’s voice from feeding back into your mic. Check which microphone the meeting app selected, especially after connecting a headset. If you have a choice, compare the headset and laptop mics while typing. Choose the one that makes your voice easier to understand.
Explain a function as you write it, including the pauses and faster typing you’d expect during live coding. Ask your test partner which words get lost. If typing dominates, move the mic closer to your mouth and farther from the keyboard. Adjust the input level so normal speech is clear without distorting when you speak louder.
Change one thing at a time, then repeat the same passage to judge the difference. For broader checks, use the meeting audio test checklist: [NEEDS PRODUCT DETAIL: URL for meeting audio test checklist].
Use muting strategically during live coding
Mute during a noisy typing burst or background interruption, but keep the interviewer involved. A long quiet stretch can make them wonder whether the call froze. Before muting, say: “I’ll add the boundary checks, then walk through an empty input.” Type that chunk, unmute, and explain what changed.
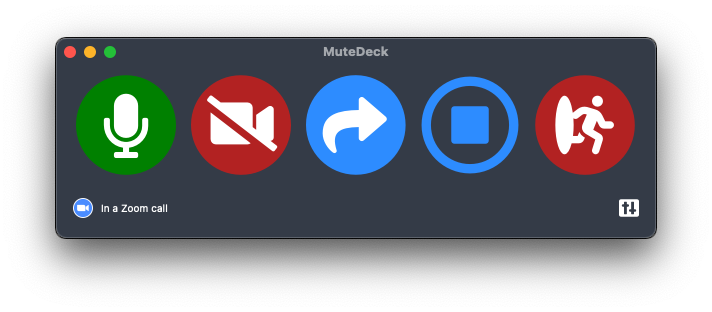
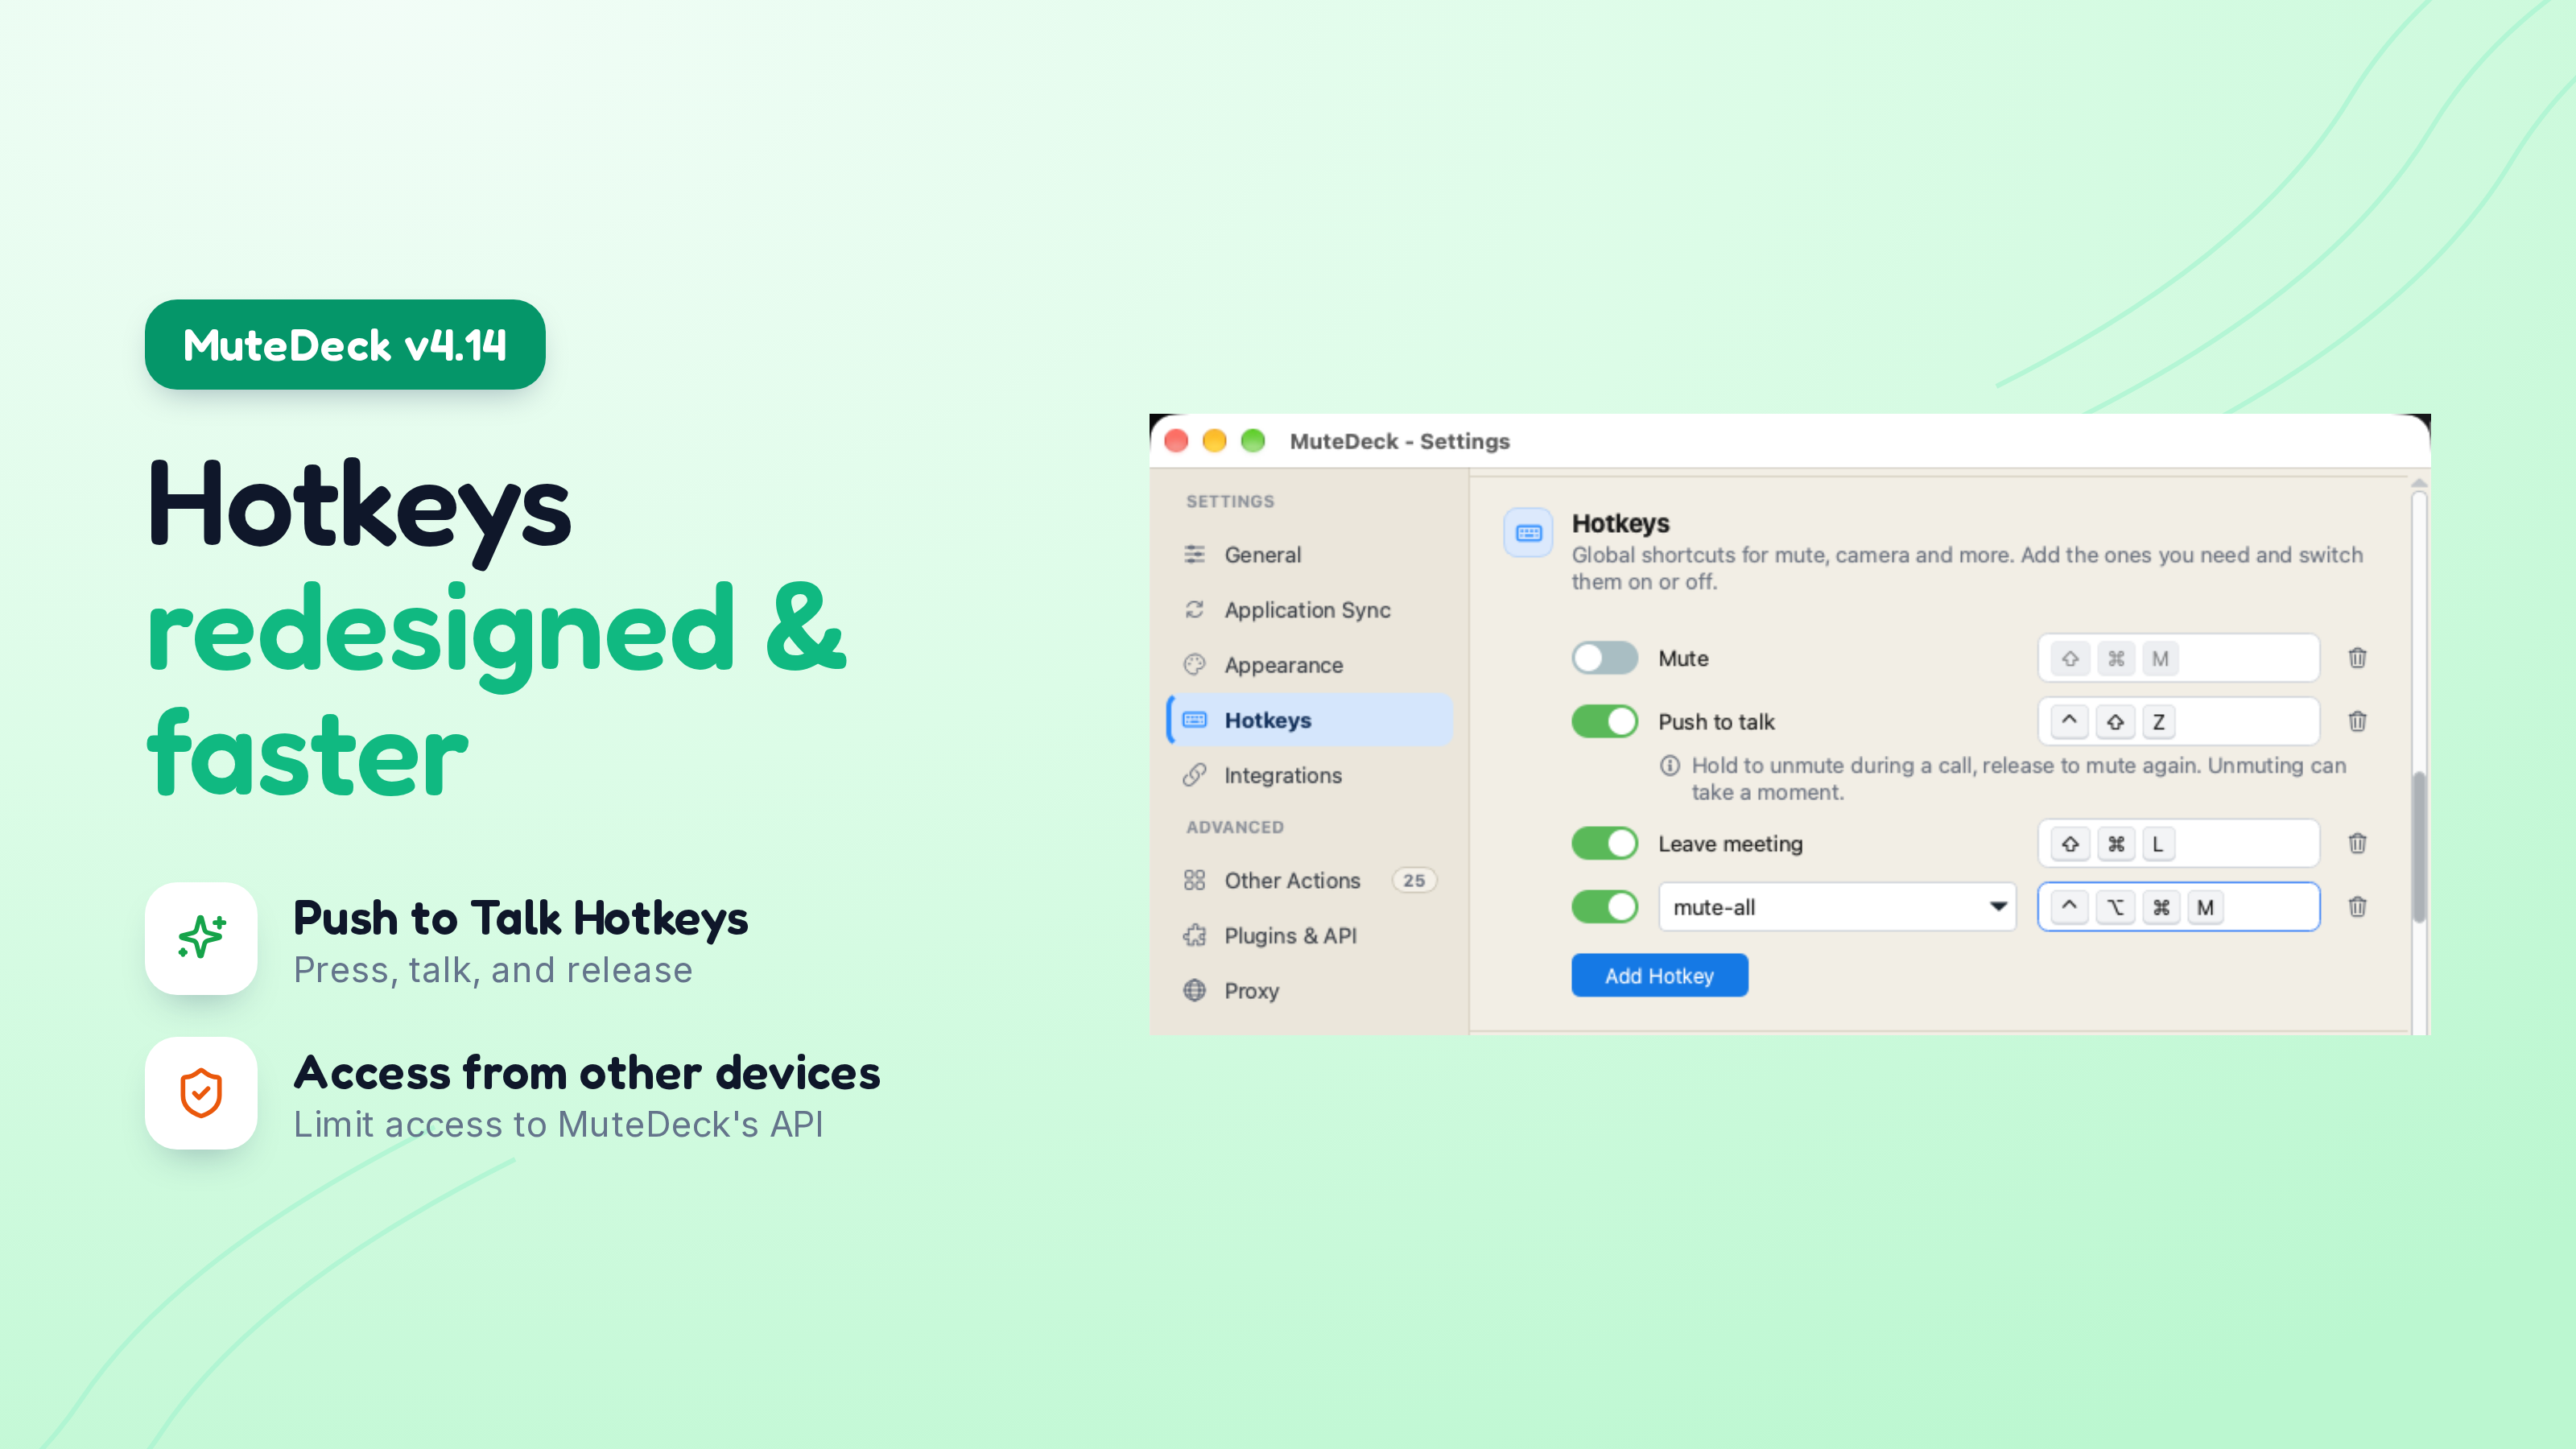
MuteDeck gives you the same mute control across supported meeting apps. Its global hotkeys work while your editor has focus; native Teams and Zoom mute shortcuts need the meeting window focused. Set your shortcut in MuteDeck settings > Hotkeys, keep MuteDeck running, and test it from your editor. Hotkeys require a valid MuteDeck license. On macOS, controlling Teams briefly brings it forward, then returns you to your app.
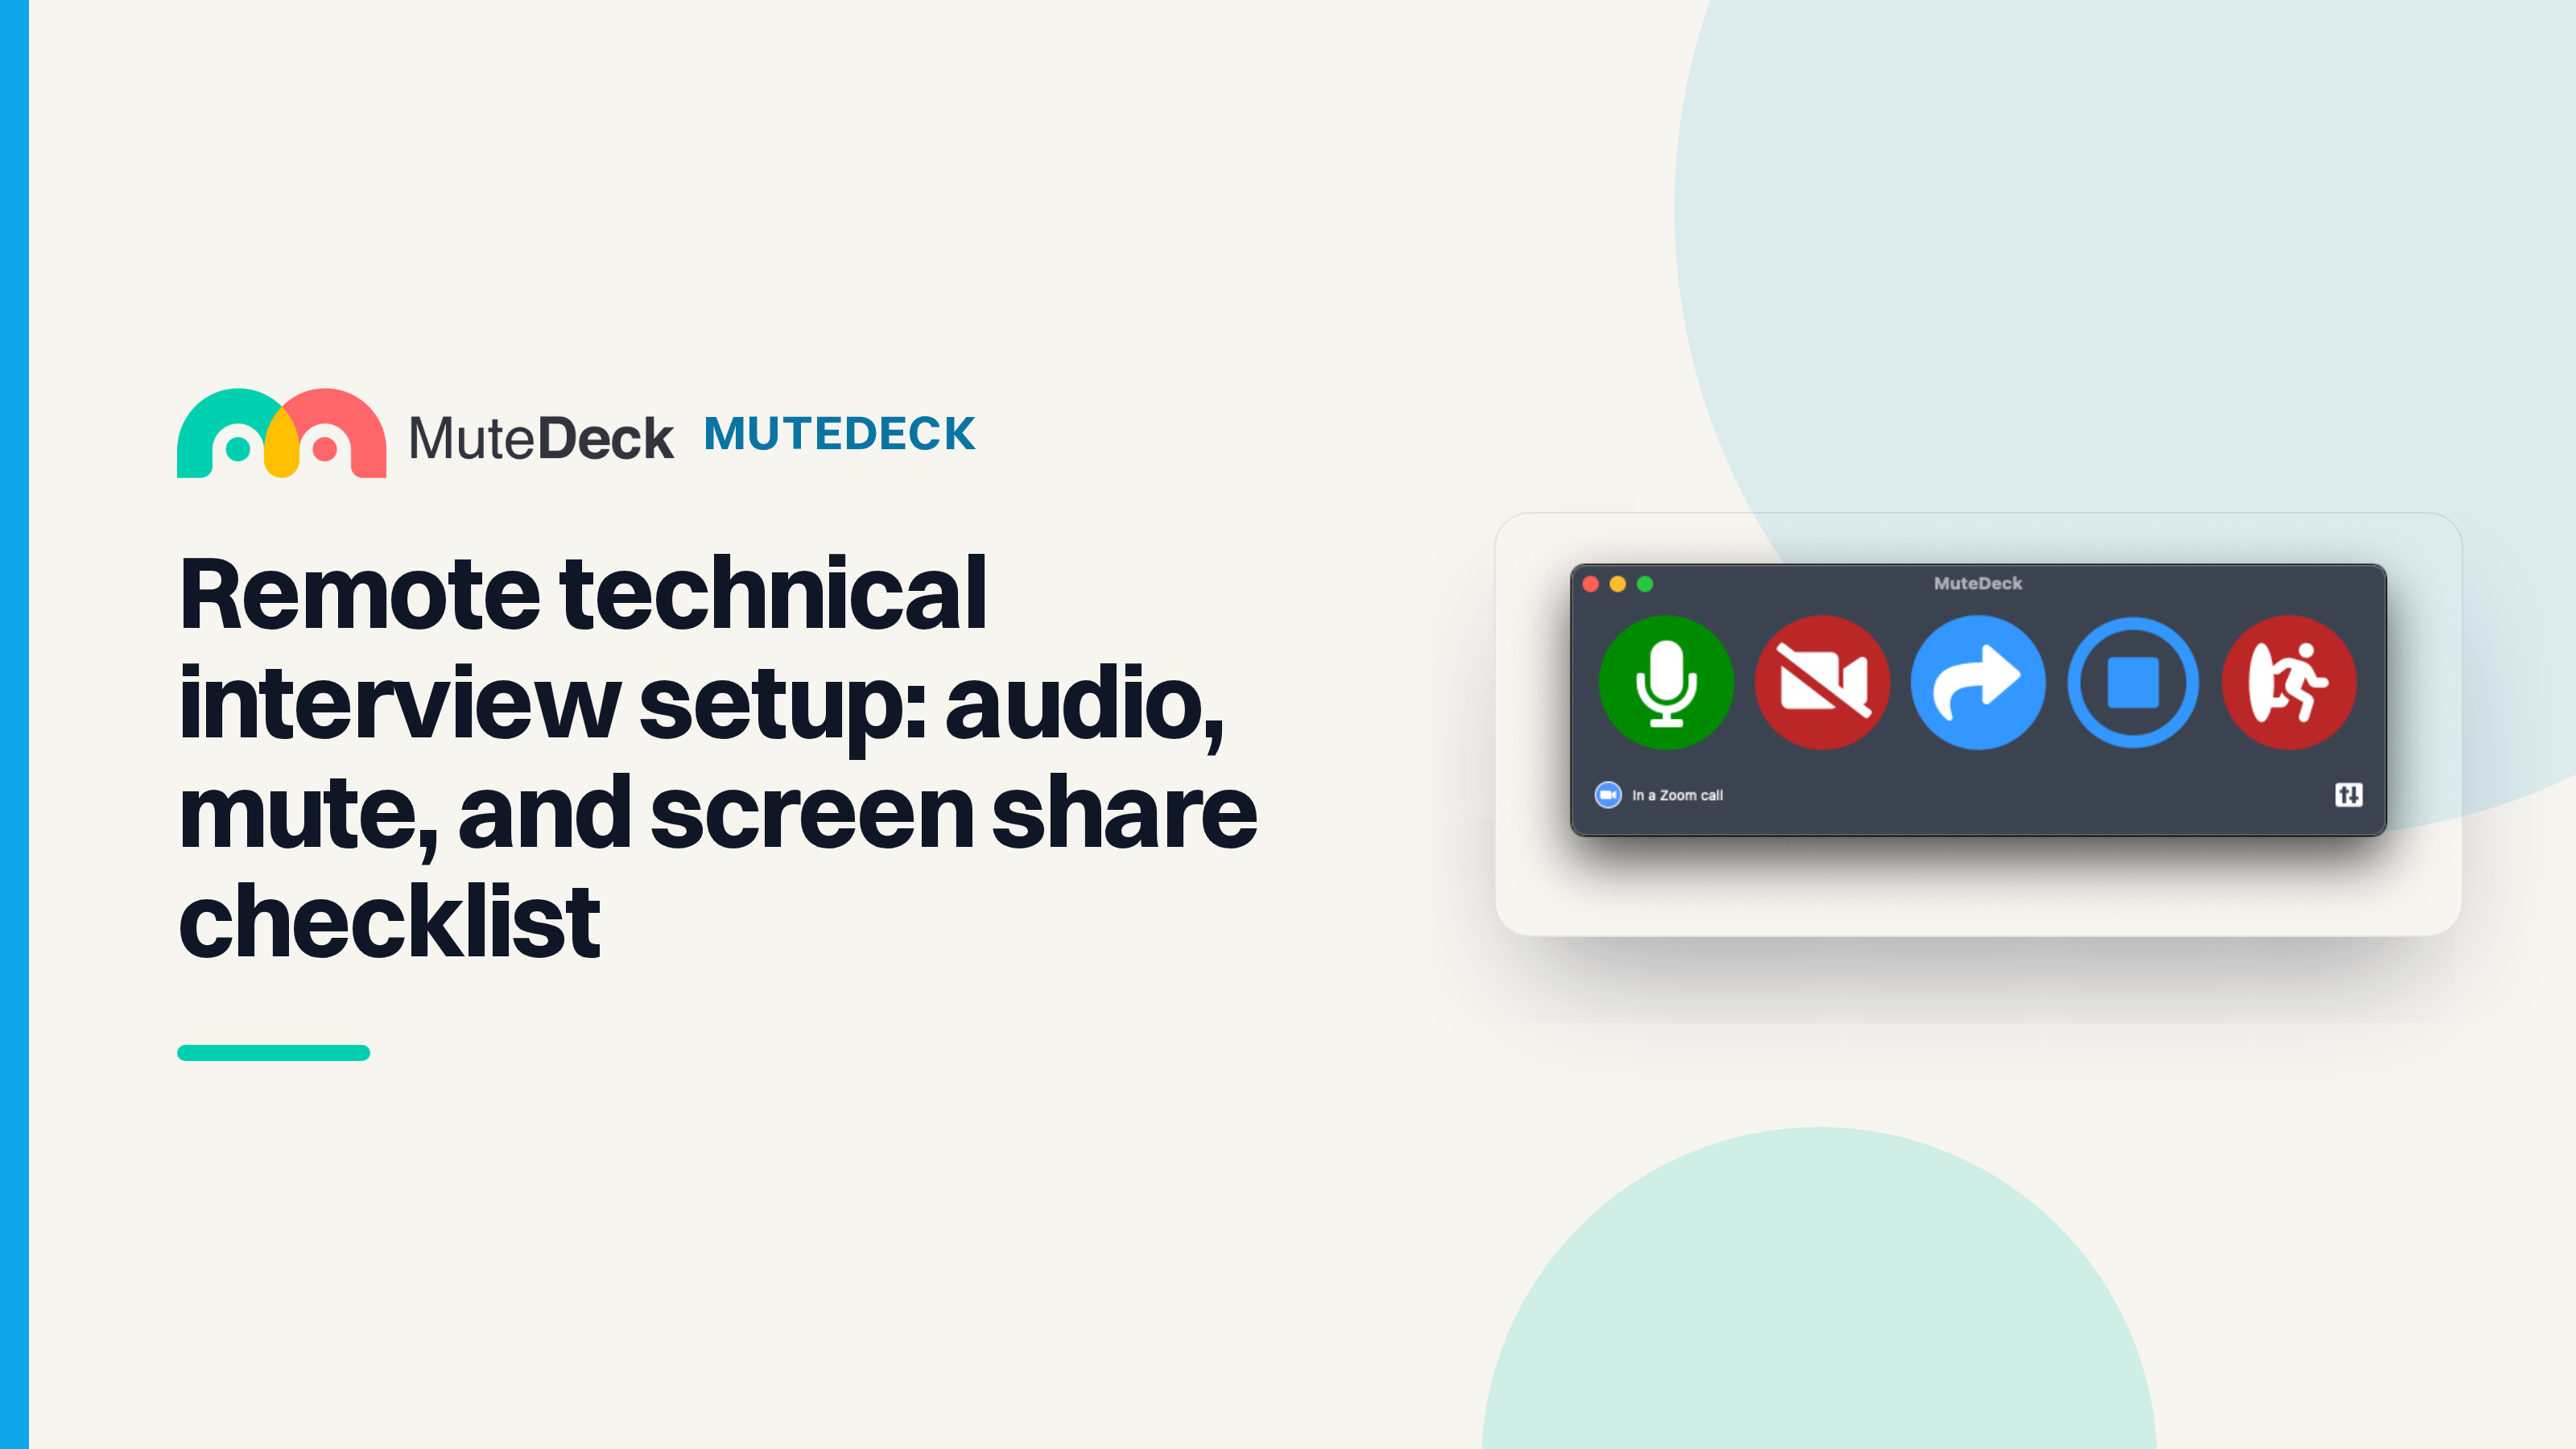
Open MuteDeck’s status window, then enable Settings → General → Keep window on top to keep it above your editor. This setting only helps while the window is open. The window also reflects mute changes made inside the meeting app.
If MuteDeck doesn’t recognize the app, its system microphone fallback can still mute the mic and show its state. It doesn’t provide per-app meeting controls or confirm the meeting app’s own mute status.
Clean up screen sharing before you click Share
If the invitation doesn’t say where you’ll write code, ask the recruiter: “Will we use a browser-based coding environment, or should I have my local editor ready to share?”
Share one window rather than your whole desktop when the task allows it. In the interview’s meeting app, practise sharing your editor, switching the share to your browser, then switching back. Check whether you can swap windows directly or must stop and restart sharing.
Turn on Do Not Disturb and close Slack and email. Check browser tabs, including titles that could reveal private work. Remove unrelated files from the editor’s open tabs and project sidebar. Increase the editor or browser font size so the interviewer can read it.
MuteDeck’s Share control can open a screen-selection dialog in some meeting apps. Have the intended window open and easy to identify, then check your selection before confirming.
For a fuller privacy pass, use the screen share safety checklist: [NEEDS PRODUCT DETAIL: URL for screen share safety checklist].
Keep a camera fallback you can execute fast
If your camera disappears just before the interview, give yourself one short recovery pass. If you’re already connected, tell the interviewer it isn’t being detected and that you’ll try a quick restart.
- Quit and reopen the meeting app or browser. If you’re on the call, say you’ll rejoin first.
- Reselect the camera input in the meeting app.
- For an external webcam, unplug it, reconnect it, then select it again.
- If it still fails, switch to a backup device if you have one ready. Leave the first call before joining on the second device to avoid duplicate audio.
Save deeper fixes for later: MacBook camera troubleshooting [NEEDS PRODUCT DETAIL: URL for MacBook camera troubleshooting post] and Logitech webcam troubleshooting [NEEDS PRODUCT DETAIL: URL for Logitech webcam troubleshooting post].
Run a 10-minute pre-join check
Save this checklist beside your interview invitation. Start ten minutes before the scheduled call, with a firm stopping point for setup.
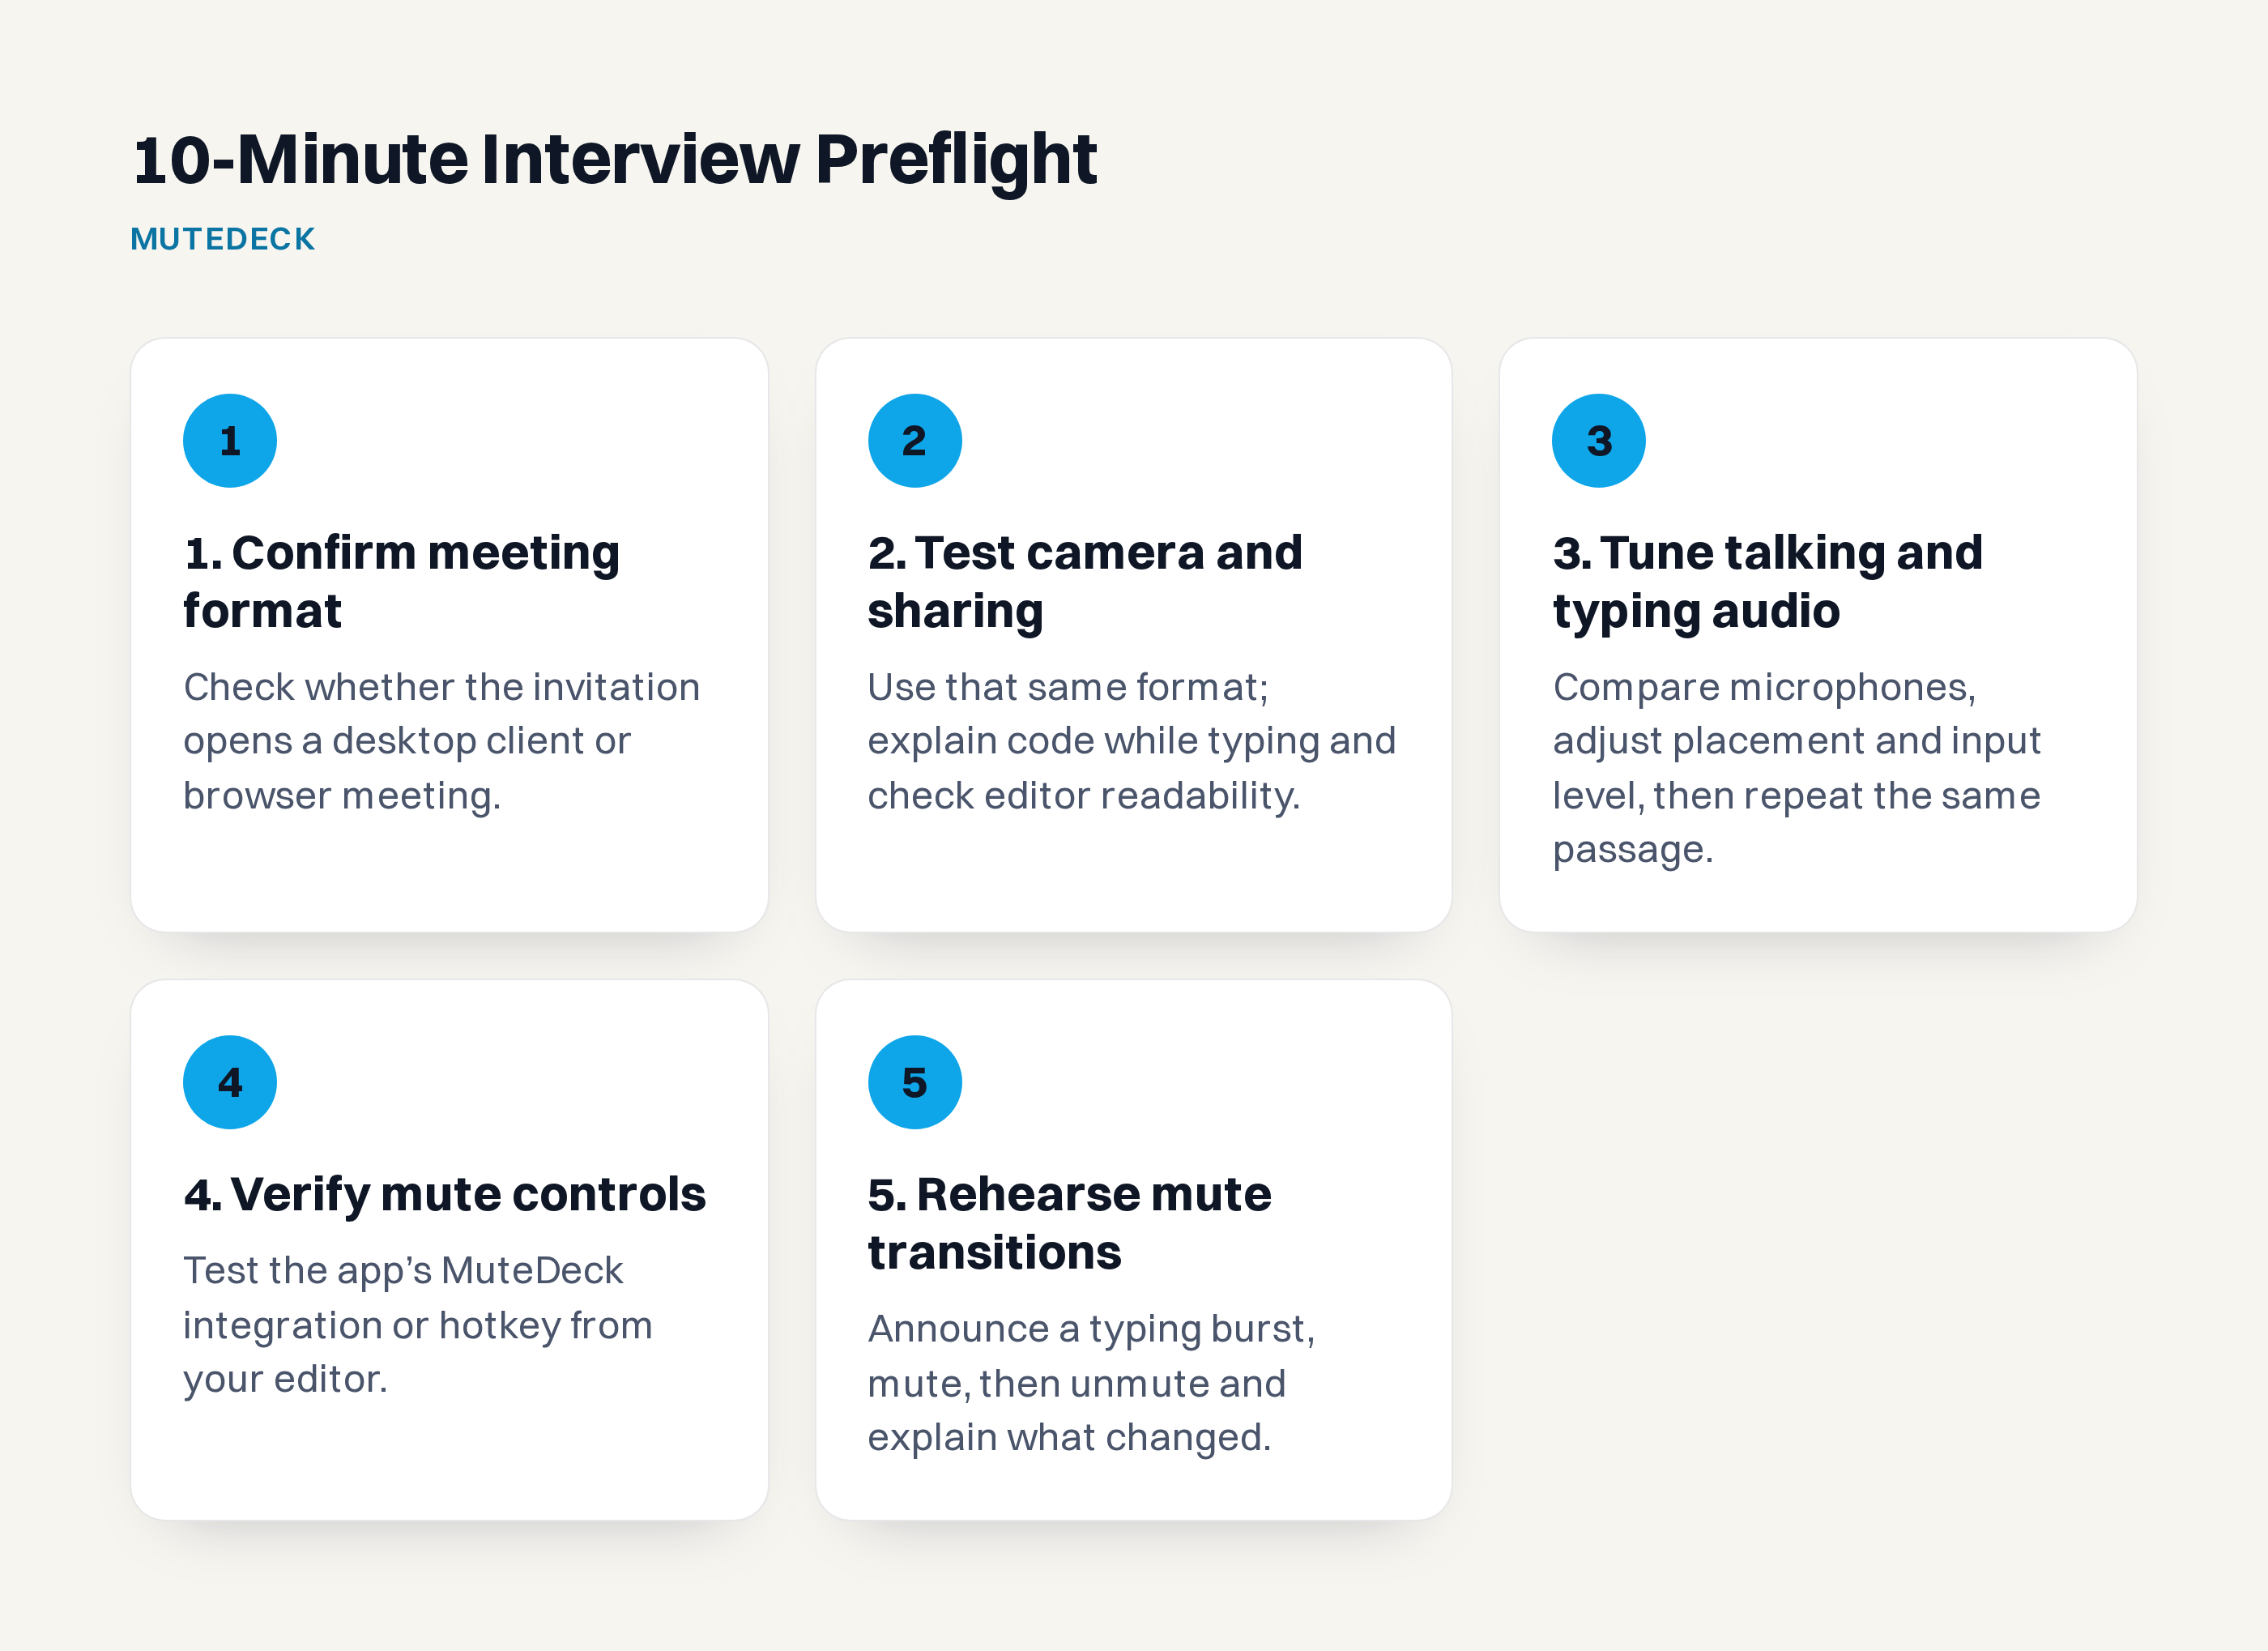
- Minutes 10-8: Open and connect. Open the correct meeting app or browser. Connect your headphones and plug in your charger.
- Minutes 8-5: Check sound and picture. Test the mic while talking and typing. Confirm the camera shows a picture.
- Minutes 5-3: Prepare to share. Turn on Do Not Disturb. Stage the share window with readable text and only interview material open.
- Minutes 3-1: Verify mute control. Check that your mute method works and you can see its state. If using MuteDeck, have your hotkey, window or device control ready. For web meetings, confirm the extension reports Connected to MuteDeck.
- Final minute: Join. Stop changing settings and enter the call.
If you have several interviews across different meeting apps, try MuteDeck’s 7-day free trial and set one mute hotkey before interview week. No card or account is needed.