Installing Browser Extensions
When using MuteDeck with browser-based conference call applications, you need to install a browser extension to enable the integration. This is necessary because MuteDeck needs to detect the status of calls and manage them directly from your browser. These extensions do the heavy lifting, and pass on the status to MuteDeck and lets MuteDeck control these browser calls. You still need the MuteDeck application.
These extensions currently support:
- Google Meet
- StreamYard
- Web version of Zoom
- Web version of Microsoft Teams
- Riverside.FM
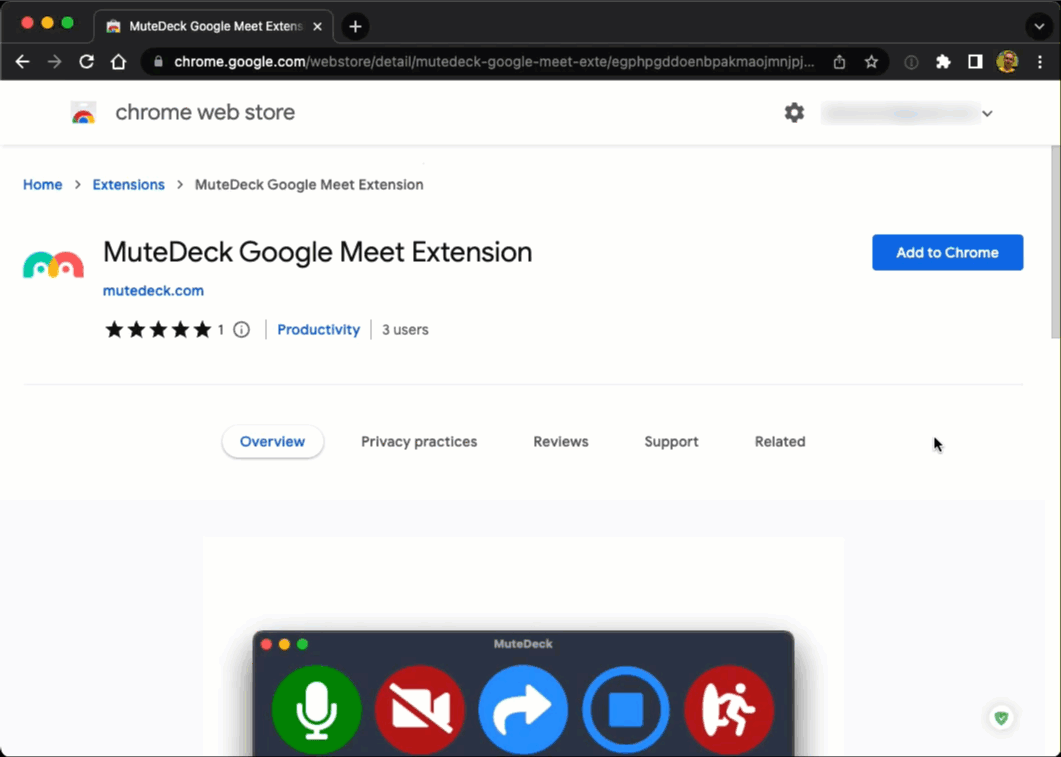
Install the Chrome Extension, Firefox Extension, or Safari Extension from their respective links.
Installing the Extension
Click on this link to head to the Chrome Web Store or Firefox Add-ons page where you can download the extension. Installation is very simple, as this video will show:
And that's all you need! If you already have MuteDeck running, the extension will automatically start reporting to it. There are no discernable settings in the extension or other configuration needed.
Now, start a Google meeting and try it out!
NOTE: When installing the Chrome extension, you'll need to approve permissions before the extension is loaded. The Browsing history permission is awkwardly named, and required for the Bring to Front feature. MuteDeck doesn't look at your browser history.
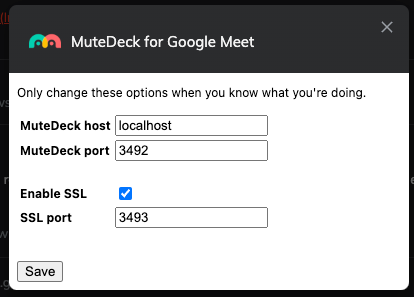
Enabling SSL between the Extension and MuteDeck
Normally you do not need to change this setting. But, if the connection between the extension and MuteDeck is not working, and you're running MuteDeck in a corporate environment, it is possible that your browser settings only allow SSL connections from the extension to the MuteDeck app.
- Open the Settings in your browser
- Click on Extensions
- Click on the Details button in the MuteDeck for Google Meet extension box
- Click on Extension options to open the extension settings
- Check the Enable SSL checkbox and click the Save button to activate SSL.
In Firefox, SSL is enabled by default.
Brave Browser Note
Before the extension will work with Brave Browser, visit http://localhost:3491/ and turn off the Brave Shields feature for localhost. Turn off the Shields for meet.google.com, and other meeting sites as well.
Manually updating the Google Chrome extension
Sometimes, Chrome extensions don't update automatically right away. If you need to update the MuteDeck Chrome extension manually, follow these steps:
-
Open Chrome Extension Settings
- Open Google Chrome.
- In the address bar, type
chrome://extensions/and press Enter.
-
Enable Developer Mode
- At the top right of the Extensions page, toggle Developer mode to the on position. This will reveal additional options.
-
Update the Extension
- Click the Update button that appears at the top of the page.
- Chrome will check for updates and install the latest version of MuteDeck if available.
-
Verify the Update
- Locate the MuteDeck extension in the list.
- Check the version number under its name to confirm it has been updated.
Now refresh the Google Meet, Zoom, or Teams web page if you already had it open. This is necessary to reload the extension to its new version.
Manually updating the Firefox extension
-
Open the Add-ons Manager
- Open Mozilla Firefox.
- Click the menu button (☰) in the top-right corner and select Add-ons and themes.
- Select Extensions from the left sidebar.
-
Check for Updates
- Click the gear icon in the top-right corner of the Add-ons Manager.
- Select Check for Updates.
- If an update for MuteDeck is available, Firefox will install it.
-
Verify the Update
- Find the MuteDeck extension in the list.
- Check the version number to confirm it has been updated.
Now refresh the Google Meet, Zoom, or Teams web page if you already had it open. This is necessary to reload the extensions to its new version.