How to Control Microsoft Teams from Macro Deck with Live Mute Status
How to control Microsoft Teams from Macro Deck with live mute status
If you’re looking for a Macro Deck Teams plugin, use MuteDeck’s official Macro Deck extension with Teams enabled in MuteDeck. Your deck sends commands to MuteDeck, which controls Teams and sends live meeting status back. Your mute button can then show whether you’re actually muted, including when you change it inside Teams.
Why a Macro Deck Teams plugin search goes sideways
Search results often mix Macro Deck with Elgato Stream Deck. They’re different products, so Elgato marketplace instructions won’t tell you what to install in Macro Deck.
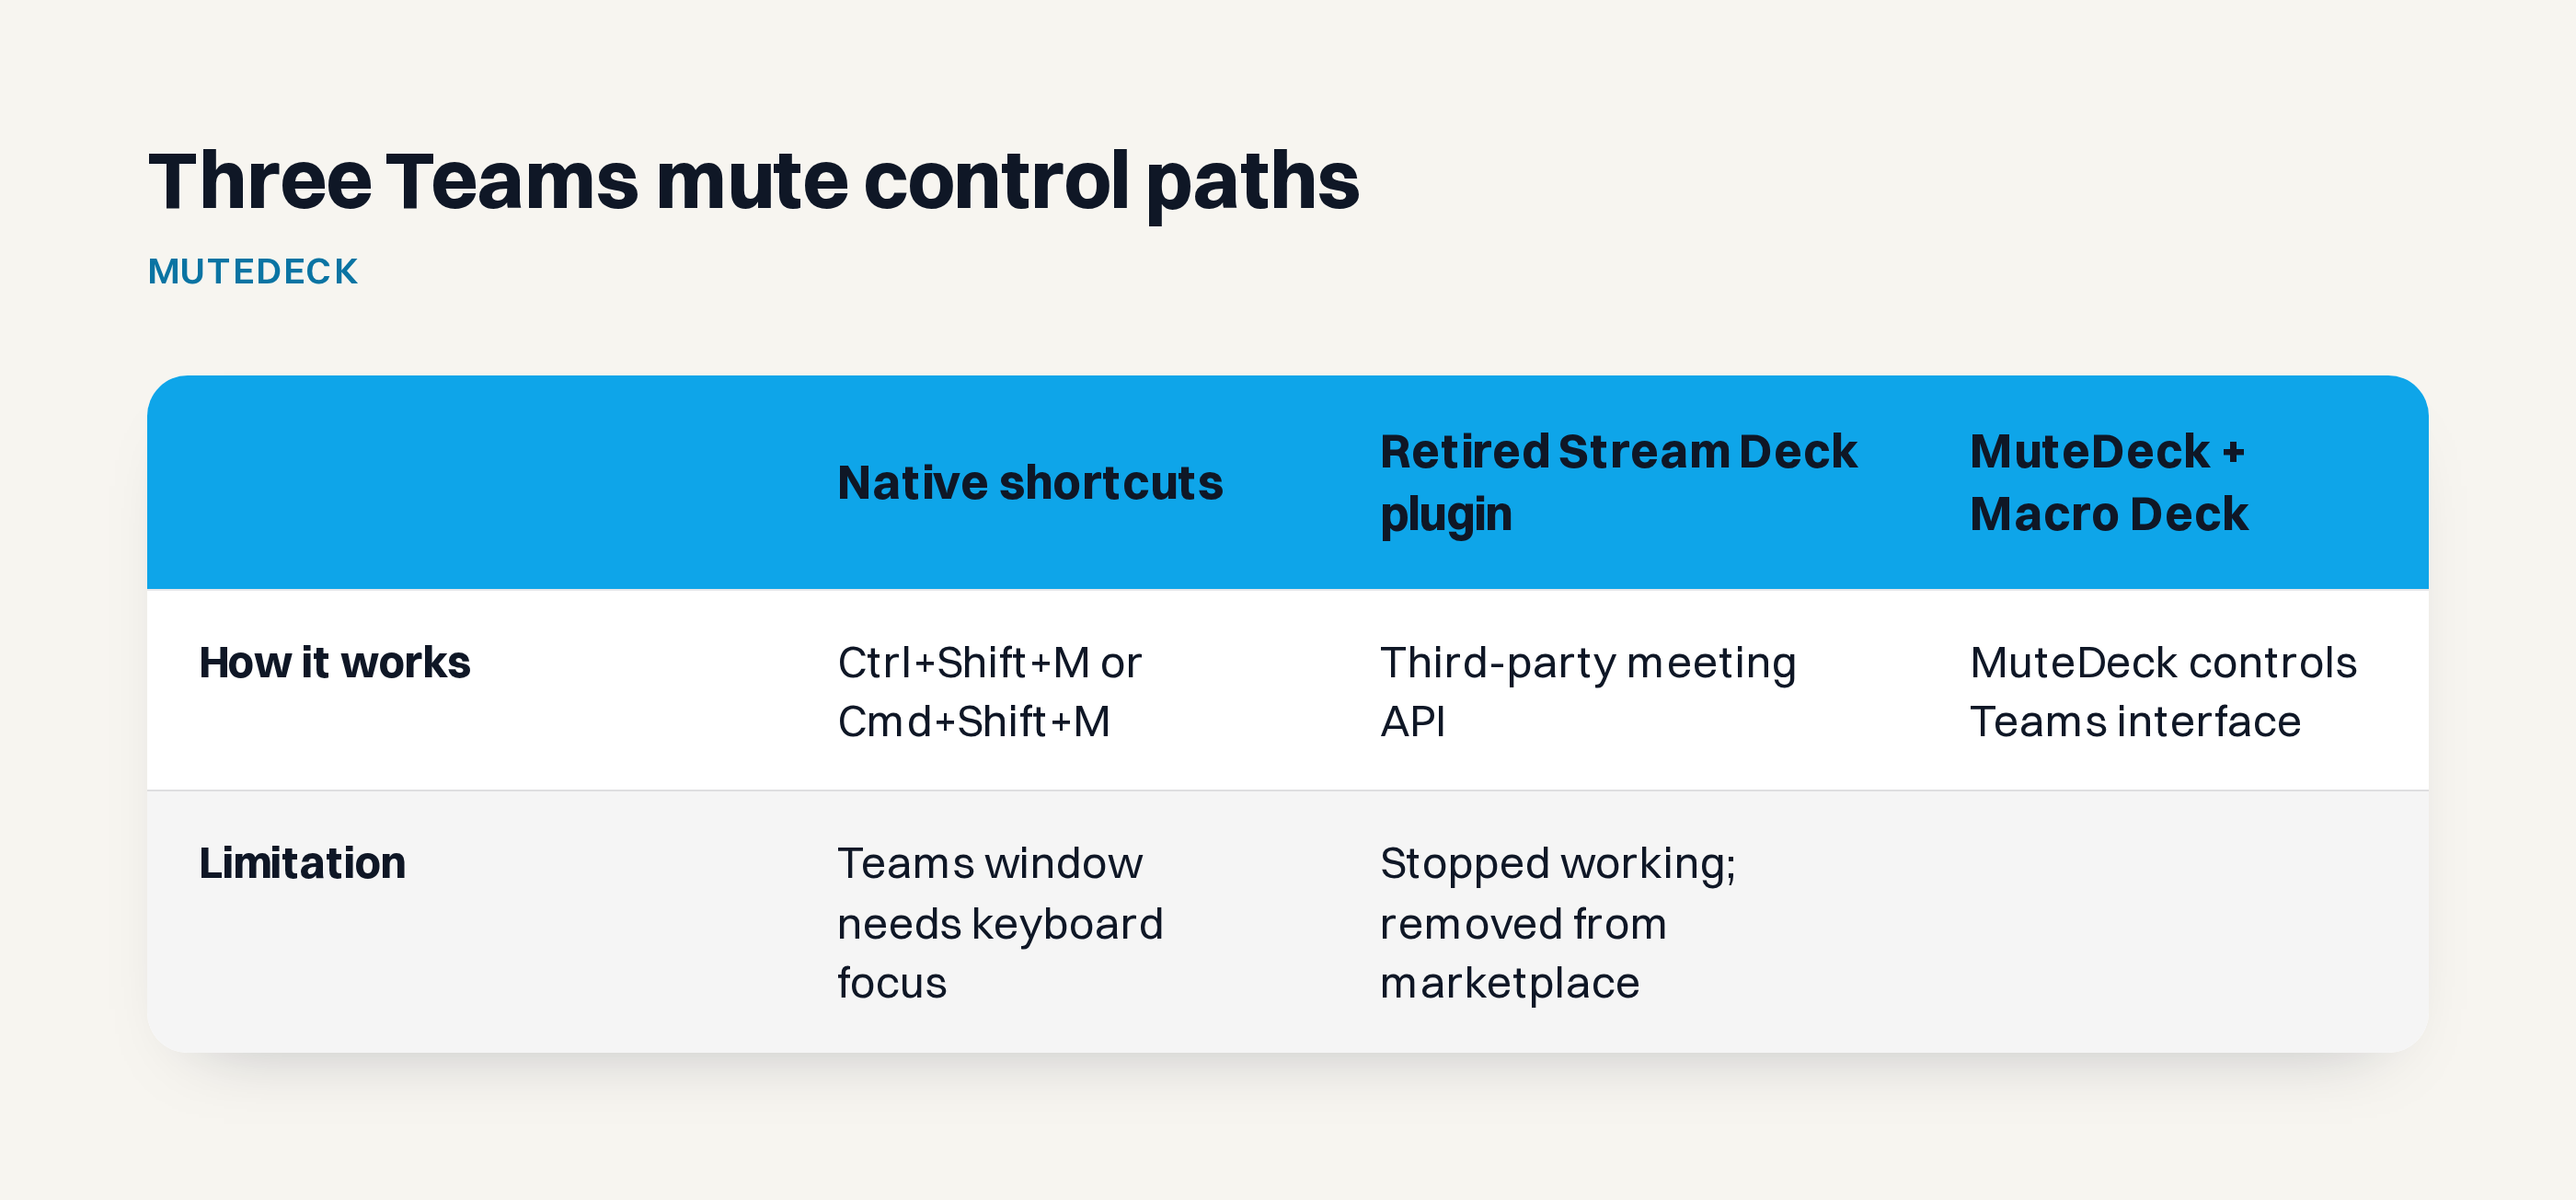
The official Teams Stream Deck plugin was retired after Microsoft retired its third-party meeting API. The plugin stopped working and was removed from the marketplace. Reinstalling won’t fix it. MuteDeck controls Teams through its interface instead.
Native keyboard shortcuts have a different limitation: Ctrl+Shift+M on Windows and Cmd+Shift+M on macOS only reach Teams when its window has keyboard focus. If you’re typing in a document, a deck button sending that shortcut won’t mute Teams.
Install the MuteDeck extension in Macro Deck
You’ll need Macro Deck 2.15.0 or newer, with MuteDeck installed and running on the same computer or another computer reachable over your network.
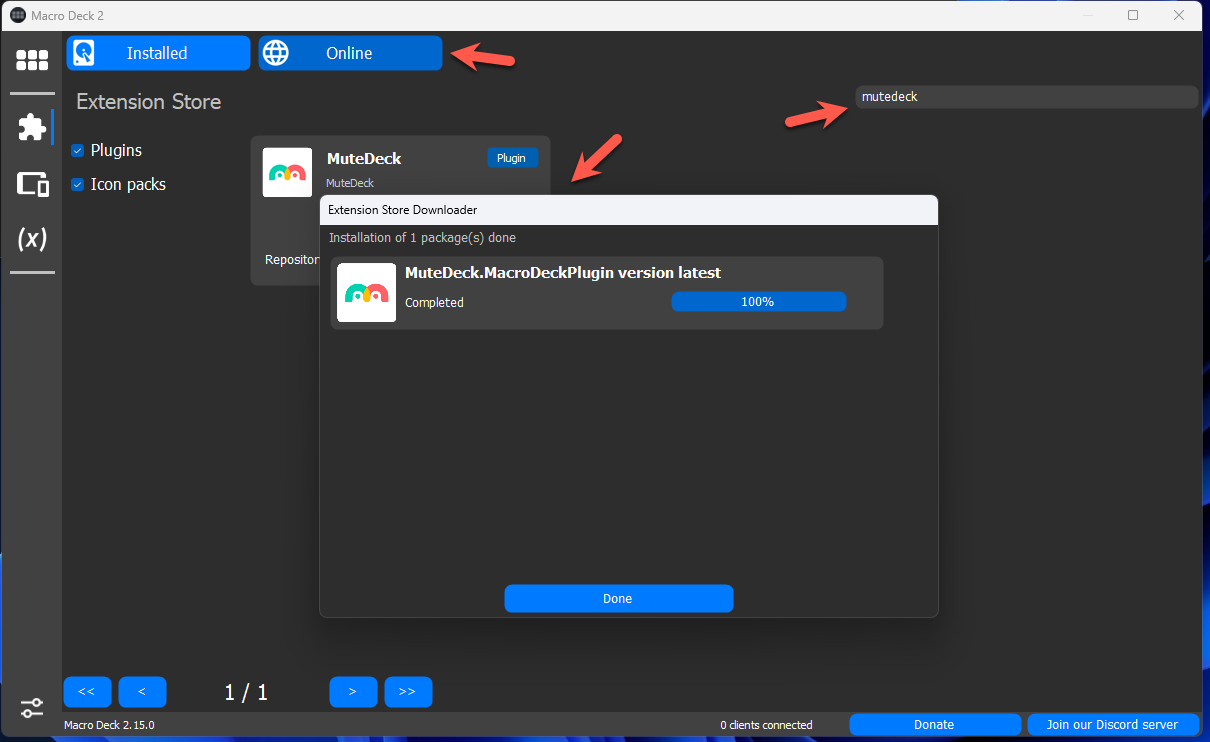
- In Macro Deck, open the Extension Store using the puzzle icon.
- Search for MuteDeck, then select Install.
- Open Settings → Plugins → MuteDeck → Configure.
- Leave the connection at
localhost:3492if MuteDeck runs on this computer.
For a remote setup, set the host to the MuteDeck computer’s LAN address, for example 192.168.1.50. Keep port 3492 unless you changed it in MuteDeck. Don’t use localhost: that points back to the computer running Macro Deck. On the MuteDeck computer, accept the incoming connection from the plugin to allow it access.
The Macro Deck setup guide documents these connection settings.
Enable Microsoft Teams in MuteDeck and test it
In MuteDeck, open Settings → Application Sync and turn on Enable Microsoft Teams. You don’t need a Teams API token.
Set the language to match what Teams displays. Auto (system language) uses your Windows or macOS language. If Teams uses a different language, choose it explicitly.
Supported desktop languages are English, Dutch, French, German, Hungarian, Italian, Japanese, Polish, Spanish, and Swedish. For Teams in a browser, you’ll need the MuteDeck browser extension with Enable Browser Extension turned on. Web Teams works in all languages.
Start a test call in Teams → Calendar → Meet now. Check that MuteDeck shows your meeting status, then mute and unmute using MuteDeck’s controls. Confirm that the status changes in both apps before adding Macro Deck buttons. The Teams setup guide covers these settings.
Add the meeting actions you actually need
Start with mute/unmute and camera, then add controls for presenting or wrapping up. The Macro Deck extension provides:
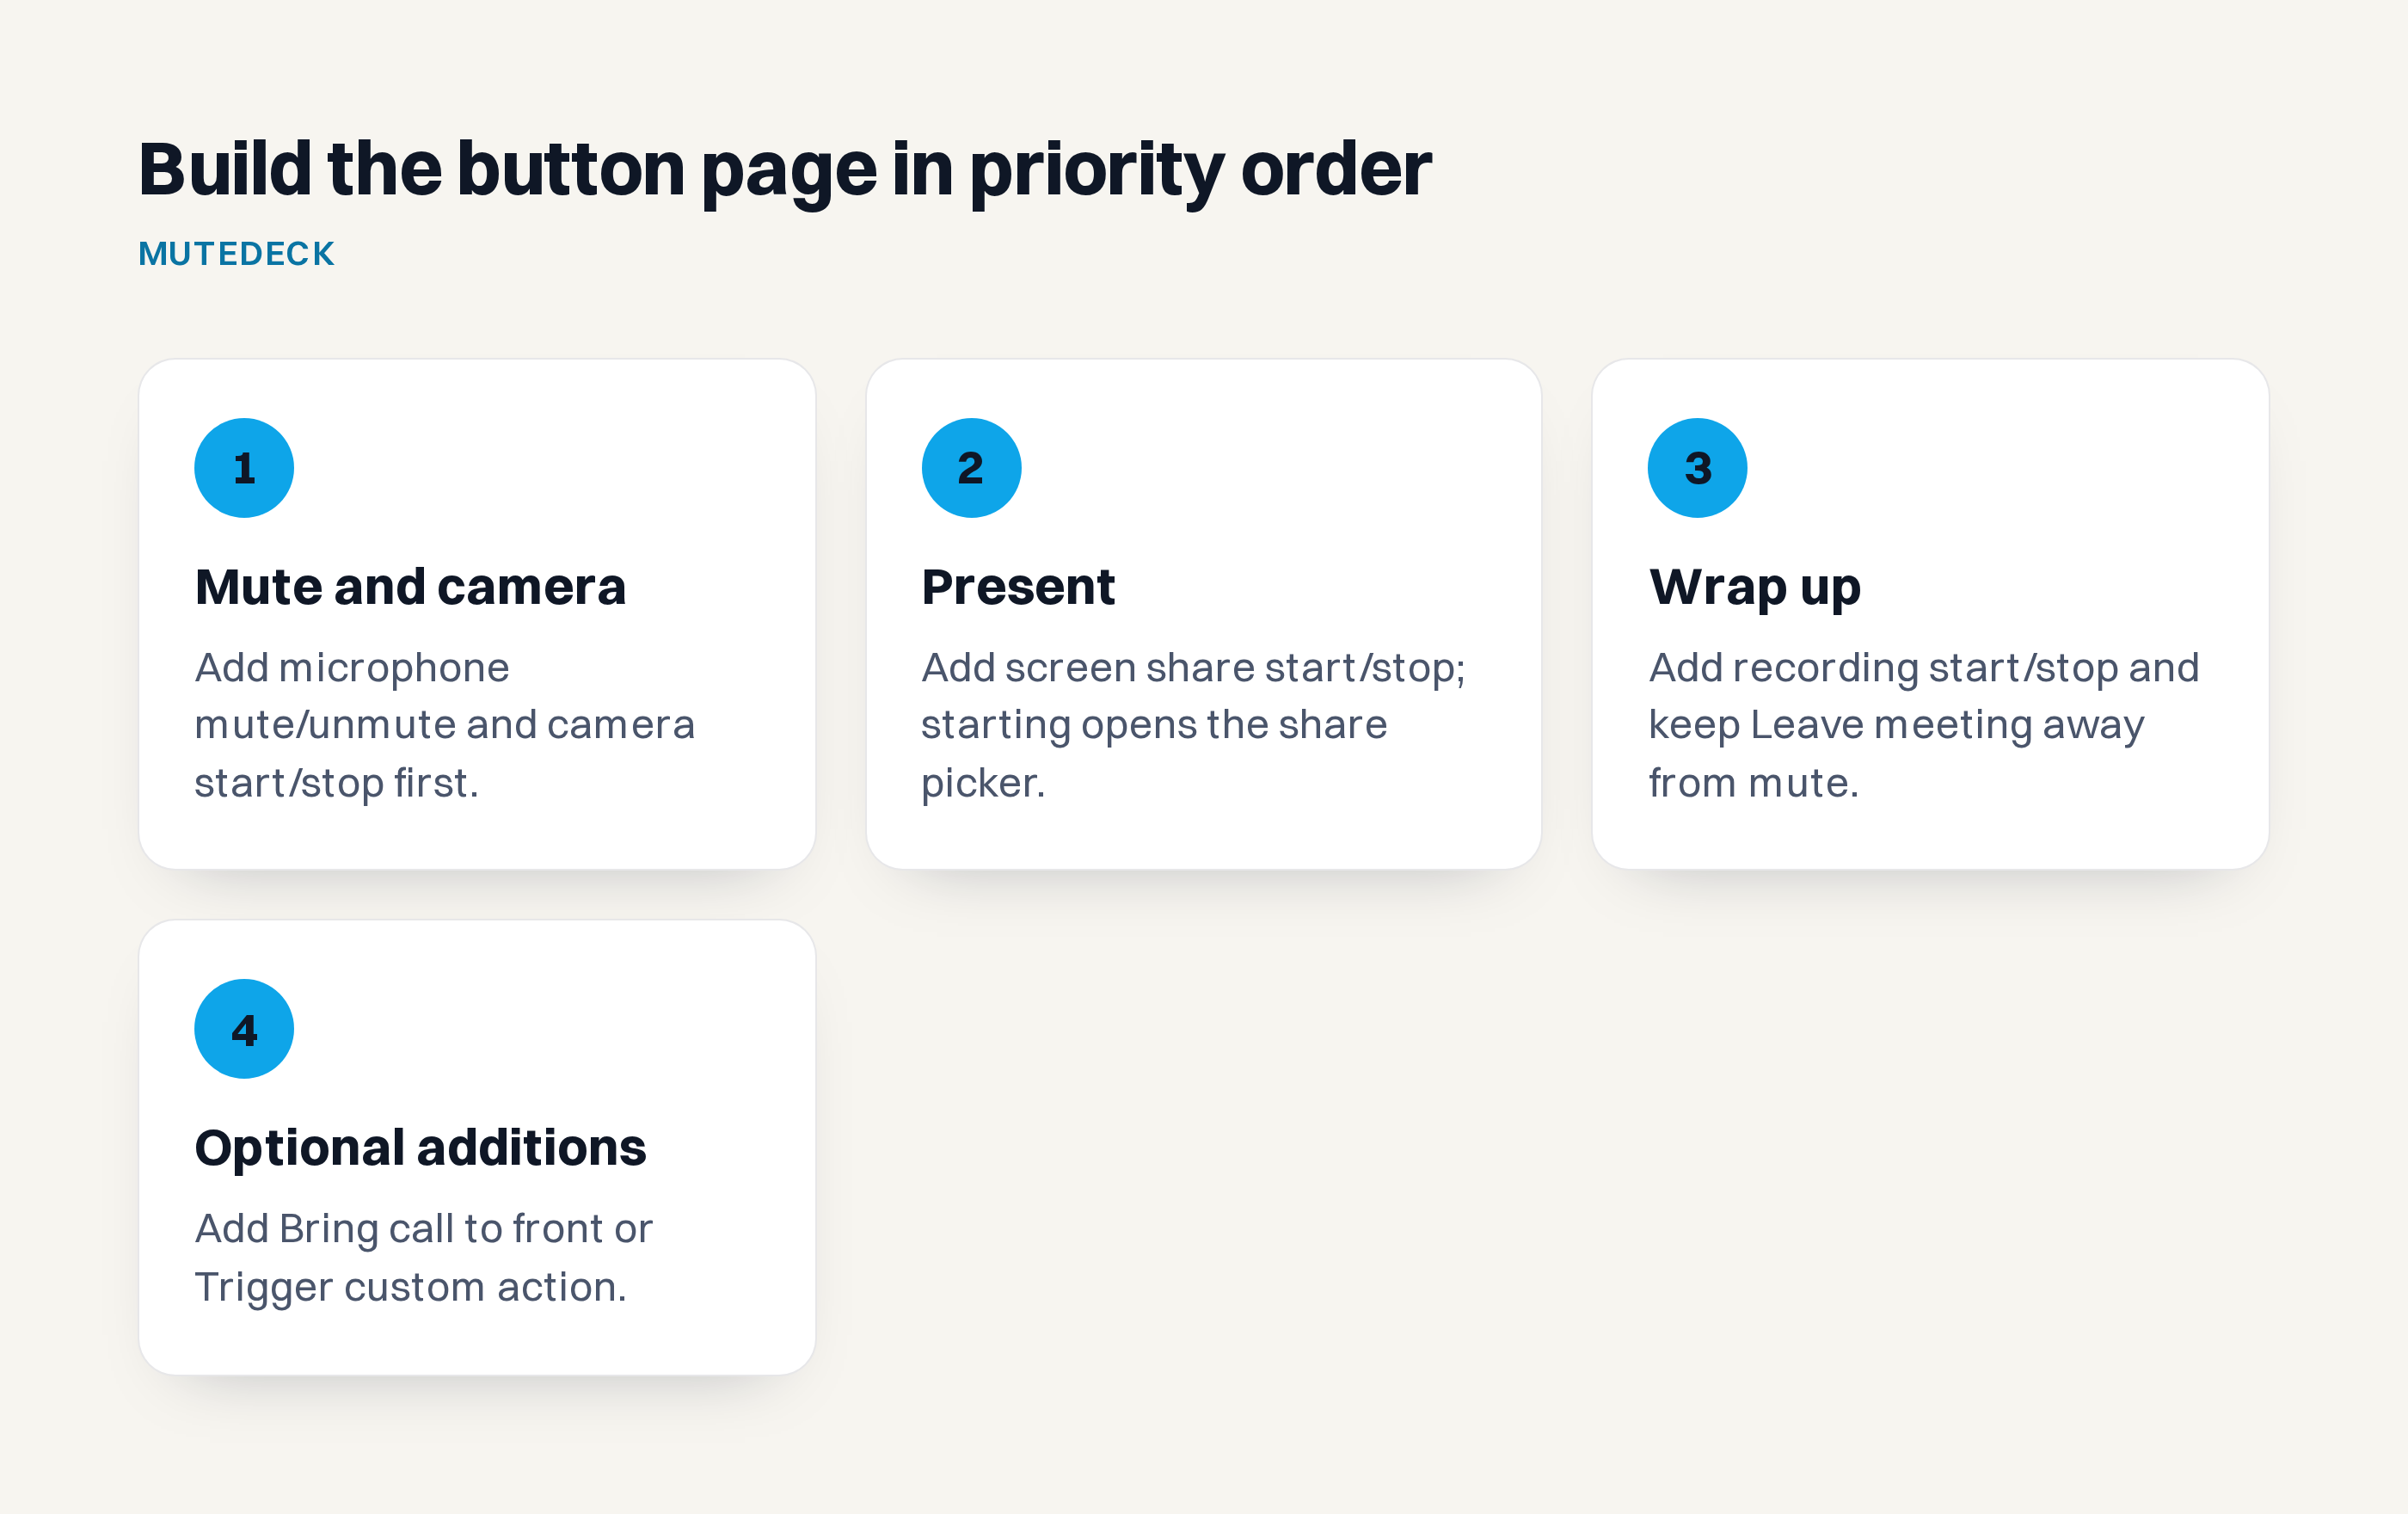
- Microphone: mute/unmute
- Camera: start/stop
- Screen share: start/stop. Starting a share opens the share picker, so expect another choice after that press.
- Recording: start/stop
- Leave meeting. Keep it away from mute so a hurried press doesn’t become an early goodbye.
Optional additions are Bring call to front, for finding the meeting window, and Trigger custom action, for an action you’ve configured in MuteDeck.
Bind live mute status to the button
When you add the microphone toggle action, Macro Deck offers to bind the matching variable to the button state. Accept the binding for mutedeck_muted, then set the button’s On and Off icons. If you skipped the prompt, choose the variable in the State binding dropdown.
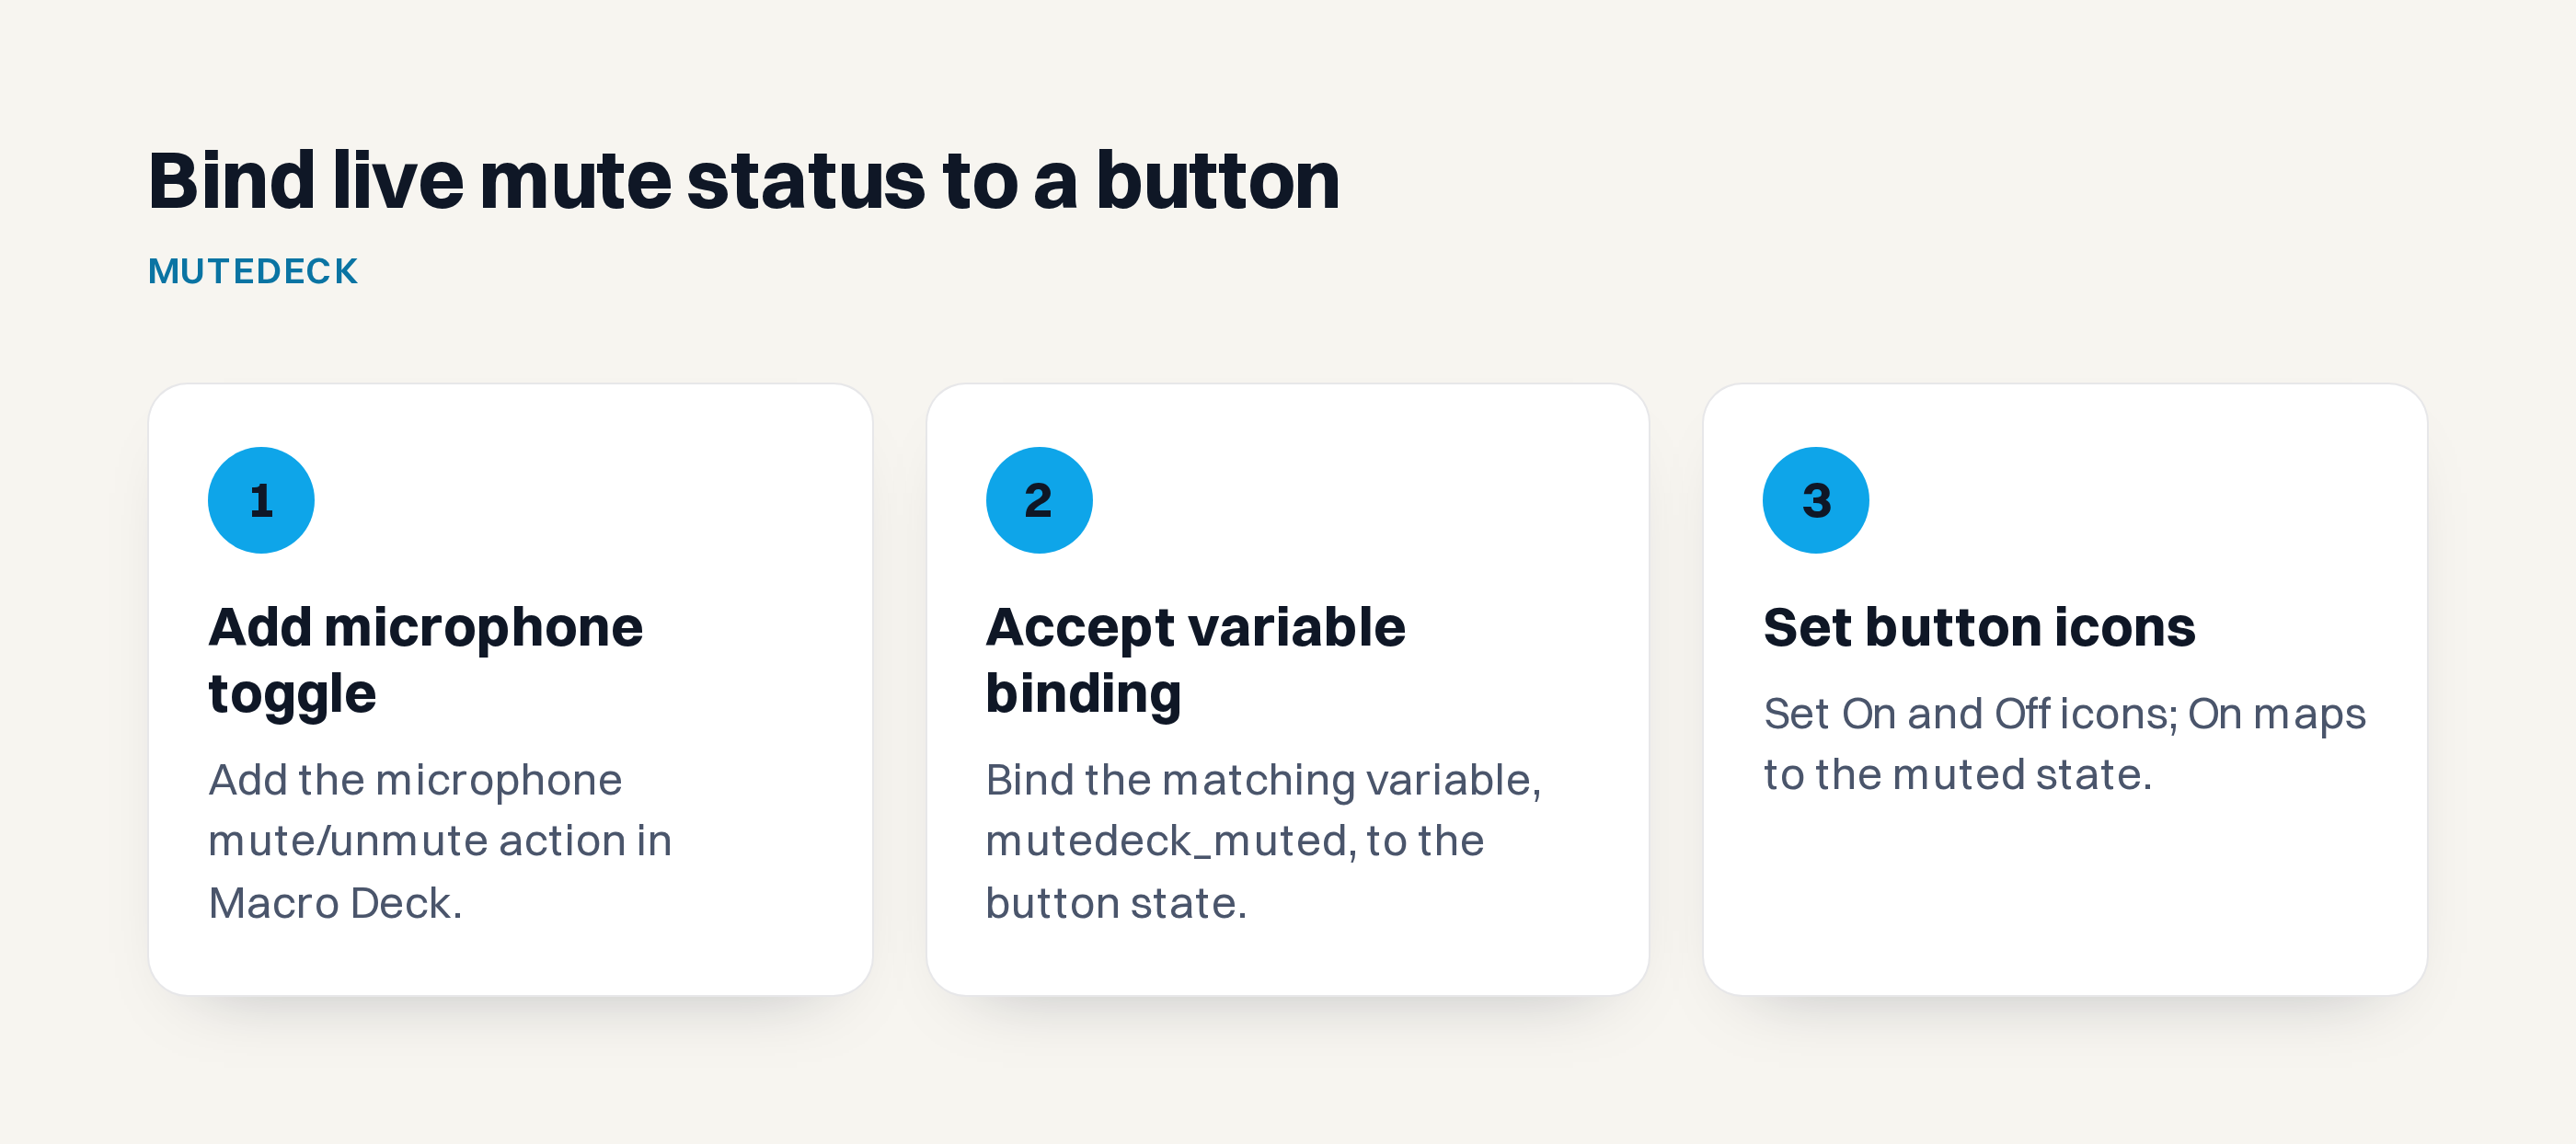
Check the mapping:
- On = True = muted. Use your muted microphone icon.
- Off = False = unmuted. Use your open microphone icon.
“On” means the variable is true, not that the microphone is on. Reversing the icons would show the opposite of your actual mute state.
For a text readout, use {mutedeck_mute_label} in the button label. It can display Muted, Unmuted, or No mic. The state binding supplies the status indication; the toggle action alone only sends the command.
Know what to expect on Windows and macOS
On Windows, Teams mute and camera controls can stay in the background while you work in another app. On macOS, MuteDeck briefly brings Teams forward, presses the control, then returns you to your previous app. That quick flash is expected behavior.
If MuteDeck detects your Teams call but can’t read its controls, check the Teams language match first. If the setup still fails on macOS, check MuteDeck’s Accessibility and Automation permissions. The meeting-detection troubleshooting guide covers those checks.
For your final test, put a document in front during the call and press your Macro Deck mute button. Check Teams to confirm the mute changed and the button shows the right state.
If you haven’t installed MuteDeck yet, download it and start the 7-day free trial, no card required. Test one live mute-status button before building the rest of your meeting page.