# How to Boost Microphone Volume for Meetings
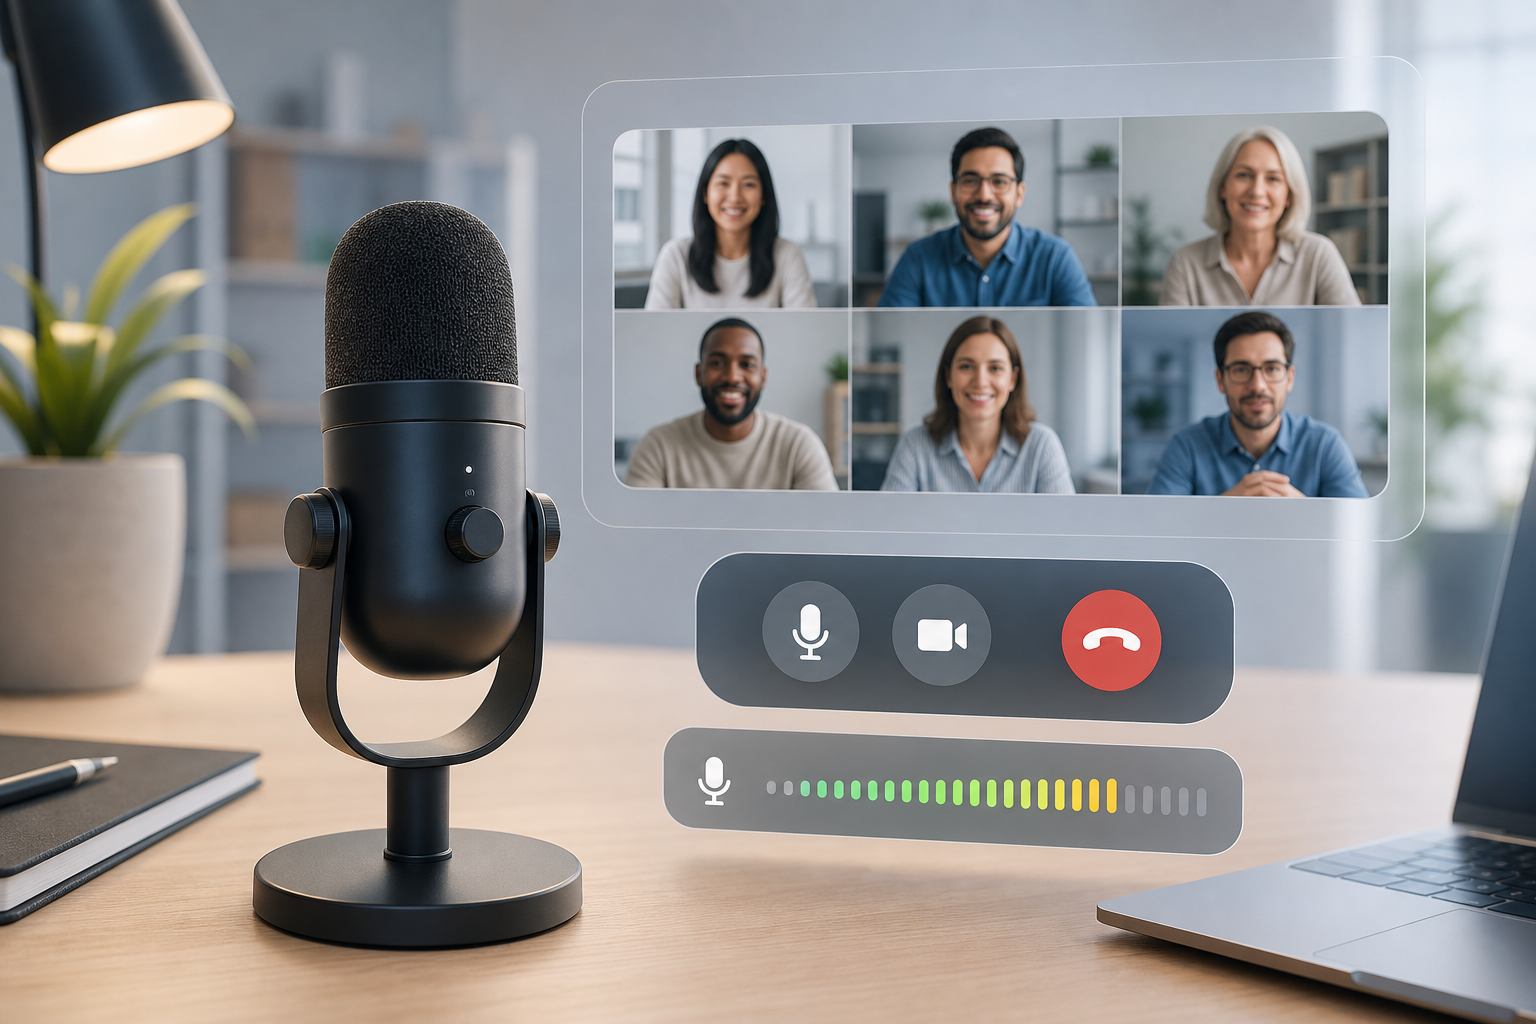
To boost microphone volume for meetings, start with the input level your operating system uses, then confirm the selected mic inside Zoom, Teams, or Google Meet. Raise gain gradually, test with the actual headset or microphone, and stop before background noise becomes louder than your voice. If volume still sounds weak, check distance, permissions, app audio processing, and whether another device is quietly selected.
The useful fix is a short audio path, not a louder panic. Meeting apps, browsers, operating systems, and external microphones can all affect input level. When you adjust them in the wrong order, you can make the call noisier without making yourself easier to understand.
This guide covers a practical host workflow for improving microphone volume before and during calls. It also helps you tell the difference between low input level, wrong device selection, mute state, and room noise.
# Start with the mute and input path
Before you raise anything, confirm the meeting can hear the right microphone. A quiet microphone and a muted microphone can look similar to everyone else. They both produce a polite pause followed by someone saying your name like they are paging a lost suitcase.
Use this quick path:
- Check the mute button inside the meeting app.
- Confirm the selected microphone in the meeting app.
- Confirm the selected input device in the operating system.
- Speak at normal meeting distance and watch the input meter.
- Raise input volume in small steps, then test again.
That order prevents the common mistake of boosting the laptop microphone while the meeting app is using a headset, dock, webcam, or monitor microphone. If you need the broader unmute path first, use our guide on how to unmute yourself in any meeting app (opens new window).
MuteDeck helps with the first layer because it keeps live meeting controls visible across supported apps. A visible mute state will not fix gain by itself, but it stops mute confusion from masquerading as an audio-quality problem.
# Decide what kind of low microphone volume you have
Not every quiet mic needs the same fix. A weak signal can come from software gain, physical placement, automatic processing, or the wrong microphone. Treat the symptom first.
| Symptom | Likely cause | Best first move |
|---|---|---|
| Nobody hears you at all | Muted app, denied permission, or wrong input | Check mute, app device selection, and permissions |
| People hear you faintly | Low input level or mic too far away | Raise system input level and move the mic closer |
| Your voice fades in and out | Noise suppression or auto gain reacting | Test app audio processing and background noise |
| Your voice is loud but harsh | Gain too high or mic too close | Lower gain and move the mic slightly away |
| Audio changes between calls | Different app or browser device selection | Save a pre-call device check routine |
This table matters because raising input volume is only helpful when the correct microphone already carries a clean signal. If the app uses the wrong device, more gain just makes the wrong device louder.
# Boost microphone volume on Windows
On Windows, input level lives in Sound settings. Microsoft recommends using Windows audio troubleshooting and sound settings when audio does not work as expected; their support guide for fixing sound or audio problems in Windows (opens new window) is the right authority when system audio needs a deeper reset.
For meeting volume, use the shorter host workflow:
- Open Settings.
- Go to System, then Sound.
- Under Input, select the microphone you use for calls.
- Speak at normal distance and watch the input meter.
- Raise the input volume a little, then test in the meeting app.
If Windows shows several inputs, rename or remember the one that belongs to your headset, webcam, or interface. Docks can add extra devices with names that look official and help exactly nobody under pressure.
If your microphone has a physical gain dial, start there only if the system input meter barely moves. If the meter already peaks easily, lower the physical gain and keep software input lower. The target is a clear voice with headroom, not a waveform trying to escape the building.
# Boost microphone volume on Mac
On Mac, input level lives in Sound settings. Apple documents the control in Change the sound input settings on Mac (opens new window), including selecting an input device and adjusting input volume.
A reliable Mac meeting check looks like this:
- Open System Settings.
- Go to Sound, then Input.
- Select the microphone you actually plan to use.
- Speak at the same distance you use in meetings.
- Raise input volume until the meter responds clearly without slamming to the end.
For MacBooks, the built-in microphone can sound fine when you face the laptop and poor when you dock the machine, close the lid, or turn away toward another screen. If your camera and mic behavior has become unpredictable, our MacBook camera meeting fixes (opens new window) cover the same device-selection discipline from the video side.
External USB microphones, webcam microphones, and Bluetooth headsets can each expose different input controls. Bluetooth headsets can also change audio mode when the microphone activates, which may reduce speaker quality. That is normal device behavior, but it can feel like the meeting app broke something. Test with the device you will actually use.
# Check Zoom, Teams, and Google Meet settings
After the operating system sees the right level, confirm the meeting app uses the same microphone. Zoom, Teams, and Google Meet each maintain their own device selection. A system-level fix can miss the live call if the app points somewhere else.
In Zoom, use the audio menu next to the microphone control and confirm the selected input. Zoom documents changing audio devices and settings during a meeting in its guide to changing audio settings during a Zoom meeting (opens new window). Test the microphone from Zoom settings before the important call, especially when you switch headsets.
In Teams, open device settings before or during the meeting and check the microphone field. If Teams shows a monitor, dock, webcam, headset, and laptop microphone, choose the one closest to your mouth. Then speak normally and ask for a quick check, or use the app's test-call flow when available in your environment.
In Google Meet, use the settings gear and check the Audio tab. Browser permissions matter here. If the browser cannot access the microphone, Meet cannot rescue the signal. Confirm browser permission first, then confirm the selected mic.
Keyboard shortcuts can help during live calls, but they can also act on the wrong window. If you rely on shortcuts, keep your core controls small. Our guide to video conferencing keyboard shortcuts for hosts (opens new window) explains why a compact control set beats shortcut trivia.
# Avoid the common gain traps
Boosting microphone volume can solve weak audio, but it can also create three new problems.
First, high gain raises room noise. If your keyboard, fan, or HVAC becomes louder, lower gain and move the microphone closer. Distance beats software heroics.
Second, aggressive noise suppression can make your voice pump or disappear at sentence starts. If people say your first word keeps getting clipped, test the app's background noise settings. Use the least processing that keeps the room acceptable.
Third, automatic gain control can fight manual changes. Some meeting apps adjust volume for you. That can help casual calls, but it can also make a quiet speaker louder and then pull down a strong sentence. For training, webinars, demos, and recorded sessions, test the exact app setting before the event.
A simple microphone position rule helps: keep the mic close enough that your normal voice wins over the room, but far enough that breath noise and plosives do not dominate. For headsets, place the boom near the corner of your mouth. For desktop USB microphones, place the mic closer than the keyboard and slightly off center.
# Build a pre-call audio check
A pre-call check saves more time than live troubleshooting. The goal is to make microphone volume boring before the call starts. Boring audio is a professional courtesy with better branding.
Use this checklist before important meetings:
- Confirm the meeting app is using the correct microphone.
- Confirm operating system input level responds to your normal voice.
- Say one full sentence, not just "test".
- Check that mute and camera controls are visible.
- Disable or reduce background noise before raising gain.
- Keep one backup microphone available when presenting.
- Avoid changing headset, dock, or browser immediately before the call.
GreenSignal, MuteDeck's free pre-call readiness check, is useful when you want a quick camera, microphone, speaker, background noise, and network pass before the room arrives. You can read how it works in GreenSignal for Mac and Windows (opens new window).
For recurring host work, pair that readiness pass with a meeting controls checklist (opens new window). The combination catches both audio setup and live control problems: the microphone is selected, the level is sane, and the mute button stays reachable when another app steals attention.
# When a volume boost is the wrong fix
Do not keep raising volume if the signal stays bad. Low volume is sometimes a symptom of a damaged cable, a failing headset battery, a dock that did not wake correctly, or a browser permission problem. In those cases, more gain adds noise while the real fault stays put.
Switch inputs to isolate the issue. Try the laptop microphone, then the headset, then the webcam microphone. If one device works and another does not, the meeting app is probably fine. If every device fails inside one app but works elsewhere, inspect that app's permissions and device settings. If every app fails, return to system settings and hardware.
For presenters, the practical threshold is simple: if people need to lean in, interrupt, or ask for repeats, stop the content and fix the path. A thirty-second audio reset is cheaper than twenty minutes of polite guessing.
# Conclusion
The best way to boost microphone volume for meetings is to follow the signal path: mute state, app input, system input, physical placement, then app processing. Raise levels gradually and test with the real device, room, and meeting app.
MuteDeck keeps live meeting controls close so mute and camera state do not become another hidden variable. Combine that with a short pre-call audio check, and your microphone becomes one less thing the meeting has to discuss.
KEEP EXPLORING
More guides & tips