# MacBook Camera Not Working in Meetings? Host Fixes
If your MacBook camera is not working in a meeting, check three layers in order: macOS camera permission, the meeting app camera selection, and any browser or external device conflict. Then test the camera before the call and keep a camera-off recovery plan ready so the meeting can continue while you fix the device.
The awkward part is rarely the camera itself. It is the moment when everyone is waiting, your preview is black, and the meeting has already started doing that little trust exercise nobody requested. A reliable fix starts before Zoom, Teams, or Google Meet opens.
# Why a MacBook camera fails right before a call
Most meeting camera failures come from a handoff problem. macOS controls whether an app can use the camera. The meeting platform controls which camera is selected. The browser, dock, external display, or another video app can change what the platform sees.
That means the right question is not simply “is the camera broken?” Ask which layer lost control.
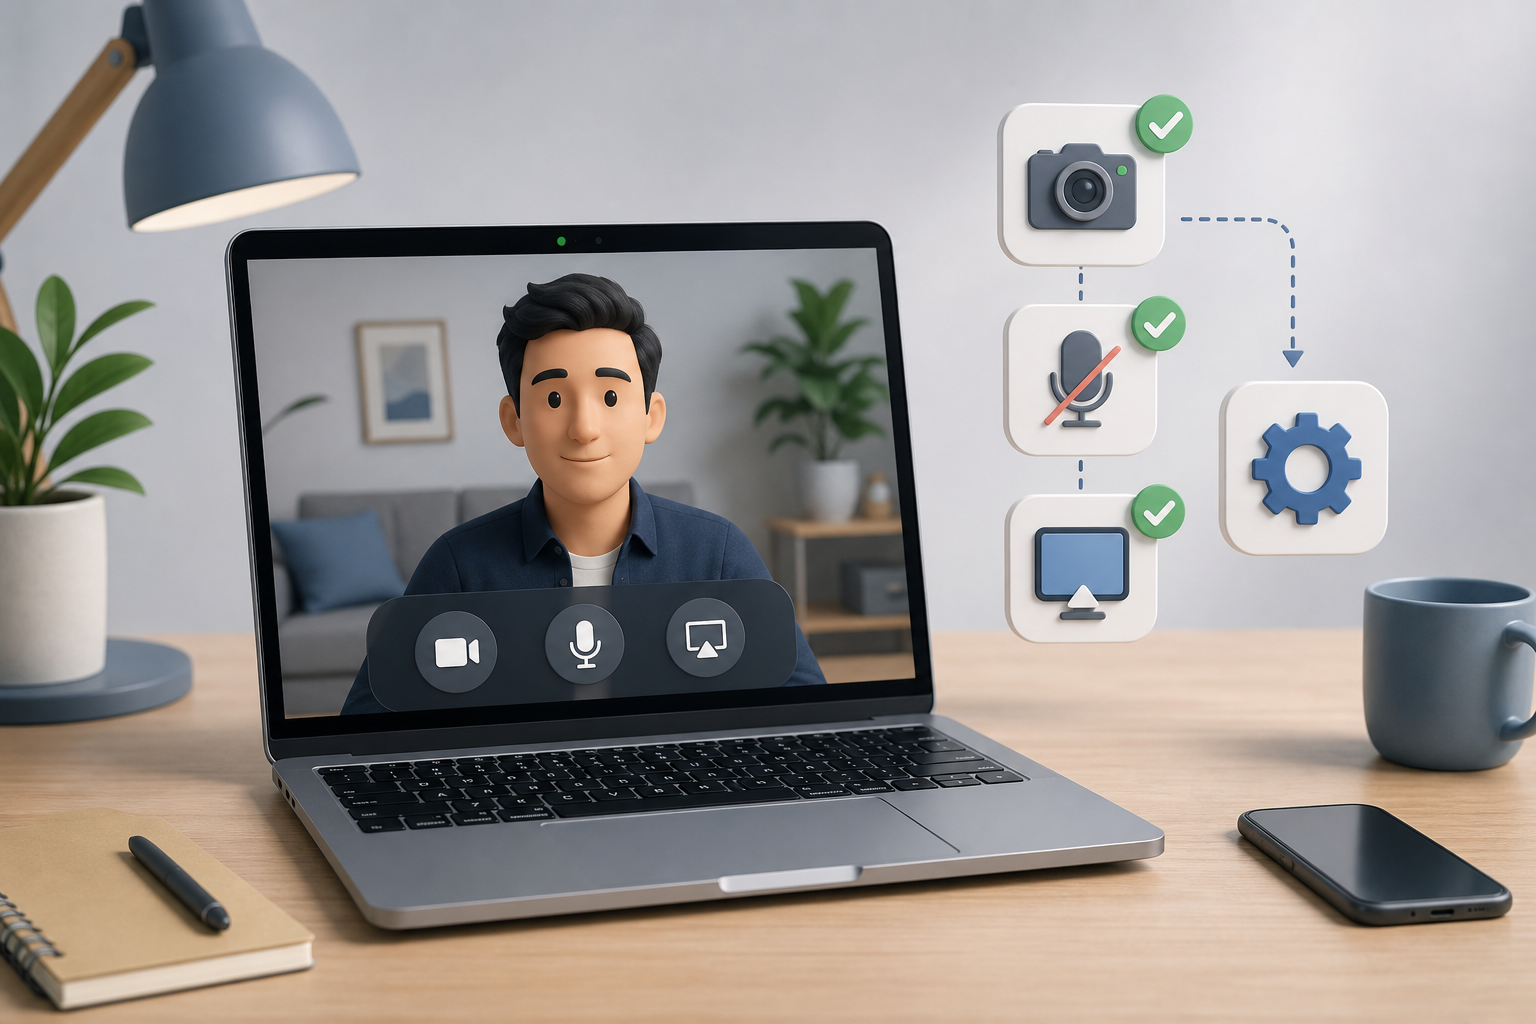
A MacBook host should separate the problem into four buckets:
- The camera is blocked by macOS privacy settings.
- The meeting app is using the wrong camera or no camera.
- Another app already claimed the camera.
- The meeting can continue, but the host needs a graceful camera-off workflow.
This mirrors the broader MuteDeck approach to meeting controls (opens new window): make the important controls reachable before the meeting gets noisy.
# MacBook camera not working: the host checklist
Run this checklist before you start changing random settings. Random clicking has a poor success rate and a rich social cost.
| Check | What to do | What it tells you | Meeting impact |
|---|---|---|---|
| macOS permission | Open System Settings, Privacy and Security, Camera | Whether Zoom, Teams, Meet browser, or your meeting app can access the camera | Fixes app-level blocks |
| App camera picker | Open video settings in the meeting app | Whether the correct built-in or external camera is selected | Fixes wrong-device issues |
| Browser permission | Check camera access in Safari, Chrome, or Edge | Whether browser-based Meet or Teams can see the camera | Fixes web meeting issues |
| Competing apps | Quit FaceTime, QuickTime, recording tools, and other meeting apps | Whether another app was holding the camera | Fixes black preview or busy-device behavior |
| External devices | Unplug and reconnect webcams, hubs, docks, and displays | Whether hardware routing changed | Fixes dock and USB-C confusion |
| Recovery plan | Keep mute, camera, and share controls reachable | Whether the meeting can continue while you troubleshoot | Prevents the call from stalling |
Apple documents camera privacy controls in its guide to controlling access to the camera on Mac (opens new window). Start there because macOS permission blocks can make every meeting app look broken.
# Check macOS camera permission first
On recent macOS versions, apps need explicit permission to use the camera. If that permission is off, Zoom, Teams, or a browser meeting can show a blank preview even when the hardware is fine.
Use this path:
- Open System Settings.
- Go to Privacy and Security.
- Open Camera.
- Turn on access for the app you use for meetings.
- Quit and reopen the meeting app after changing permission.
That last step matters. Some apps only read the permission state when they launch. If you change the setting while the app is open, the preview may stay broken until you restart it.
For browser meetings, check both the browser and the site permission. Google Meet in Chrome, Teams in Edge, and a web-based meeting in Safari all depend on the browser having permission at the macOS layer. The site then needs its own permission inside the browser.
If the camera still fails after permission is correct, move to the meeting app. The goal is to isolate the layer, not win an argument with a settings panel.
# Fix Zoom camera issues before joining
Zoom gives hosts a video preview before joining a call. Use it. If the preview works there, your MacBook camera is available and the issue is probably meeting-specific.
Zoom’s support article on testing your video (opens new window) covers the basic video test path, and its guide to troubleshooting camera issues during a meeting (opens new window) is useful when the problem appears after you join.
For a host, the practical sequence is:
- Open Zoom settings before the meeting.
- Choose Video.
- Confirm the selected camera is the one you expect.
- Turn off virtual camera tools unless you need them.
- Join with video off if the preview is unreliable, then fix it without blocking the agenda.
If you present often, keep camera and mute separate in your control setup. Camera failure should not interfere with audio, screen sharing, admitting participants, or ending share. A MuteDeck setup can keep those controls visible even while Zoom settings are open.
That is the same principle behind reliable screen share controls (opens new window): the meeting app can be busy, but the host still needs reachable controls.
# Fix Teams camera problems without derailing the meeting
Teams camera failures often come from device selection, permissions, or a stale app session. Microsoft’s page on camera problems in Microsoft Teams (opens new window) is the best starting point for Teams-specific guidance.
Before an important Teams call, open device settings and confirm the camera preview. If you use an external webcam through a dock, check the selected camera name. Docks and monitors can make the wrong camera look plausible, especially when device names are vague.
During a call, use a low-drama recovery pattern:
- Say you are joining camera-off for a moment.
- Keep audio on if the microphone works.
- Open Teams device settings.
- Switch camera selection once, then wait for preview.
- If preview stays black, turn camera off and continue the meeting.
That pattern keeps the host in control. It also avoids the classic Teams ritual of changing five settings at once, then never knowing which one helped.
If your meeting role includes presenting or facilitation, pair this with a broader video conferencing keyboard shortcuts (opens new window) setup. Shortcuts and dedicated controls reduce the need to dig through panels while people watch.
# Fix Google Meet camera issues in the browser
Google Meet depends on browser permissions, selected devices, and the Meet settings page. Google’s help article on how to improve your video and audio experience (opens new window) is a useful reference for checking video setup and quality.
For Meet, start with the browser address bar. Camera permission can be blocked at the site level even when macOS allows the browser to use the camera. Then open Meet settings and choose the camera you want.
A practical Meet pre-call routine looks like this:
- Open the meeting link early.
- Check the preview tile.
- Confirm the camera permission icon in the browser.
- Open Meet settings and verify the camera device.
- Close other video apps before attendees arrive.
- Keep a camera-off intro ready if the preview fails.
Browser meetings are especially sensitive to profile and permission drift. A work profile, personal profile, and guest browser window can each have different permissions. If the camera works in one browser profile and fails in another, treat the browser profile as part of the device chain.
# When an external webcam or dock is the problem
Many MacBook camera issues appear after adding a USB-C hub, monitor, capture card, or external webcam. The meeting app may remember the last device, then fail when that device is unplugged. It may also choose the external camera when the MacBook lid, monitor placement, or lighting makes the built-in camera a better choice.
Use a simple hardware reset before the meeting starts:
- Unplug the external camera or dock.
- Wait a few seconds.
- Reconnect it directly if possible.
- Reopen the meeting app.
- Select the camera again in video settings.
- Test the preview before attendees join.
If reliability matters more than image quality, choose the setup with fewer moving parts. A built-in camera with predictable framing beats a high-end external camera that disappears when the dock wakes up in a mood.
For workshops, demos, and customer calls, document the known-good setup. Include the camera name, dock port, meeting app, and whether the laptop lid stays open. That note saves time when you rebuild the desk after travel or a monitor change.
# Build a camera-off recovery workflow
A camera fix is useful. A meeting recovery workflow is better. Hosts need a way to continue while the camera is unavailable, especially when the call has customers, candidates, or executives on it.
Use this recovery script:
- Keep audio stable first. Mute and unmute should remain reliable.
- Tell the room you are staying camera-off while you continue.
- Share slides, agenda, or notes if visual presence matters.
- Ask a co-host to watch chat and participant signals.
- Fix camera settings only during natural pauses.
- After the call, write down the actual cause and update your pre-call checklist.
MuteDeck fits the live-control part of that workflow. You can keep mute, camera, and share actions in one consistent place across Zoom, Teams, and Google Meet, instead of hunting through each app while the camera preview misbehaves.
If audio becomes the next problem, use the MuteDeck guide on why your microphone is not working in meetings (opens new window) to run the same layer-by-layer check for input devices.
# A practical pre-call routine for MacBook hosts
For important calls, treat camera readiness as a two-minute routine, not a heroic live repair.
Ten minutes before the call, open the meeting app and check video preview. Confirm the selected camera. Close other video apps. Check lighting and framing. If you use a dock, avoid changing ports after the test.
Two minutes before the call, verify mute, camera, and screen share controls. If you use MuteDeck, confirm the buttons map to the meeting app you are about to use. If you use keyboard shortcuts, click into the meeting app once so focus is where you expect it.
After the call, update your setup notes if anything failed. The useful record is short: app, camera, dock, symptom, fix. Over time, patterns show up. Maybe the dock fails after sleep. Maybe Teams prefers the external webcam but Meet remembers the built-in camera. Maybe FaceTime was open in the background because yesterday-you had ambitions.
The fix for a MacBook camera that is not working is usually boring: permission, device choice, browser setting, competing app, or dock reset. The meeting-control habit matters more. Check the camera early, keep the call moving if video fails, and keep your core controls reachable while you recover.