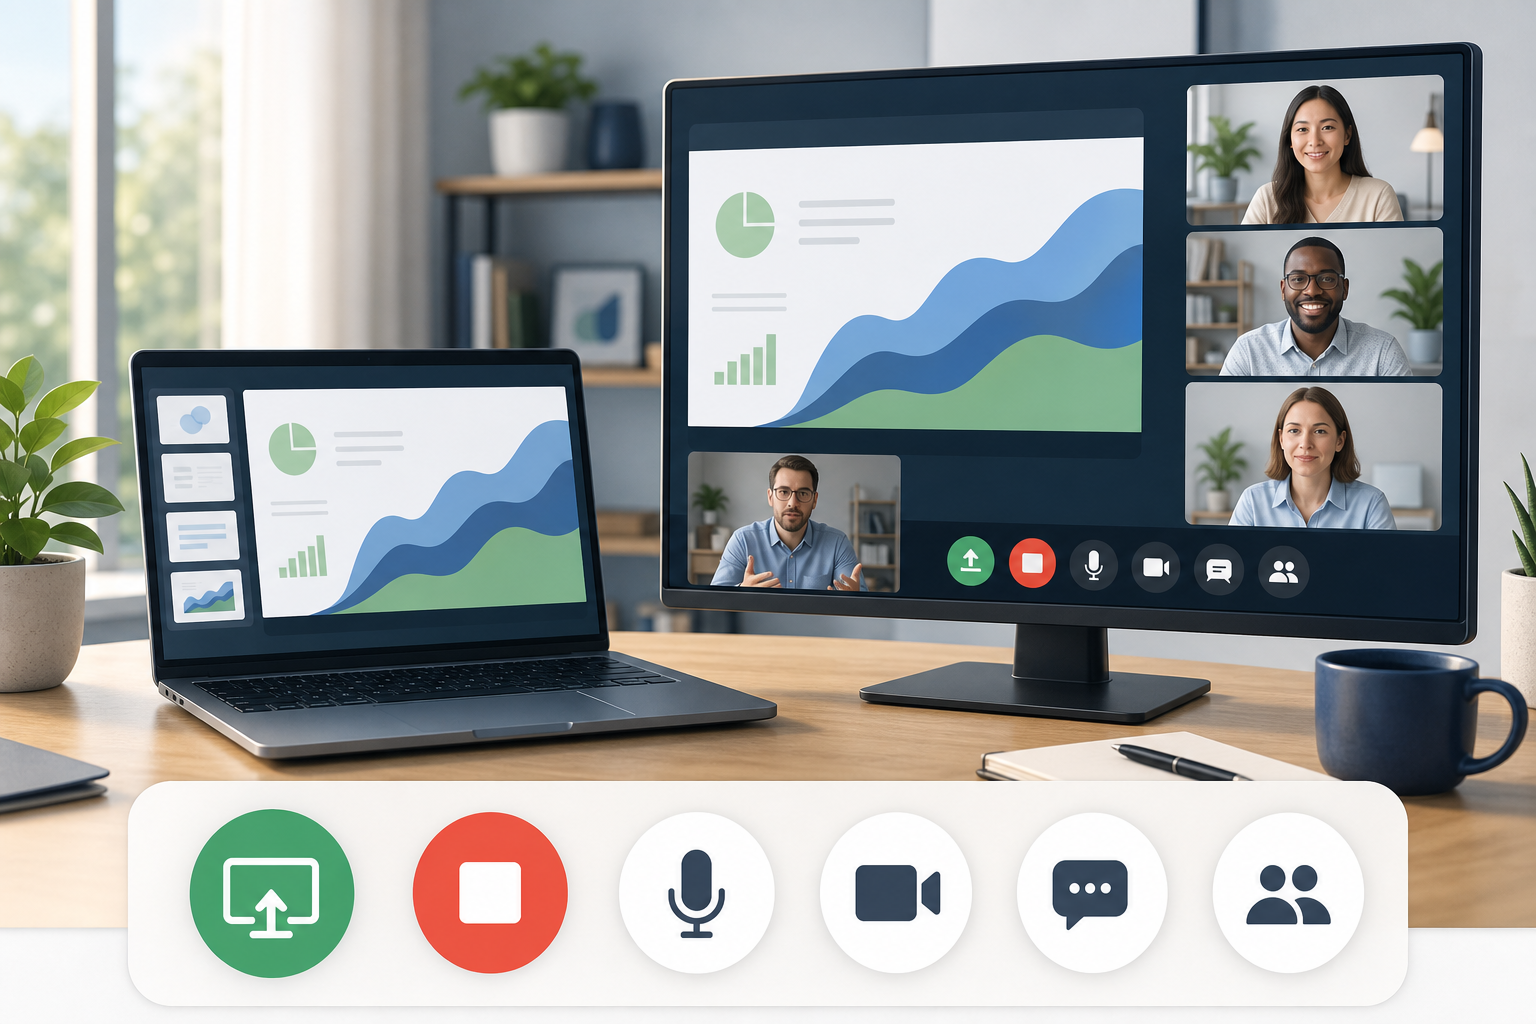
# Screen Share Controls for Cleaner Meetings
Screen share controls are the meeting actions that let a host start presenting, choose the right window, pause or stop sharing, switch apps, and recover if the wrong thing appears on screen. The practical setup is simple: decide what you will share before the call, put the highest-risk controls where you can reach them, and keep one fallback path through the meeting toolbar.
That matters because screen sharing is where small delays become visible. Everyone can watch you hunt for the right tab, drag the Zoom toolbar, or mutter at a second monitor as if it owes you money. A reliable workflow keeps the meeting moving and reduces the chance of exposing private notes, notifications, or the wrong browser window.
# Why screen sharing breaks down under pressure
Most screen share problems come from workflow friction, not a broken meeting app. The host has too many windows open, the meeting toolbar hides behind the shared content, or the app changes focus right when the host needs to stop sharing.
The risk gets higher when you present from one display. Slides, speaker notes, chat, participants, and the meeting window all compete for space. If you need to admit someone, mute yourself, answer chat, and move to the next demo tab, you are already beyond a neat little toolbar workflow.
A better approach is to treat screen sharing as a control system. The meeting app handles the share session. Your operating system handles windows and displays. Your keyboard, Stream Deck, Loupedeck, or MuteDeck profile gives you reachable controls when the toolbar is buried.
Start with the MuteDeck meeting controls checklist (opens new window) if you want a broader readiness pass before important calls. Screen sharing belongs in that same pre-call rhythm.
# The screen share controls hosts should standardize
You do not need every platform feature. You need the controls that protect the meeting when attention is split.
| Control | Why it matters | Best place for it | Pre-call check |
|---|---|---|---|
| Start share | Opens the presentation without delay | Meeting app toolbar or visible shortcut | Confirm the correct app or display is available |
| Choose window | Prevents accidental full-desktop sharing | Native share picker | Close private windows before joining |
| Pause share | Lets you adjust something privately | App toolbar when available | Know whether your platform supports pause |
| Stop share | Ends exposure quickly | Toolbar, keyboard shortcut, or MuteDeck | Test it while slides have focus |
| Mute while sharing | Prevents typing and side noise | Headset, keyboard, or MuteDeck | Check app mute and hardware mute states |
| Camera toggle | Helps recover from bandwidth or visual interruptions | App shortcut or visible control | Verify framing before the call |
| Chat and participants | Keeps questions and hand raises visible | Second display or predictable panel | Assign a co-host for larger calls |
This table also doubles as a training plan. If a host cannot start, stop, mute, and return to the meeting window without searching, the setup needs work before the audience arrives.
# Zoom screen share controls: keep the toolbar reachable
Zoom documents screen sharing in its guide to sharing your screen or desktop (opens new window). For hosts, the key workflow question is not whether Zoom can share a screen. The question is whether you can reach the controls while presenting.
Before the call, decide whether you will share the entire desktop, one application window, or a specific browser tab. A single window is usually safer for customer calls and interviews because it limits exposure. Full desktop sharing can be useful for demos that move across apps, but it raises the cost of every stray notification and forgotten private document.
During the call, keep these Zoom habits in place:
- Open the exact content before attendees arrive.
- Close or minimize unrelated windows.
- Confirm which display contains speaker notes.
- Start screen share from the app window you plan to show.
- Locate the floating meeting controls before you begin talking through the material.
- Test stop share once in a practice room if the meeting matters.
Zoom host controls also include permissions, waiting room decisions, participant controls, and sharing policy. If your meetings involve guests, pair this workflow with the MuteDeck guide to Zoom host controls (opens new window) so the sharing setup matches the meeting rules.
# Microsoft Teams screen sharing: plan for panes and focus
Microsoft describes Teams sharing in its support article on presenting content in Microsoft Teams meetings (opens new window). Teams hosts should plan for three layers: the meeting stage, the shared content, and the surrounding Teams interface.
That surrounding interface matters. Teams can place meetings near chat, files, channels, and calendar items. If you are presenting from the same app where private team messages live, your window hygiene matters more than your confidence.
A dependable Teams setup looks like this:
- Use a dedicated presentation window when possible.
- Move private chats and unrelated Teams windows away from the shared display.
- Keep the meeting controls visible before switching into the presentation flow.
- Decide whether PowerPoint Live, window sharing, or screen sharing fits the meeting.
- Use a second display for notes or chat when the meeting needs active moderation.
Teams also benefits from standardized intent. Your muscle memory should be built around actions such as mute, camera, share, stop share, chat, and participants. The exact shortcut or UI location may change by platform and update. A visible MuteDeck profile can keep those meeting actions in one place across Teams, Zoom, and Google Meet.
# Google Meet screen sharing: respect the browser
Google explains Meet presentation behavior in its guide to presenting during a video meeting (opens new window). Since many Meet sessions run in a browser, browser focus becomes part of the control plan.
If you present a tab, the browser is both the meeting surface and the presentation surface. That can be clean, but it also means address bars, extensions, bookmarks, and other tabs are close to the meeting. If you present a window, make sure the window contains only what the audience should see.
For Google Meet, use this pre-call pattern:
- Put the Meet tab in a predictable browser window.
- Put slides, docs, or demo tabs in a separate window when possible.
- Close unrelated tabs before sharing.
- Test whether you will present a tab, window, or entire screen.
- Keep chat and people panels easy to reach if you host the meeting.
- Know how to stop presenting without finding the original tab first.
Hosts who rely on Google Meet keyboard shortcuts should also test focus. A shortcut can fail simply because your cursor sits in a document, form, or browser UI field. The MuteDeck guide to Stream Deck Google Meet controls (opens new window) covers one way to make those meeting actions visible instead of relying on browser focus at the wrong moment.
# One-monitor and two-monitor setups need different rules
A one-monitor setup rewards restraint. Share one window when you can. Keep notes in a separate app that you do not expose. Use printed notes or a phone for short presenter prompts if the meeting is sensitive. That sounds old fashioned until it prevents a private roadmap tab from making a cameo.
With one monitor, your key controls are stop share, mute, and app switching. Practice returning to the meeting window after starting the share. If you cannot find the meeting window quickly, reduce the number of open apps before the call.
A two-monitor setup gives you more room, but it also gives you more ways to share the wrong thing. Label your displays mentally: audience display and control display. Put the meeting window, notes, chat, and participant list on the control display. Put only the public content on the audience display.
For workshops and webinars, consider assigning a second person to chat and participant management. The presenter can then focus on screen share controls, pacing, and delivery instead of trying to read chat while a demo environment slowly invents new problems.
# Build a screen share runbook for recurring meetings
Recurring meetings deserve a repeatable runbook. It does not need to be heavy. It needs to prevent the same preventable mistakes.
Use this checklist before customer calls, training sessions, webinars, and leadership reviews:
- Open the content you will share.
- Close private documents, messages, and unrelated tabs.
- Turn on do not disturb or focus mode.
- Confirm microphone, camera, and speaker output.
- Decide whether to share a screen, window, tab, or presentation mode.
- Test the start share and stop share path.
- Put mute, camera, and stop share within reach.
- Keep a backup way to send links if sharing fails.
- Assign chat monitoring for large or high-stakes meetings.
- End sharing before switching to private notes or follow-up tasks.
This runbook pairs well with the MuteDeck guide to video conferencing keyboard shortcuts (opens new window). Shortcuts help when you know them. Visible controls help when you are presenting, multitasking, and trying to sound composed while the room waits.
MuteDeck fits the visible-control layer. Instead of remembering separate shortcuts for each meeting app, you can keep common meeting actions in one profile: mute, camera, share, stop share, record, captions, chat, and app switching. The practical benefit is consistency. Your controls can follow the meeting intent even when the app changes.
# What to do when screen sharing goes wrong
When sharing fails, avoid frantic clicking. Recover in order.
First, stop exposing anything private. If the wrong screen is visible, stop share before explaining. Second, narrate the fix briefly. A simple "I am switching the shared window" is enough. Third, choose the safer share option. If full desktop sharing caused the issue, switch to one window or one tab.
If attendees cannot see the shared content, check whether you shared the right display, whether the window is minimized, and whether the app needs screen recording or accessibility permission. On macOS, permission prompts can block sharing until the app restarts. On managed company devices, IT policies can also limit sharing behavior.
If audio is the issue, separate the problem from the screen share. Confirm whether you need to share system audio, microphone audio, or both. Then check the meeting app's audio device selection. The MuteDeck guide on why a microphone is not working in meetings (opens new window) gives a deeper path for audio recovery.
The goal is calm recovery, not perfect control. Meetings tolerate a short correction. They tolerate it better when the host knows the next step.
# Final setup recommendation
Treat screen share controls as part of your meeting setup, not as a button you find after the meeting starts. Choose the right share scope, clean up the desktop, keep stop share and mute within reach, and test the recovery path before important calls.
For daily meetings, that may mean a short checklist and a few keyboard shortcuts. For demos, training, and customer calls, use a visible control surface or MuteDeck profile so the actions stay reachable while you present. The less time you spend hunting for controls, the more attention stays on the meeting itself.