# How to Unmute in Meetings Without Losing Control
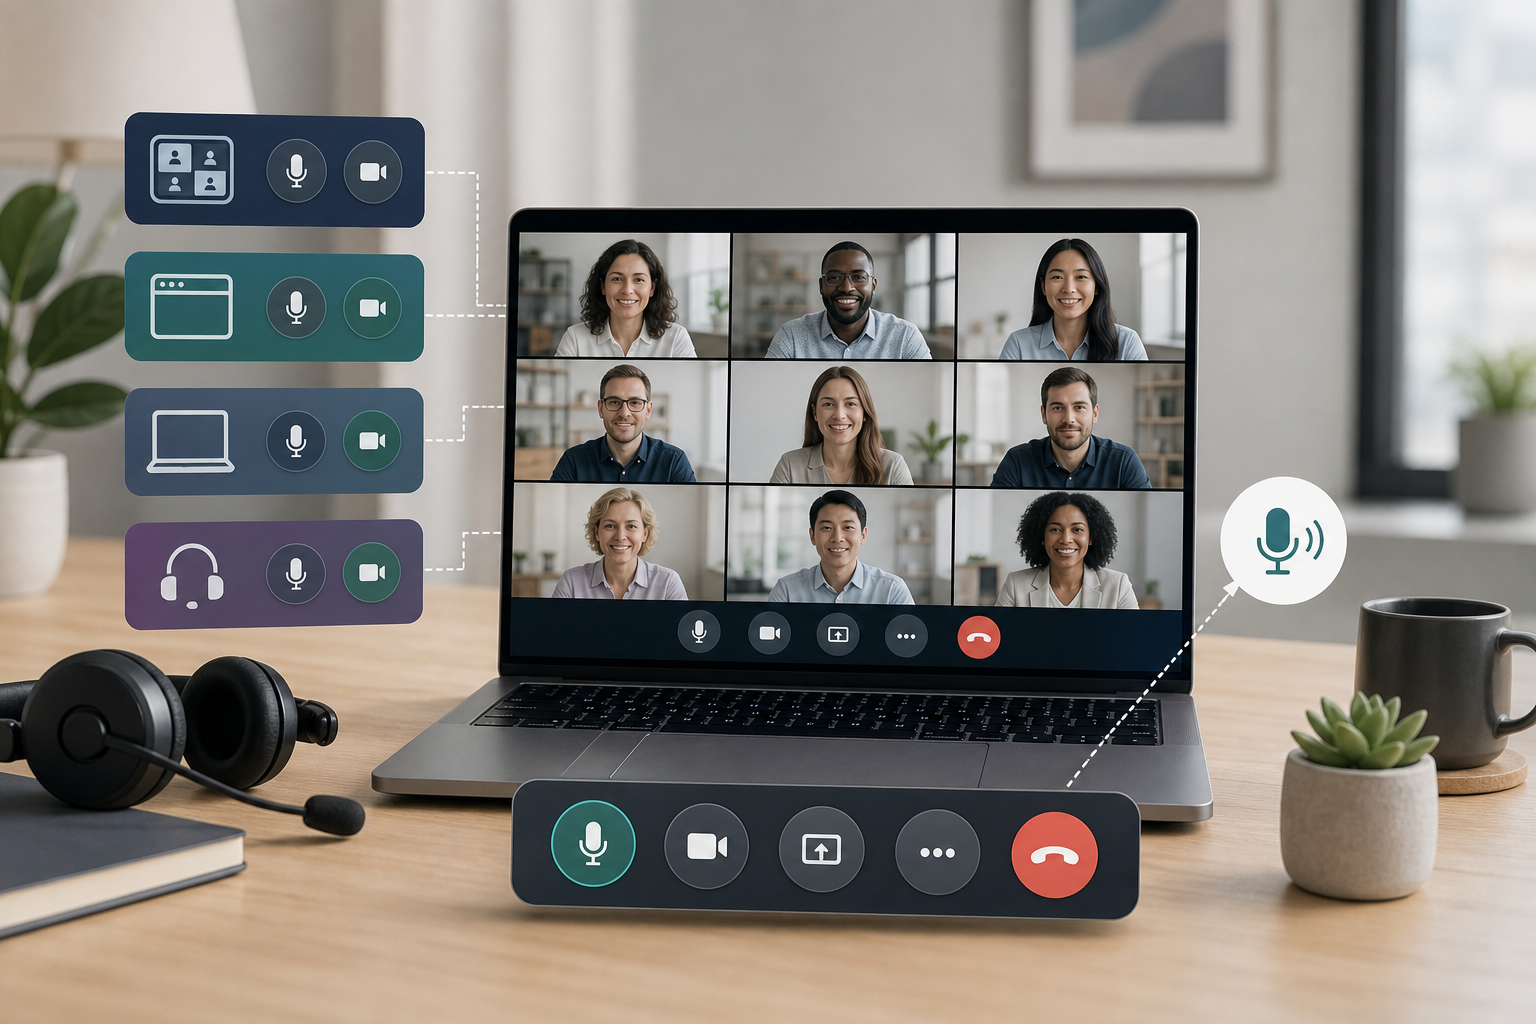
How to unmute in a meeting depends on where the mute state lives: the meeting app, the browser, the operating system, or a hardware button. The fastest fix is to check the visible mic icon first, confirm the selected microphone, then work outward through browser permissions, OS privacy settings, and headset or dock mute controls.
That order matters because most meeting audio problems look the same from the outside. Someone says “you’re muted,” the speaker clicks the toolbar twice, and the room waits while nobody knows which layer is blocking the microphone. A simple mute chain turns that scramble into a repeatable check.
This guide focuses on live calls in Zoom, Microsoft Teams, Google Meet, and browser-based meetings. It also covers how MuteDeck can give frequent hosts and presenters a clearer control surface when native shortcuts and device buttons become hard to track.
# How to unmute without guessing
The practical answer is short: unmute the meeting app first, verify the input meter, then check the device and permission layers only if the app still shows no audio.
Use this sequence during a call:
- Look at the meeting app microphone icon.
- Click or use the app shortcut to unmute once.
- Say a short test phrase and watch the input meter or active-speaker indicator.
- Confirm the meeting app selected the intended microphone.
- Check browser site permission if the meeting runs in Chrome or another browser.
- Check Windows or macOS microphone privacy settings.
- Check headset, webcam, dock, keyboard, or audio-interface mute controls.
- Rejoin with a known working microphone only after the visible checks fail.
The point is to avoid random toggling. Random toggling creates two bad states: you think you are muted while the room can hear you, or you think you are live while a hardware mute still blocks the microphone. Both states are preventable with a visible confirmation step.
If this problem happens often, the issue is usually workflow design rather than technical skill. The control is hidden, focus-sensitive, or spread across too many places. The guide on mute button for PC meeting controls (opens new window) goes deeper on building a primary mute action plus a visible fallback.
# The mute chain that causes most meeting audio failures
Mute is rarely one switch. It is a chain of switches, and any one of them can block your voice.
| Layer | What to check | Why it fails | Best recovery |
|---|---|---|---|
| Meeting app | Mic icon, toolbar, shortcut, input meter | The app is muted or has focus on the wrong control | Toggle once and confirm the meter |
| App device | Selected microphone inside Zoom, Teams, or Meet | The app chose a webcam, monitor, dock, or inactive headset | Select the known microphone and test again |
| Browser | Site permission for camera and microphone | Chrome or another browser blocked mic access | Allow microphone access and reload the meeting tab |
| Operating system | Windows or macOS privacy setting | The OS blocks app access to the microphone | Enable microphone access for the app or browser |
| Hardware | Headset, laptop key, dock, webcam, audio interface | A physical mute switch overrides the app state | Unmute the device and repeat the app check |
This table also explains why advice like “click the mic button” only solves part of the problem. The meeting app can say unmuted while a headset is still muted. A browser can show the right meeting page while Chrome blocks microphone access. Windows can allow one desktop app while another app cannot use the device.
Microsoft documents Teams microphone checks in its guide to microphone problems in Microsoft Teams (opens new window). Browser-based meetings add another layer, which Google covers in its Chrome guide to camera and microphone permissions (opens new window). If the operating system blocks access, Microsoft’s Windows camera, microphone, and privacy (opens new window) page and Apple’s guide to microphone access on Mac (opens new window) are the right references.
# Zoom, Teams, and Google Meet: use shortcuts carefully
Native keyboard shortcuts help when you know which app has focus. They cause trouble when you assume the shortcut worked and never verify the app state.
Zoom publishes its hot keys and keyboard shortcuts (opens new window), including meeting controls that can speed up mute and unmute actions. Microsoft maintains a separate list of Teams keyboard shortcuts (opens new window). Google Meet behaves differently because many users run it in a browser tab, where browser focus, site permissions, and presentation state all matter. Google’s Meet Help page for presenting during a video meeting (opens new window) is useful when mute problems happen during screen share, because presenting often changes what is visible and reachable.
The safest shortcut pattern is:
- Use one shortcut for mute and unmute.
- Keep the meeting window or control panel visible when possible.
- Confirm the mic icon before speaking.
- Teach the fallback toolbar path to anyone who hosts.
- Avoid stacking multiple mute actions on top of one button unless you can see each state.
This last point matters for Stream Deck, headset, and automation users. A macro that mutes the app and the device can be useful, but it can also create split states when one action succeeds and another fails. If you use Stream Deck pages for live calls, separate ordinary mute controls from risky actions. The Stream Deck mute channel setup guide (opens new window) covers that layout pattern.
# Choose a control pattern for the meeting you are running
A daily standup, client demo, webinar, and interview do not need the same unmute workflow. The stakes and recovery time differ.
| Meeting situation | Primary unmute control | Confirmation | Fallback |
|---|---|---|---|
| Internal team call | Native app shortcut or toolbar | Mic icon plus a short test phrase | Switch microphone in app settings |
| Client presentation | MuteDeck or a visible control panel | Mic icon visible beside speaker notes | Manual toolbar path before speaking |
| Webinar or training | Host control surface with co-host backup | Co-host confirms audio state | Co-host speaks or takes over share |
| Interview or recorded call | Simple app-level mute only | Input meter before recording starts | Rejoin with known headset |
| Multi-app meeting day | App-aware control surface | Active app label plus mic icon | Open the app toolbar and reset state |
The strongest pattern is the one you can confirm under pressure. A hidden global shortcut may be fast, but it gives little feedback. A headset button may feel physical, but it may only mute the device. A visible meeting-control surface gives you speed and state awareness in the same place.
That is where MuteDeck fits. It gives people who move between Zoom, Teams, Google Meet, and other meeting apps a single place to control mute, camera, and related meeting actions. You still need to understand the mute chain, but you spend less time hunting through app toolbars while someone waits for an answer. For broader team norms, the post on remote work best practices for meeting controls (opens new window) shows how to turn that control layer into a repeatable habit.
# A host-ready recovery script
When you are running the meeting, silence feels longer because everyone waits for you to fix it. Use a short recovery script instead of narrating every click.
Say one sentence: “Give me five seconds to check the mic path.” Then run the checks in order.
- Meeting app mic icon: unmute once.
- Input meter: speak a short phrase and watch for movement.
- Device selector: choose the intended microphone.
- Browser permission: allow the microphone and reload if needed.
- OS permission: confirm microphone access for the app or browser.
- Hardware mute: check headset, dock, webcam, keyboard, and audio interface.
- Fallback: switch to a backup mic or rejoin.
This script works because it tells the room what is happening without dragging them into the troubleshooting. It also keeps you from clicking the same mute button six times, a tactic with a proud history and poor results.
If the issue appears only on laptops, the related guide Can’t Unmute Laptop: Fix Meeting Audio Fast (opens new window) has a more device-specific path. Use that when function keys, laptop privacy modes, or headset controls appear to override the meeting app.
# Prevent repeat unmute problems before the next call
The best time to solve mute problems is before the meeting starts. Build a pre-call routine that checks the control path you will actually use.
For important calls, check these items two minutes before start:
- Open the exact meeting app or browser tab.
- Select the intended microphone.
- Watch the input meter while speaking.
- Toggle mute and confirm the icon changes.
- Check hardware mute lights or switches.
- Confirm browser permission for web meetings.
- Keep the fallback toolbar path visible in your notes.
- Put risky controls, like leave meeting or stop share, away from mute.
Teams should also agree on a simple signal for audio problems. A chat message like “mic muted” or a raised hand works better than several people talking over each other. For hosts, assign a co-host to watch audio and screen share state during webinars or training sessions. The host should not have to present, monitor chat, manage participants, and diagnose a muted microphone alone.
MuteDeck helps most when your calendar crosses several meeting tools. You can keep live controls visible, reduce app switching, and build one habit around mute, camera, and screen share. Native shortcuts still have a place, especially for people who live in one app all day. The practical goal is simpler: know which layer you are controlling, confirm the result, and keep a fallback ready.
# Conclusion
How to unmute reliably comes down to order and visibility. Start with the meeting app, confirm the input meter, then move through device selection, browser permission, OS privacy settings, and hardware mute controls. That sequence fixes most live-call audio problems without turning the meeting into a group debugging session.
If you host or present often, turn the sequence into a routine. Keep one primary mute control, one visible confirmation, and one fallback path. MuteDeck can make that routine easier across Zoom, Teams, Google Meet, and mixed meeting days by keeping the live controls where you can see them before the room has to ask, again, whether you are still muted.
KEEP EXPLORING
More guides & tips