# Mute Button for PC: Meeting Controls That Work
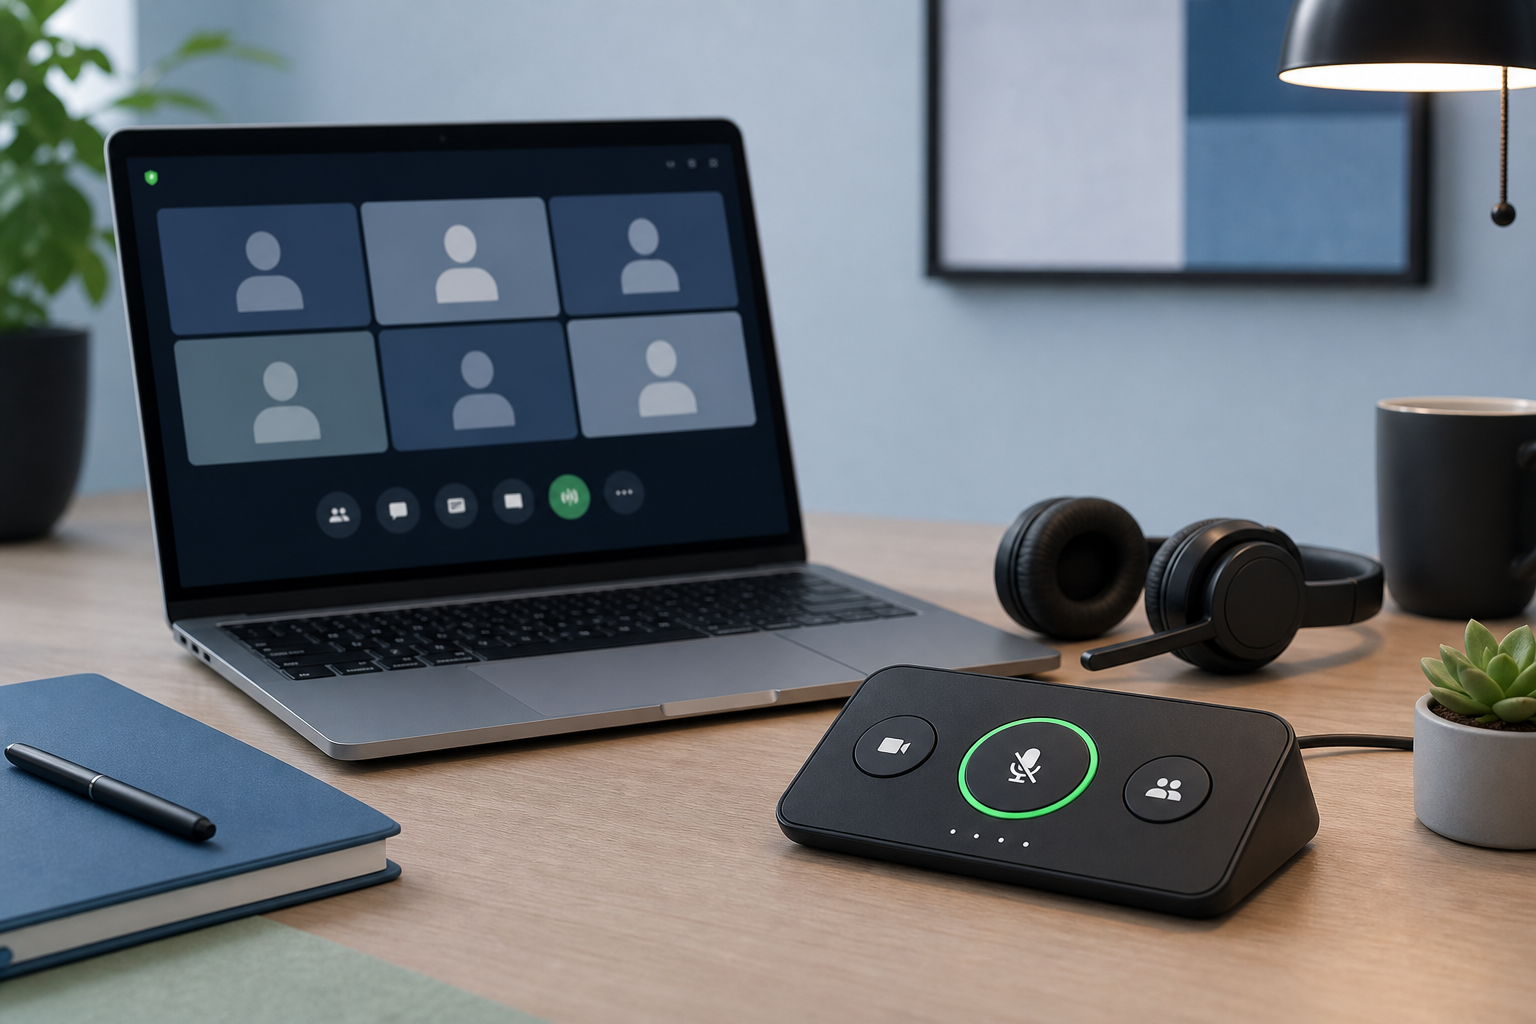
A mute button for PC meetings should do three jobs: toggle the microphone quickly, show whether you are muted, and still work when Zoom, Teams, Google Meet, slides, or a browser tab has focus. The safest setup combines a meeting app shortcut, a visible backup control, and a pre-call check that confirms the selected microphone and permissions. That gives you one fast action during the call and one reliable recovery path when the first action fails.
That sounds simple until the meeting starts. Windows has microphone privacy settings. Headsets and webcams can have their own mute state. Meeting apps remember different devices. Browser meetings add site permissions. The mute key you trust can become a decorative suggestion with excellent timing.
Use this guide to choose the right mute control for your PC, test it before important calls, and avoid the quiet little theater where everyone watches you ask, "Can you hear me now?"
# What a mute button for PC needs to control
A useful mute button for PC meetings controls meeting state, not just keyboard input. A keyboard shortcut sends a command. The meeting still has to receive it, act on it, and show the result.
For daily calls, the control should meet four requirements:
- It reaches the meeting app while you are working in other windows.
- It gives visible confirmation that mute changed.
- It has a manual fallback if the shortcut fails.
- It fits the meeting role, such as participant, host, presenter, or trainer.
The last point changes the setup. A participant can survive with one mute shortcut. A host needs mute, camera, participants, chat, and screen share close enough to use without digging through menus. If your meetings often include demos or workshops, pair this mute workflow with a broader meeting controls checklist (opens new window) so your audio control fits the rest of the call.
# Choose the control type by meeting risk
The best mute setup depends on what can go wrong during the call. Start with the meeting type, then pick the control.
| Meeting situation | Best mute control | Why it fits | Check before the call |
|---|---|---|---|
| Short internal standup | Native app shortcut | Fast enough for low-risk calls | Confirm the meeting window receives shortcuts |
| Customer call or interview | Keyboard shortcut plus visible meeting state | Reduces accidental talk-over or silence | Watch the mic icon change after toggling |
| Presentation or demo | MuteDeck, Stream Deck, headset button, or visible control surface | Keeps mute reachable while slides or browser tabs have focus | Test while the shared content is active |
| Training or webinar | Dedicated mute control plus co-host backup | Host attention is split across room, chat, and content | Confirm who can mute, unmute, and monitor chat |
| Troubleshooting-heavy setup | Manual toolbar path plus permissions check | Multiple audio devices can disagree | Verify selected microphone and Windows permission |
This table matters because mute failures usually appear when attention is already divided. A shortcut that works in a quiet test room may fail when PowerPoint owns focus, the browser is full-screen, or Teams opens chat beside the meeting. The control should match the messiest moment, not the easiest one.
# Use app shortcuts as the first layer
Zoom, Microsoft Teams, and Google Meet all provide built-in controls for mute and other meeting actions. Use those as the first layer because they are supported by the meeting app and usually follow the app's own state.
Zoom maintains a current guide to hot keys and keyboard shortcuts (opens new window). Teams documents its own keyboard shortcuts for Microsoft Teams (opens new window). Google Meet users should also know the browser and presentation layer; Google's guide to presenting during a video meeting (opens new window) is useful when mute and screen share happen together.
App shortcuts work best when the meeting window is active. That limitation is easy to forget because calls rarely stay in one window. You open notes, switch slides, answer a form, share a browser tab, and suddenly your reliable shortcut is talking to the wrong application.
A practical shortcut setup looks like this:
- Learn the native mute shortcut for your primary meeting app.
- Test it with the meeting window active.
- Test it again while slides, notes, or a shared browser tab has focus.
- Confirm the visible mic icon changes.
- Keep the toolbar path available for recovery.
If the shortcut only works when the app has focus, treat it as a fast path, not the whole system.
# Add a visible control for focus-heavy meetings
A visible control surface helps when you present, demo software, or run calls across several platforms. The goal is simple: keep the meeting action visible while your attention stays on the conversation.
MuteDeck fits this pattern for PC users because it puts meeting controls in a dedicated interface instead of asking you to remember which app owns which shortcut. You can keep mute, camera, share, and other actions in one place, then use the meeting app as the source of truth for final state. If you switch between Zoom, Teams, and Google Meet, consistent labels reduce the mental overhead. The button says mute because your brain does not need another tiny certification exam while the client waits.
Hardware controls can help too. A headset mute button is excellent when it clearly shows state and maps to the microphone you are actually using. A Stream Deck or similar device can also work well if each action maps cleanly to the active meeting app. The risk is mismatch. If your headset is muted but Teams says you are unmuted, or a hardware key toggles the wrong app, the setup creates two truths and one awkward silence.
Use one visible source as your primary control, then use the meeting app icon as confirmation.
# Check Windows microphone permission and input device
A mute button cannot fix a blocked microphone. If people cannot hear you after unmuting, check the input path before you keep pressing the same button with increasing moral force.
On Windows, Microsoft explains microphone access in its guide to Windows camera, microphone, and privacy (opens new window). The important meeting takeaway is that device access and app permission can affect whether the meeting app receives audio. Browser meetings can also depend on site permissions.
Use this quick check before important calls:
- Confirm the correct input device in Windows sound settings.
- Confirm the same microphone inside Zoom, Teams, or Google Meet.
- Check that the meeting app or browser has microphone permission.
- Speak at normal distance and watch the meeting app input meter.
- Toggle mute once and confirm the icon changes.
- Test the headset, keyboard, or visible control surface you plan to use.
If the meter moves while unmuted, your microphone path works. If the meter stays flat, the issue is usually the wrong input device, blocked permission, hardware mute, or a disconnected device. For deeper audio triage, use the MuteDeck guide on why your microphone is not working in meetings (opens new window). If the mic works but the level is too quiet, use the separate guide on boosting microphone volume for meetings (opens new window).
# Build a two-path mute workflow
A reliable mute workflow has a primary path and a recovery path. The primary path is the button you use during normal conversation. The recovery path is what you do when the primary path fails or the meeting state looks wrong.
For most PC users, the two-path workflow looks like this:
- Primary: use your chosen mute button, shortcut, headset button, or MuteDeck control.
- Confirm: glance at the meeting app mic icon or input meter.
- Recovery: click the meeting app toolbar control if the first action does not change state.
- Diagnose: check selected microphone, permissions, and hardware mute if nobody hears you.
- Reset: leave and rejoin only after the visible device and permission checks look correct.
This sequence prevents the common loop where someone toggles three layers and loses track of every state. It also gives hosts a calm script: "I am checking the microphone device and permission now," which sounds better than narrating each click like a nature documentary about toolbar migration.
For recurring meetings, write the recovery path into your setup notes. If you train hosts, include it in onboarding. People remember a simple sequence under pressure more reliably than a list of every shortcut across every platform.
# Avoid the common PC mute traps
Most mute problems come from mismatched layers. The button works somewhere, just not where the meeting needs it.
Watch for these patterns:
- The keyboard shortcut works in Zoom but does nothing in Teams.
- A browser meeting loses focus while a shared tab is active.
- A headset mute light says muted while the meeting app says unmuted.
- The PC switches from a headset microphone to a webcam or monitor microphone.
- Windows permission blocks the app after an update, reinstall, or browser change.
- The meeting app remembers a previous device from a different desk setup.
The fix is consistency. Choose one primary microphone. Use the same input in the operating system and the meeting app. Keep one visible mute control nearby. Confirm state in the meeting app before relying on it.
If you use several meeting apps, standardize the intent rather than the exact shortcut. Mute, camera, share, chat, and participants should look like stable actions in your workflow even if each app uses different mechanics underneath. That is the reason a visible meeting-control layer can beat a memorized shortcut sheet for people who live in calls.
# When to upgrade from shortcuts to a meeting-control layer
Shortcuts are enough when meetings are simple and your role is mostly to listen. A meeting-control layer becomes useful when you host, present, train, interview, or switch between apps often.
Upgrade the setup when any of these are true:
- You present while managing chat, participants, or screen share.
- You move between Zoom, Teams, and Google Meet during the week.
- You use more than one microphone, headset, dock, or webcam.
- You need mute and camera controls while another app has focus.
- You want a consistent control layout across meeting platforms.
MuteDeck is built around that situation. It gives PC users a dedicated place for meeting controls, so mute becomes part of a repeatable workflow instead of a hunt through whichever app happens to be on top. Start with mute, then add camera and screen share once the audio path is stable. The screen share controls guide (opens new window) covers that next layer.
A mute button for PC meetings works when it is fast, visible, and backed by a recovery path. Start with the native app shortcut, verify Windows microphone access, add a visible control for focus-heavy calls, and keep the meeting app as the final state check. That gives you the practical version of mute reliability: fewer surprises, fewer frantic clicks, and less accidental live commentary from the snack zone.
KEEP EXPLORING
More guides & tips