# Remote Work Best Practices for Meeting Controls
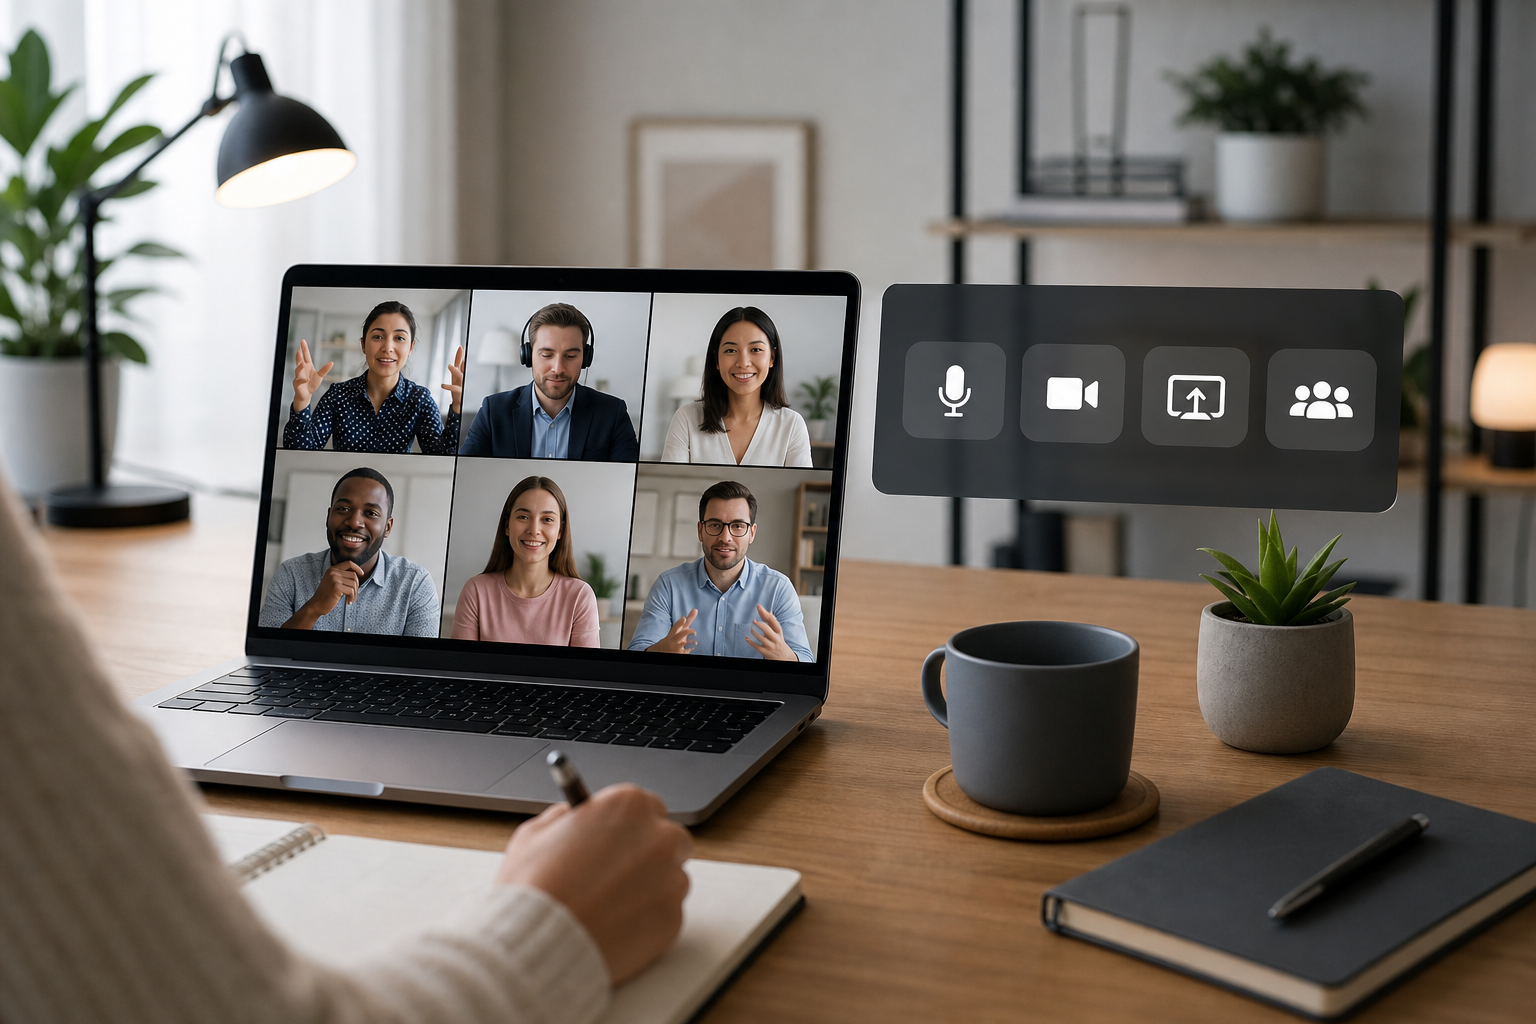
Remote work best practices work best when they cover the controls people touch during the call: mute, camera, screen share, chat, and the backup path when a shortcut fails. A tidy agenda helps, but meetings usually break down in smaller moments: someone talks while muted, a presenter shares the wrong window, or the host loses the toolbar while switching between notes and slides.
This guide focuses on the control layer of remote meetings. Use it to set team norms, choose reliable controls, and build a simple recovery routine for Zoom, Microsoft Teams, Google Meet, and mixed meeting stacks.
# Why meeting controls belong in remote work best practices
Most remote work best practices talk about calendars, documentation, and meeting length. Those matter, but they do not prevent the awkward silence after a muted answer or the scramble when a presenter cannot stop sharing.
Meeting controls deserve their own routine because they sit between intention and participation. If the control is slow, hidden, or dependent on app focus, people hesitate. That hesitation spreads across the meeting. The host fills dead air, attendees repeat themselves, and the group burns time on avoidable mechanics.
A control routine should answer five practical questions:
- How do I mute and unmute without hunting for the toolbar?
- How do I confirm the microphone state before speaking?
- How do I start, pause, and stop screen share safely?
- How do I recover when the shortcut or device button fails?
- How does the team signal problems without derailing the meeting?
That routine can use native shortcuts, headset buttons, a Stream Deck, or a dedicated meeting-control app like MuteDeck. The tool matters less than the habit: one primary action, one visible confirmation, and one fallback path.
# The meeting-control stack to standardize
Remote teams usually treat mute, camera, and screen share as personal preferences. That works until a client workshop, webinar, interview, or incident call requires predictable behavior from several people at once.
Standardize the stack at three levels.
First, define the app-level controls. Zoom, Teams, and Meet each expose different meeting shortcuts and toolbar behaviors. Zoom documents its hot keys and keyboard shortcuts (opens new window), while Microsoft maintains a separate list of Teams keyboard shortcuts (opens new window). These shortcuts can save time, but they still depend on context, operating system, and focus.
Second, define the system-level checks. If the meeting app cannot hear you, the issue may sit in Windows privacy settings, macOS permissions, browser site permissions, or the selected device. Microsoft’s Windows guide on camera, microphone, and privacy (opens new window) is a useful reference for the operating-system layer.
Third, define the desk-level controls. That includes headset mute buttons, webcam shutters, dock controls, Stream Deck actions, and visible control panels. If you use physical controls, make sure the team knows whether they mute the meeting app, the microphone device, or both. Those are different states, and mixing them creates the classic “the app says unmuted, but nobody hears me” problem.
# Decision table: choose the right control pattern
Use this table when you standardize meeting controls for a team, host group, or recurring client call.
| Situation | Primary control | Confirmation | Fallback |
|---|---|---|---|
| Daily team call | Native app shortcut or MuteDeck | App mic icon and input meter | Toolbar mute button |
| Client presentation | MuteDeck or dedicated hardware button | Visible mic state before speaking | Presenter notes with manual toolbar path |
| Webinar or training | Host control panel plus assistant backup | Co-host confirms audio and share state | Co-host takes over screen share |
| Interview or sales call | Simple mute toggle, no complex macros | Quick test sentence before recording | Leave and rejoin with known microphone |
| Multi-app day | App-aware control surface | Check active app label and mic icon | Switch to app toolbar before speaking |
The key choice is visibility. A keyboard shortcut feels fast, but it can be invisible. A hardware button feels reliable, but it may not reflect the meeting app state. MuteDeck works well for people who jump between Zoom, Teams, and Meet because it gives meeting controls a visible home instead of scattering them across toolbars and shortcuts.
For Stream Deck users, the same principle applies. If your setup includes meeting macros, keep one page reserved for live-call controls and keep the risky actions away from routine mute toggles. The recent guide on Stream Deck mute channel setup for meetings (opens new window) covers that separation in more detail.
# Build a pre-call control check
A useful pre-call check takes less than a minute. It should confirm the controls that cause the most visible disruption.
Before a hosted call, check:
- Microphone selected in the meeting app.
- Input meter moves when you speak.
- Mute toggle changes the app icon, not just a device light.
- Camera preview shows the right frame.
- Screen share opens the intended window or display.
- Chat and participant controls are reachable.
- A fallback microphone or headset is available for important calls.
Do the check in the same app you will use for the meeting. A microphone that works in one browser tab or desktop app may still fail in another. Browser-based meetings add one more layer because Chrome, Edge, or Safari can block microphone access before the meeting app sees the device.
For presenters, add one rehearsal step: share the exact material you plan to show, then stop sharing and restart. Google’s Meet help page on presenting during a video meeting (opens new window) shows how much the presentation flow depends on window and tab choices. The goal is to find the risky moment before people are watching.
If screen share causes problems often, use the dedicated screen share controls guide (opens new window) as a starting point for a cleaner host routine.
# Set team norms for mute, camera, and interruptions
Control best practices work only when the team shares the same expectations. Otherwise, every call becomes a tiny negotiation about who should mute, whether cameras matter, and how people should interrupt.
Keep the norms concrete.
For mute, decide when people should stay muted by default. Large meetings, customer calls, and webinars usually benefit from muted attendees. Small working sessions often move faster when people stay unmuted unless their environment is noisy.
For camera, define the purpose rather than the moral stance. Cameras help with facilitation, introductions, and sensitive conversations. They can also waste attention during deep work sessions where the shared document matters more than faces.
For interruptions, give people a control-friendly signal. A raised hand, chat note, or short “jumping in” phrase works better than several people trying to unmute at once. Hosts should watch for those signals instead of relying on attendees to fight the toolbar at the right moment.
The useful norm is simple: reduce control surprises. Nobody should need to learn the meeting mechanics while trying to contribute.
# Recovery routine when mute or audio fails
Remote meetings need a recovery routine because audio failure always feels more urgent during the call than it looks afterward.
Use this order:
- Check the app mute icon.
- Check the selected microphone inside the app.
- Speak and watch the input meter.
- Check headset or device mute.
- Check browser or operating-system permission.
- Switch to a known-good microphone.
- Leave and rejoin only after the visible checks fail.
That order prevents random toggling. It also separates meeting mute from device mute and system permission. If you support Windows users, the mute button for PC meetings guide (opens new window) gives a more detailed path for app state, hardware buttons, and recovery.
Hosts should state the recovery path before important sessions. A sentence like “If your audio drops, post in chat and switch to your headset mic before rejoining” saves time later. It sounds minor until the CFO disappears into Bluetooth settings during a board review. Technology has a sense of timing, usually a poor one.
# Keep control surfaces boring during live calls
The best live-call control setup is predictable. It does not need clever macros in the middle of a meeting.
Keep routine actions close together: mute, camera, screen share, chat, participants, and leave. Put destructive or disruptive actions farther away: end meeting for everyone, start recording, switch scenes, or share an entire display.
This matters for physical decks and software panels. If a button can embarrass you in front of twenty people, it should not sit next to mute. If a macro changes several states at once, test it outside the call and label it clearly.
MuteDeck’s role here is practical. It gives frequent meeting users a consistent place for controls across apps. That helps when the meeting window is buried behind slides, notes, a browser, or a document. If your team already uses a checklist, fold MuteDeck into the same control routine rather than treating it as a separate gadget. The meeting controls checklist (opens new window) is a useful baseline.
# A simple remote meeting control policy
For teams that need a written policy, keep it short enough that people might actually follow it.
Use this version:
- Hosts run a one-minute audio, camera, and share check before external calls.
- Every presenter knows the manual toolbar path for mute and screen share.
- Meeting shortcuts are allowed, but visible app confirmation wins.
- Hardware mute buttons must be tested against the meeting app state.
- Co-hosts or facilitators monitor chat during large sessions.
- Risky controls, including recording and end-meeting actions, stay separated from routine buttons.
- Recurring meeting templates include the expected mute and interruption norm.
This policy turns remote work best practices into behavior people can repeat. It also helps IT and team leads support fewer mystery problems because the checks happen in a consistent order.
# Conclusion
Remote work best practices should include the small controls that keep meetings moving: mute, camera, screen share, confirmation, and recovery. The goal is a reliable routine, not a more complicated desk.
Start with one primary control, one visible confirmation, and one fallback path. Then standardize the pre-call check and team norms around it. MuteDeck fits that workflow for people who spend their day in Zoom, Teams, and Meet because it keeps live meeting controls visible when the meeting window gets buried. Your future self, halfway through a screen share, will appreciate the lack of archaeology.
KEEP EXPLORING
More guides & tips