# Can't Unmute Laptop: Fix Meeting Audio Fast
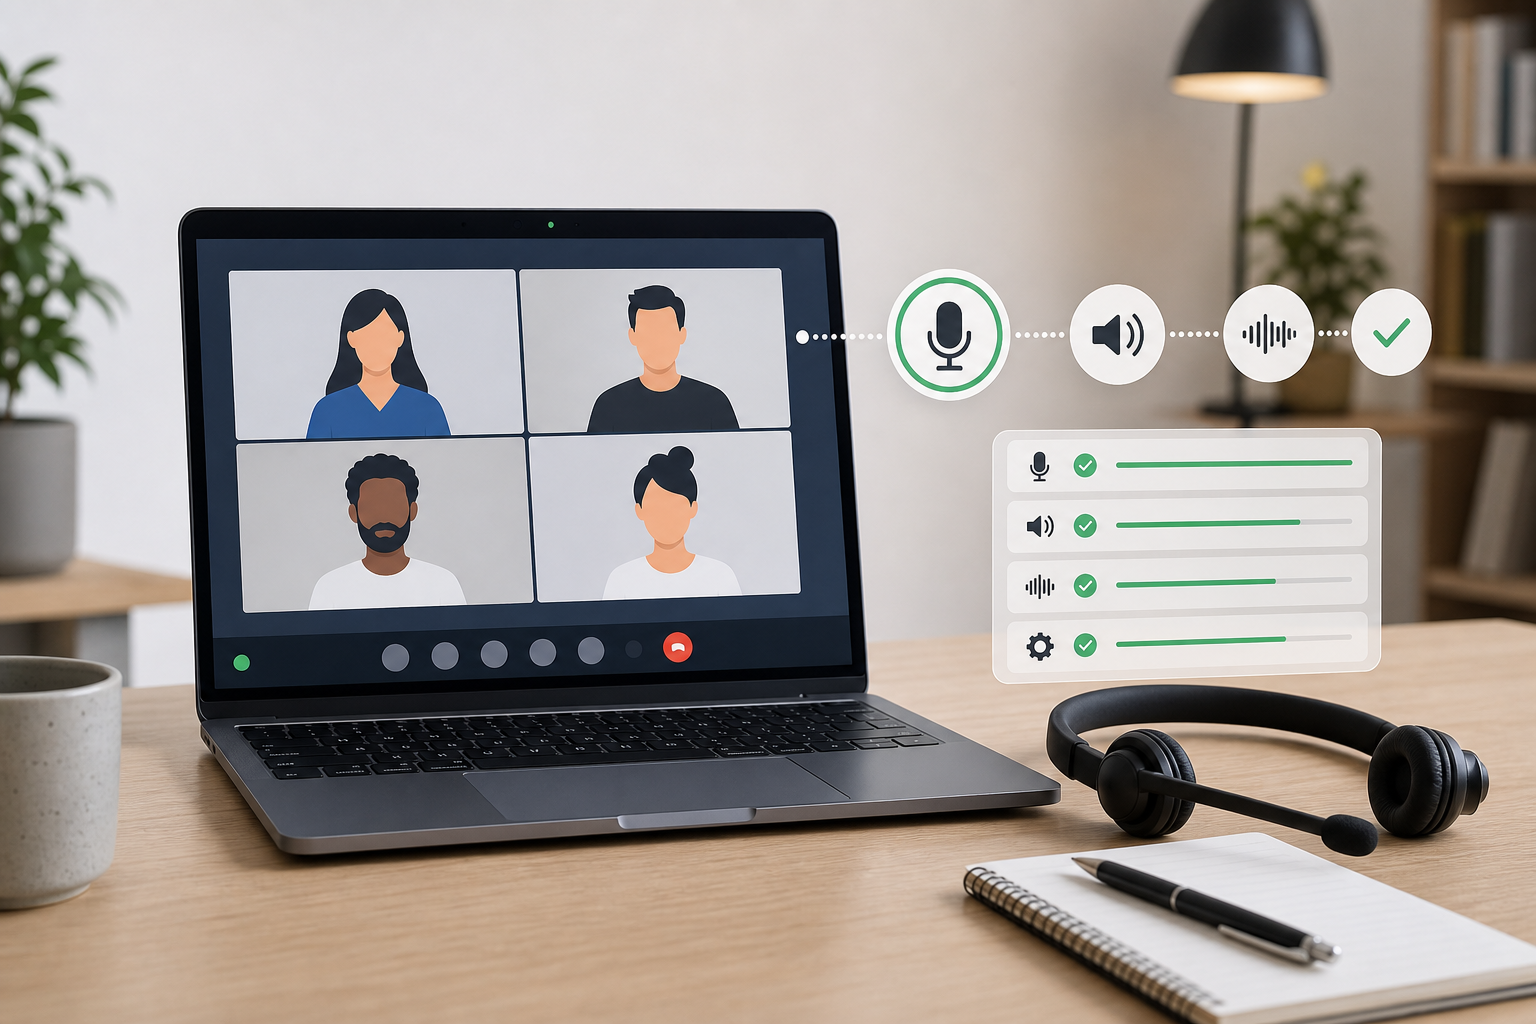
If you can't unmute laptop audio in a meeting, check the mute chain in order: meeting app, browser tab, operating system input, hardware mute key, device permissions, and selected microphone. This is the fastest way to find the blocked layer. Most failures come from two mute layers disagreeing or the meeting app using the wrong input device. Fix the visible meeting mute first, then work outward until the microphone meter moves.
That order matters because modern calls have too many mute buttons pretending to be the one true button. Zoom, Teams, Google Meet, Chrome, macOS, Windows, headsets, docks, and keyboards can all block or redirect microphone input. Random clicking can make the problem worse because you lose track of which layer changed.
This guide gives hosts and presenters a fast recovery path, plus a pre-call setup that prevents the same awkward silence from returning on the next call.
# Start with the mute chain, not the panic chain
When a laptop will not unmute, treat audio like a chain of gates. The microphone only reaches the room if every gate allows it through. A green mic icon in one place does not prove the whole path is open.
Use this order during a live call:
- Click the mute button in the meeting app.
- Confirm the app shows the microphone as unmuted.
- Watch the meeting app's input meter while you speak.
- Check the selected microphone inside the meeting app.
- Check operating system microphone input and permissions.
- Check hardware mute on the keyboard, headset, dock, or webcam.
- Rejoin only after the device and permissions look correct.
This sequence keeps the fix visible. It also prevents the common host mistake: changing laptop settings while the call is actually listening to a headset, webcam, or monitor microphone.
If the basic app control works but you keep losing track of mute state across calls, read our guide on how to unmute yourself in any meeting app (opens new window). If the problem is low input rather than blocked input, use the separate guide on boosting microphone volume for meetings (opens new window).
# Identify which mute layer failed
A laptop that will not unmute usually falls into one of a few patterns. Pick the symptom before changing settings.
| Symptom | Most likely layer | Fast check | Meeting-safe fix |
|---|---|---|---|
| Meeting app says muted after you click unmute | Meeting app control | The mic icon stays crossed out | Leave and rejoin, then select the mic before joining |
| App says unmuted but nobody hears you | Wrong input or permission | Input meter does not move | Select the correct mic and check OS permission |
| People hear you for one second, then silence | Hardware mute or headset control | Headset button light changes | Toggle the headset mute and test again |
| Browser meeting asks for mic access again | Browser permission | Address bar shows blocked mic | Allow microphone access for the meeting site |
| Teams works, Meet fails, or the reverse | App-specific device setting | One app uses a different mic | Set the same mic in each meeting app |
The table also explains why one meeting can work while the next one fails. Each app remembers device choices differently. A laptop can default to the built-in microphone, while Teams uses a headset and Google Meet listens through Chrome. That is a small setup detail until a client call starts and everyone watches you mime into the void.
# Fix the meeting app first
Start inside the call because it gives the fastest signal. In Zoom, Teams, and Google Meet, open the audio or device menu and confirm three things:
- The microphone is not muted inside the app.
- The selected input device matches the microphone you intend to use.
- The input meter moves when you speak at normal distance.
If the meter moves, the laptop is sending audio and the issue may be output, volume, or a meeting role setting. If the meter does not move, the app is either listening to the wrong input or the system is blocking access.
For Teams specifically, Microsoft's support article on microphone issues in Microsoft Teams (opens new window) covers device selection, app permissions, and test calls. That is useful because Teams can keep its own device preference even after the operating system default changes.
For browser meetings, Google documents how Chrome handles camera and microphone permissions (opens new window). Check the lock or controls icon in the address bar, then allow microphone access for the meeting site. Reload the meeting tab after changing that permission because the meeting app may not detect the change mid-call.
# Check operating system microphone permission
If the meeting app looks correct and the meter stays flat, check the operating system. macOS and Windows can deny microphone access before the meeting app ever sees input.
On macOS, open System Settings, then Privacy and Security, then Microphone. Apple documents this control in Control access to the microphone on Mac (opens new window). Confirm the meeting app or browser has access. If you change the permission, quit and reopen the app.
On Windows, check privacy settings for microphone access and desktop app access. Microsoft's Windows camera, microphone, and privacy (opens new window) page explains how Windows separates device access from app permission. That split matters when the microphone works in the Settings test panel but fails inside Teams, Zoom, or a browser.
Also check the selected input device. Laptop users often have several microphones available:
- Built-in laptop microphone.
- Webcam microphone.
- USB headset.
- Bluetooth earbuds.
- Dock or monitor audio device.
- External audio interface.
Choose one and keep it consistent. Bluetooth earbuds can be especially slippery because they may connect after the meeting app has already selected the laptop microphone.
# Find hidden hardware mute controls
Hardware mute is the quiet villain in this story. It can sit on the keyboard, headset cable, USB dongle, webcam, dock, or external audio interface. The meeting app may show you as unmuted while the hardware still blocks the microphone.
Check these physical controls:
- Laptop function row microphone key.
- Headset boom position.
- Inline mute button on the headset cable.
- USB dongle mute switch.
- Webcam privacy or microphone switch.
- Audio interface mute or gain knob.
- Dock or monitor audio buttons.
Some headsets mute when the boom lifts. Some keyboards show a tiny LED near the microphone key. Some USB dongles keep their own mute state after moving between computers. None of this feels dramatic until the board slide says Q and A and the speaker becomes a silent film.
If hardware mute was the cause, add it to your pre-call checklist. A physical button can be useful because it works outside the meeting app, but it needs to be visible enough that you know when it is active.
# Use MuteDeck to keep live controls visible
MuteDeck helps with the part of this problem that repeats: live meeting state. It gives supported meeting controls a visible place outside the meeting window, so hosts can mute, unmute, toggle camera, and manage related actions without hunting through the app UI.
That matters when you present slides, share a browser, watch chat, and answer questions in the same minute. The meeting app's mute button is often hidden behind another window exactly when someone asks you to respond.
MuteDeck does not replace operating system permissions or fix a broken headset. It gives you a clearer control surface once the microphone path works. Pair it with a short audio check and you reduce the number of mystery mute layers in the room.
For a broader setup, use our meeting controls checklist (opens new window) before important calls. It covers the practical host checks that sit around audio: camera, screen share, meeting roles, and fallback plans.
# Build a two-minute pre-call test
The best time to fix a laptop that will not unmute is before anyone joins. Use a short test that proves the whole path works, not just one button.
Run this before training sessions, interviews, webinars, demos, and customer calls:
- Open the meeting app you will actually use.
- Select the intended microphone in that app.
- Speak at normal distance and watch the input meter.
- Toggle mute and unmute once.
- Confirm the hardware mute light is off.
- Check browser or app microphone permission if the meter stays flat.
- Record a short test or join a test room when available.
- Leave the audio menu open until the meeting starts.
Do not test in a different app and assume the result carries over. A microphone can work in the operating system sound panel and still fail in a browser meeting because the browser lacks permission. A headset can work in Teams and fail in Zoom because Zoom stored a previous input device.
For presenters, keep the test boring. Same microphone, same app, same desk position, same mute control. Boring audio setups have a habit of letting the actual meeting be the interesting part.
# What to do during a live meeting
When you are already in the call, use the shortest safe path. Avoid rebooting first unless the meeting can wait.
Say one short sentence in chat: "Audio issue, checking mic now." Then follow this live recovery order:
- Toggle app mute once.
- Select the known working microphone.
- Check the input meter.
- Toggle hardware mute once.
- Switch to the laptop microphone if the headset fails.
- Rejoin from the same link if the app still shows no input.
- Dial in by phone if the meeting is time-sensitive.
This gives the meeting enough context without turning troubleshooting into the agenda. If you host often, assign a backup path before the call. That can be a second microphone, a phone dial-in option, or a co-host who can keep the room moving while you fix audio.
# Conclusion
When you can't unmute laptop audio, solve the mute chain in order: meeting app, selected microphone, browser or app permission, operating system privacy setting, and hardware mute. The first visible mute button rarely tells the whole story.
For recurring meetings, turn the fix into a repeatable setup. Keep one default microphone, test it in the actual app, make hardware mute visible, and use MuteDeck to keep meeting controls where you can see them. The result is simple: fewer silent starts, fewer frantic settings menus, and fewer colleagues narrating your mute status like a weather report.
KEEP EXPLORING
More guides & tips