# Stream Deck Google Meet Setup: Meeting Controls That Survive Presenting
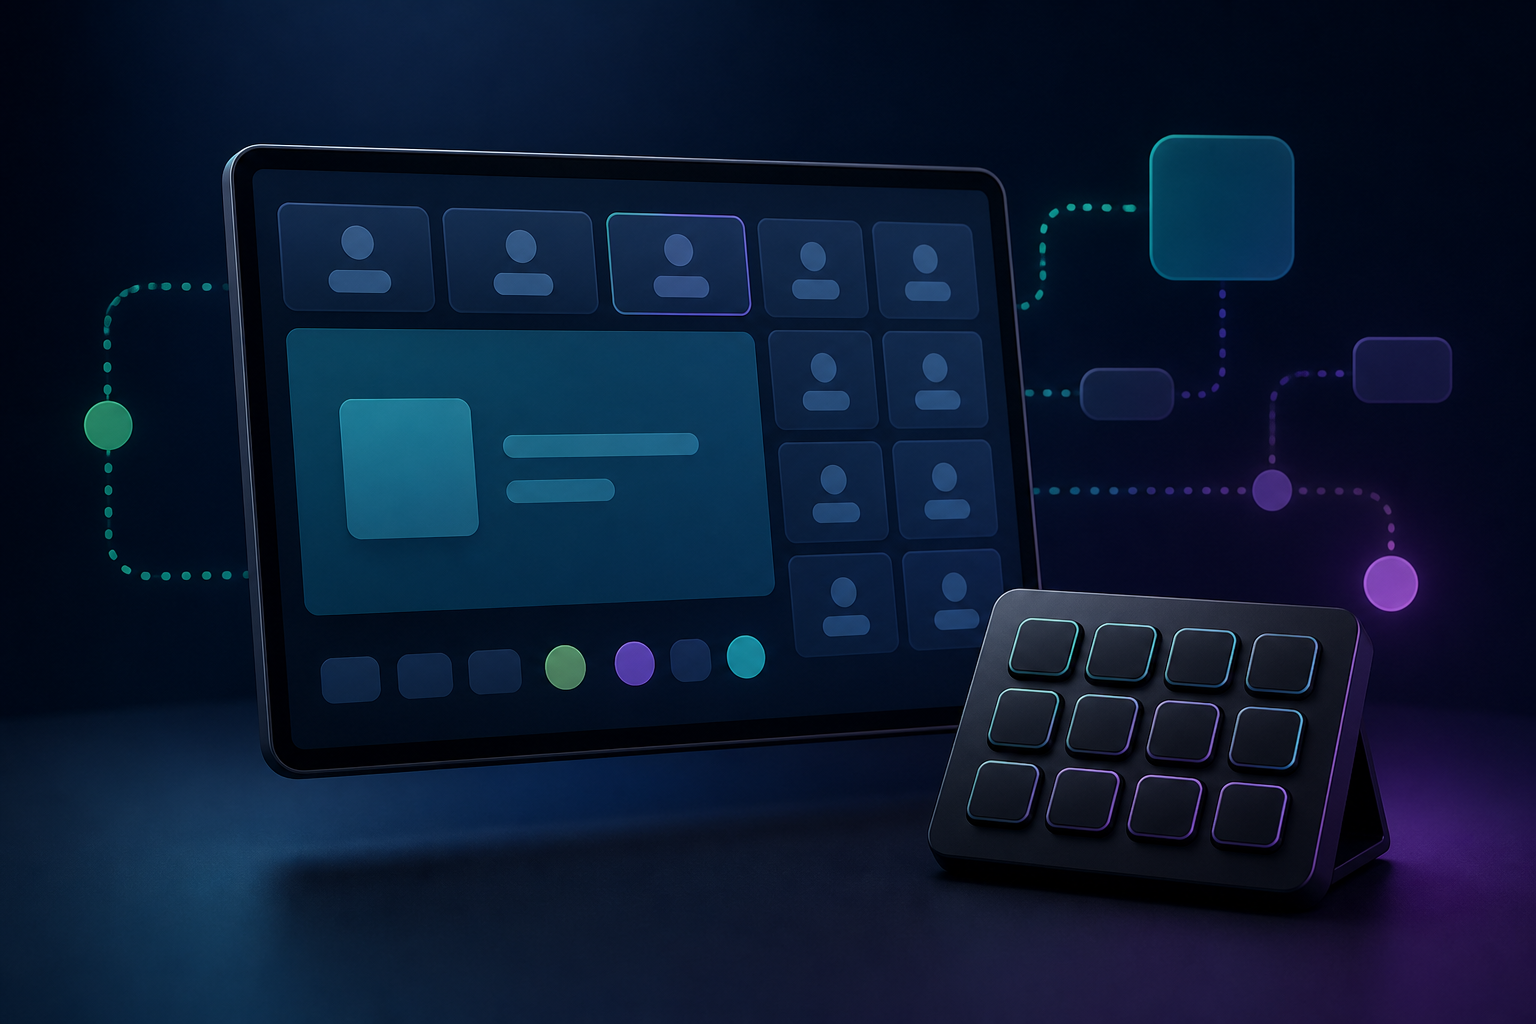
A Stream Deck Google Meet setup works best when it controls a small set of live-call actions instead of trying to replace the whole meeting app. Put mute, camera, present, stop presenting, meeting visibility, and permission checks on predictable buttons. Keep device selection and sharing choices inside Google Meet where they belong. That split gives hosts a visible control layer while slides, browser tabs, notes, and chat fight for focus.
This guide is for presenters, trainers, consultants, and remote teams who use Google Meet often enough to get annoyed by tiny control delays. We will build a practical setup that pairs Stream Deck visibility with MuteDeck's meeting-specific controls, then add a pre-call checklist so the system behaves when the meeting starts.
# Why Google Meet control gets awkward during live calls
Google Meet is simple when you are only attending. It gets more demanding when you present, moderate chat, watch participants, and answer questions while another app has focus.
The fragile part is not usually the meeting feature itself. Google documents Meet keyboard shortcuts (opens new window) and separate steps to present during a video meeting (opens new window). The problem is the live workflow around those controls. A shortcut that feels obvious in the meeting tab can become less obvious when your cursor is inside slides, your browser is sharing a single tab, or your notes app is covering the call.
That is where a Stream Deck helps. It gives you visible buttons for repeated actions. Elgato describes Stream Deck as a customizable control surface with LCD keys on its Stream Deck product page (opens new window). For meetings, the value is not the number of buttons. The value is reducing the moment where you hunt for the right window while everyone politely watches your mouse perform interpretive dance.
MuteDeck fits this setup as the meeting-control layer. It focuses on the current call state: microphone, camera, sharing, reactions, and switching attention back to the meeting. If you already read the guide to control multiple meeting apps from one interface (opens new window), the same principle applies here, just narrowed to Google Meet.
# Stream Deck Google Meet setup: the core button map
Start with one page of controls. If the first version needs folders, profiles, nested pages, and a small pilgrimage to remember where mute lives, it is already too busy.
Use this decision table for the first layout.
| Button | Purpose | Best control layer | Setup note |
|---|---|---|---|
| Mute or unmute | Stop audio quickly | MuteDeck or Meet shortcut | Make this the largest visual priority |
| Camera on or off | Handle interruptions | MuteDeck or Meet shortcut | Place beside mute, not on another page |
| Bring meeting forward | Recover the call window | MuteDeck or OS shortcut | Useful when presenting from slides or tabs |
| Present screen | Start the share routine | Google Meet | Keep the final surface choice in Meet |
| Stop presenting | End the risky visible state | Meet where supported by your workflow | Test before trusting it live |
| Raise hand or reaction | Lightweight participation | Meet or MuteDeck where available | Keep optional actions lower priority |
| Permission check | Open browser or system settings | Browser and OS settings | Use before the call, not during the panic |
This map does two things. First, it puts the panic buttons where your hand expects them. Second, it avoids pretending every Google Meet action should become a hardware button.
Device selection, tab choice, window choice, captions, layout, and host settings often need context. Leave those in Meet unless you have tested a specific automation path. A Stream Deck is most useful when it removes repeated friction; it becomes risky when it hides a decision you should make with your eyes open.
# Build the setup around focus, not shortcuts
Most failed meeting controls are focus problems. The wrong browser tab receives the keyboard shortcut. The slides app is active. The shared window covers Meet. The host is reading chat in another monitor. The hardware button still looks confident, which is rude, but the command lands somewhere unhelpful.
Design around that reality.
First, create a reliable way to return to the meeting. A dedicated button for bringing Google Meet forward is often more useful than a dozen advanced controls. It gives you a recovery path when you need to confirm mute state, stop presenting, change the shared surface, or check whether your camera is still on.
Second, separate meeting state from content state. Your shared tab or slide deck is for the audience. Your meeting controls are for you. The MuteDeck guide on screen share safety (opens new window) covers this presenter split in more detail: share the smallest useful surface, keep private surfaces out of scope, and keep controls reachable outside the shared content.
Third, test each shortcut in the context where you will use it. A mute shortcut that works while the Meet tab is active might behave differently when focus is inside another browser tab. Google also has a browser-permission layer; Chrome documents how to manage camera and microphone permissions (opens new window). Put that check in your pre-call routine instead of discovering it after a room of people has started guessing at your facial expression.
# A practical Google Meet Stream Deck layout
A good meeting page has fewer controls than your ambition wants.
For a 15-key Stream Deck, try this layout:
- Top row: mute, camera, bring Meet forward, present, stop presenting.
- Middle row: raise hand, reactions, chat, participants, captions.
- Bottom row: open agenda, open notes, timer, permission check, leave meeting.
For a smaller Stream Deck, cut harder:
- Mute.
- Camera.
- Bring Meet forward.
- Present or stop presenting.
- Notes or agenda.
- Leave meeting.
That smaller version usually works better for hosts who run real meetings instead of optimizing a control panel between meetings. The daily actions belong on the first page. Everything else can stay in Google Meet.
If you use MuteDeck, map the meeting-specific actions there first, then use Stream Deck buttons to trigger or surface them. The goal is consistency. Your mute button should mean mute in the current meeting, not mute in whichever app happened to be configured last Tuesday.
This is also where labels matter. Use verbs, not clever names. "Mute" beats "Silence Mode." "Meet" beats "The Portal." The point is to understand the button while someone asks whether you can go back two slides.
# Pre-call checklist for presenters and trainers
Run this five-minute check before any workshop, webinar, customer demo, or recorded call.
- Open Google Meet and confirm the correct microphone and camera.
- Confirm Chrome or your browser can access the microphone and camera.
- Press your Stream Deck mute button and verify the visible Meet state changes.
- Press your camera button and verify the visible Meet state changes.
- Press the button that brings Meet forward from slides, notes, and the browser tab you plan to share.
- Start a test presentation and confirm which surface is visible.
- Stop presenting and confirm the audience no longer sees the shared surface.
- Trigger your notes, agenda, and timer buttons.
- Close private tabs, messaging apps, password managers, and unrelated dashboards.
- Decide your recovery phrase: "Give me ten seconds while I reset the share."
That last item sounds unnecessary until it saves a call. A calm recovery phrase prevents frantic clicking. People forgive a small reset. They remember a host muttering at the browser like it owes rent.
For bigger sessions, add a second person to the test. Ask them what they can see and hear. The presenter's view can lie by omission; the audience view tells the truth.
# Where MuteDeck fits with Stream Deck and Google Meet
Stream Deck gives you the physical surface. Google Meet gives you the meeting features. MuteDeck gives you a meeting-specific control layer that reduces app switching.
That division is useful when your meeting stack changes. A consultant might run Google Meet in the morning, Zoom after lunch, and Teams with a client in another tenant. A pure shortcut setup forces the host to remember app-specific behavior. A Stream Deck profile can help, but it still needs maintenance. MuteDeck narrows the control model to meeting intent: mute, camera, sharing, reactions, and returning to the active call.
If you are deciding between hardware and shortcuts, the post on Stream Deck vs keyboard shortcuts for meetings (opens new window) gives the broader comparison. The short version for Google Meet is simple: shortcuts are fine for predictable solo use. Stream Deck helps when visible buttons matter. MuteDeck helps when you want the button to follow the meeting instead of the currently focused window.
For teams, this also improves handoff. A shared meeting desk should not require every host to memorize browser quirks and platform-specific keys. Put the repeated actions on visible controls, document the pre-call check, and keep the deeper settings inside Meet.
# Common mistakes to avoid
The first mistake is building too many buttons. A meeting control setup should reduce choices during the call. If the host has to search through pages, the setup has recreated the meeting toolbar with extra hardware.
The second mistake is automating risky actions without testing them live. Screen sharing deserves special caution because the wrong surface can expose private information. Keep the final share choice visible unless your workflow is tested and boring in the best possible sense.
The third mistake is treating microphone issues as a hardware problem first. Browser permission, selected device, OS privacy settings, and Meet state all sit in the chain. Check the software path before blaming the button.
The fourth mistake is ignoring recovery. Your setup should include a way back to Meet, a way to stop presenting, and a short phrase for resetting the room. Hosts do not need perfection. They need a path out of the weird bit.
# Final setup recommendation
A Stream Deck Google Meet setup should start with one clean meeting page: mute, camera, bring Meet forward, present, stop presenting, notes, and a permission check. Add MuteDeck when you want those controls to behave like meeting actions rather than generic shortcuts. Keep Google Meet responsible for contextual decisions such as the exact sharing surface and device settings.
Before important calls, run the checklist and test the buttons while slides or browser tabs have focus. That is the moment your setup has to survive. If it works there, it will feel quiet during the meeting, which is the whole point.
KEEP EXPLORING
More guides & tips