# Screen Share Safety Checklist for Live Meetings
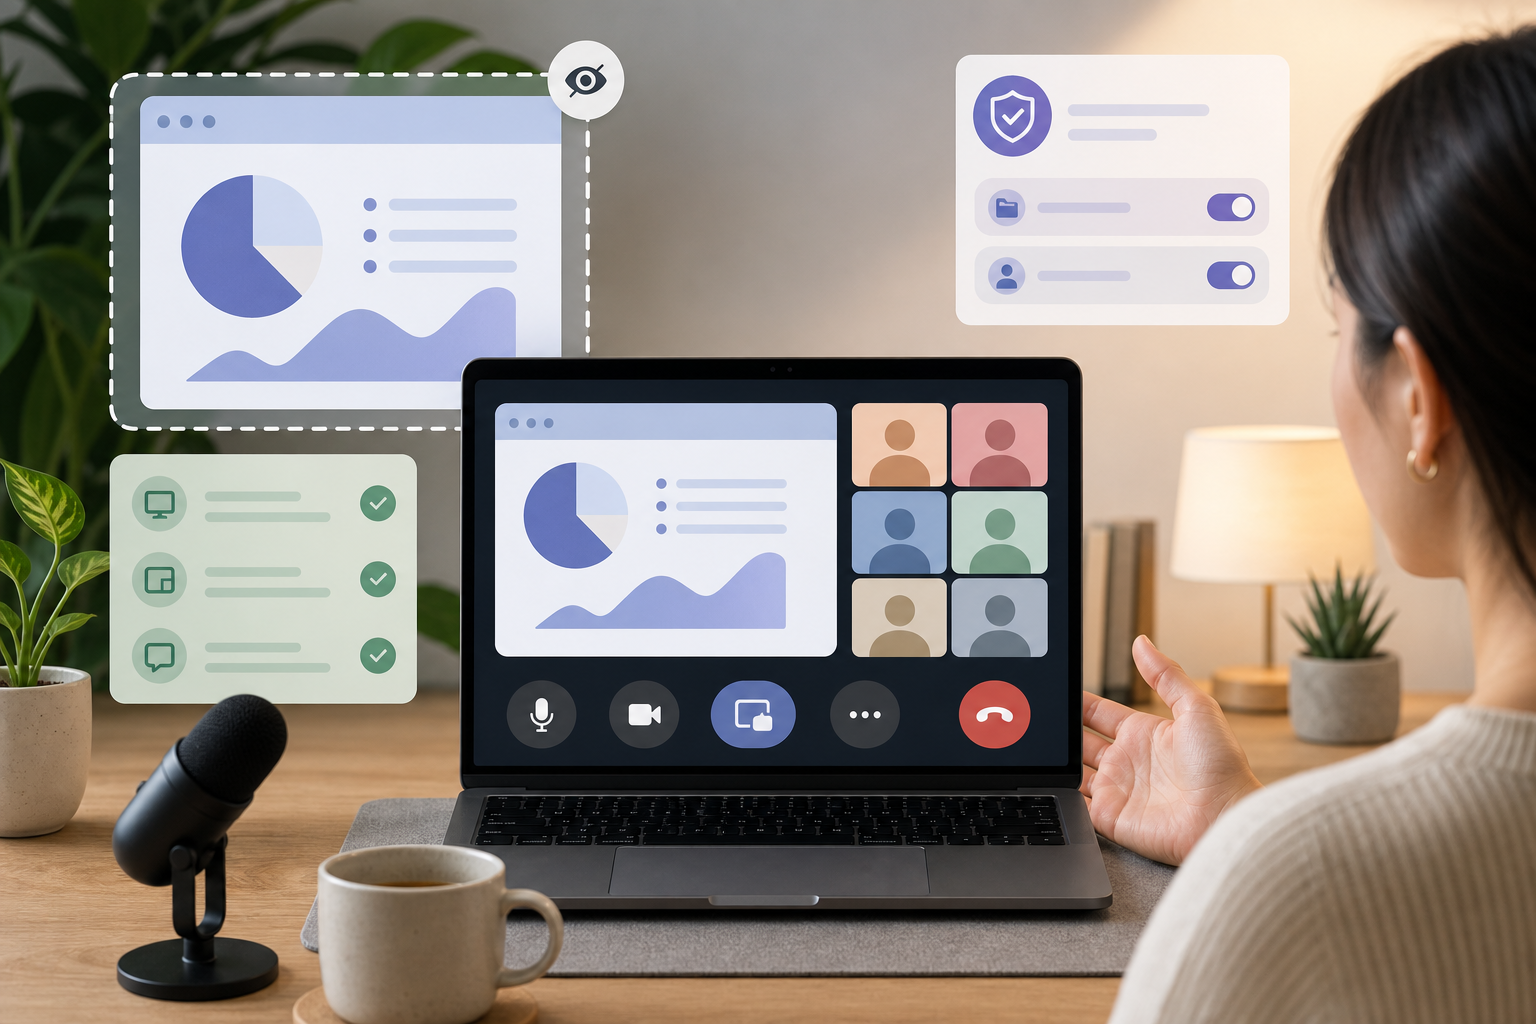
A screen share safety checklist is a simple preflight routine for presenters: choose the right window, confirm audio and camera state, keep meeting controls visible, and rehearse a recovery path before the audience sees your desktop. The goal is boring execution. Your slides appear, private tabs stay private, and mute, camera, and share controls remain reachable when the meeting window loses focus.
Screen sharing breaks down when the presenter treats it as one button. In practice, it is a chain of choices across the meeting app, the browser or operating system, the display, and the control surface. MuteDeck helps by keeping live meeting controls in one place, especially when Zoom, Teams, or Google Meet changes focus while you present.
# Why screen sharing fails in otherwise prepared meetings
Most screen-sharing mistakes happen after the meeting has already started. The presenter opens the right deck, then clicks the wrong monitor. A chat notification slides across the shared screen. A video preview turns on while the host is still arranging notes. Someone asks a question, and the host cannot find the meeting window because the shared app now has keyboard focus.
The issue is rarely technical skill. It is context switching under pressure.
Official help pages reflect that complexity. Google Meet separates presenting from normal call participation in its guide to presenting during a video meeting (opens new window). Microsoft Teams has its own flow for presenting content in Teams meetings (opens new window). Browser-based calls can also depend on camera and microphone permissions, which Chrome documents in its camera and microphone permission guide (opens new window).
That split matters for hosts. The screen-share button only starts the visible part. The safer workflow is to plan what the audience should see, what they must never see, and how you will recover if the shared app steals focus.
# A practical screen share safety checklist
Use this checklist before recurring client calls, webinars, training sessions, and internal demos. It takes less time than apologizing to thirty silent thumbnails.
- Close private tabs, messaging apps, password managers, and unrelated documents.
- Open the exact window or browser tab you plan to share.
- Put speaker notes, chat, and meeting controls on a separate display if you have one.
- Turn off banners for chat, email, calendar, and operating system alerts.
- Confirm the selected microphone and camera before sharing.
- Decide whether the audience needs system audio.
- Share a window or tab when possible, rather than the entire desktop.
- Keep mute, camera, screen share, and leave controls reachable without hunting for the meeting app.
- Prepare one fallback line: “I am going to stop sharing for a moment and reset the view.”
- Rehearse the stop-share action before the call starts.
The hidden step is number eight. Many hosts prepare the content but leave the controls wherever the meeting app puts them. That works until the slide deck goes full screen, the browser tab takes focus, or a shortcut lands in the wrong app. A dedicated control layer gives you a stable place to mute, unmute, toggle camera, and stop sharing.
If your team already uses shortcut-heavy workflows, compare that setup with the trade-offs in Stream Deck vs Keyboard Shortcuts for Meetings (opens new window). Shortcuts are fast when focus behaves. Visible controls are safer when focus moves around.
# Choose the right sharing mode
The safest sharing mode depends on what the audience needs to see. Use the smallest surface area that still supports the meeting.
| Meeting situation | Safer sharing choice | Why it reduces risk |
|---|---|---|
| Slide presentation | Presentation window or browser tab | Keeps notes, chat, and other tabs out of view |
| Product demo in one app | Single application window | Avoids exposing desktop clutter during navigation |
| Browser walkthrough | One browser tab when supported | Reduces the chance of showing unrelated tabs |
| Training with multiple tools | Dedicated demo desktop or clean user profile | Keeps switching predictable and repeatable |
| Incident review or client call | Prepared document window | Prevents accidental exposure of internal dashboards |
| Webinar with co-hosts | Host shares only when the run sheet says so | Reduces accidental handoffs and duplicate shares |
Full-desktop sharing is convenient, but it gives the audience everything. Use it only when the workflow truly depends on moving across many windows. If you must share the desktop, clean it first and use a neutral wallpaper. Meeting software will not politely blur the file named “board notes final actually final.”
For webinars, the same thinking applies to roles and handoffs. The run sheet in Webinar Host Controls: A Practical Run Sheet (opens new window) shows how to assign control moments before the audience arrives.
# Keep controls visible while the shared app has focus
Screen sharing changes your attention. You stop looking at the meeting app and start looking at the thing you are explaining. That is exactly when you still need meeting controls.
A safe presenter setup keeps four actions easy to reach:
- Mute or unmute.
- Toggle camera.
- Stop sharing.
- Bring the meeting window forward.
MuteDeck is built for this control layer. It lets presenters keep meeting actions separate from the app currently being shown. That matters when you present from a browser, demo a product, or switch between Zoom, Teams, and Meet during the week. The meeting app can sit behind the deck while the controls stay available.
If you use a Stream Deck, place the live-call controls in a fixed layout. Put mute and camera in the same spots for every app. Put stop share where it is easy to reach but hard to hit by accident. Add a “bring meeting forward” action beside it, because recovering visibility often matters more than adding another clever macro.
For Zoom-heavy teams, the same principle appears in Control Zoom Without Switching Windows (opens new window). The meeting controls need to survive the moment your attention leaves Zoom.
# Build a two-display presenter layout
A second display makes screen sharing easier, but it can also create false confidence. Treat each display as a role.
The audience display contains only the shared content. The presenter display contains the meeting window, notes, timer, chat, and MuteDeck controls. If you use a laptop and one external monitor, share the external monitor or the app window on it. Keep the laptop screen for everything the audience should not see.
Before the call, drag a harmless test window to the audience display and start a private test share. Confirm which screen the app labels as Screen 1 or Screen 2. Those labels can change after docking, unplugging, or waking from sleep. A thirty-second check prevents a surprisingly public tour of your inbox.
When you cannot use a second display, create separation inside one screen. Use a dedicated browser profile for the meeting. Put the shared window full screen, then keep controls on a device, touch bar, or MuteDeck surface. Close everything else.
# Add a recovery script for awkward moments
Screen-share safety includes recovery, because live meetings enjoy testing optimism.
Use short, calm phrases. They prevent silence from turning into confusion.
- “I am going to stop sharing for a second and bring the right window back.”
- “The audio is not needed for this part, so I am keeping it off.”
- “I am switching from the deck to the demo window now.”
- “I will pause the share while I check that permission.”
The key is to say what is changing before the audience sees movement. Hosts often click around while narrating nothing. That makes viewers wonder whether they missed an instruction. A recovery line turns a reset into part of the meeting.
For recurring meetings, write the recovery line into the agenda. For workshops, give the co-host permission to speak if your share freezes. For client demos, keep a static screenshot or PDF version ready so you can continue the explanation if the live app refuses to cooperate.
# Decide what belongs in the control layer
A control layer should stay boring. If every button launches a six-step automation, the deck becomes another thing to debug.
Start with the actions you use during the call:
- Mute and unmute.
- Camera on and off.
- Start or stop screen share if your meeting app supports it in your setup.
- Bring meeting window forward.
- Push to talk for short answers.
- Open the next slide or demo step only if it cannot conflict with meeting controls.
Keep device selection, permissions, and account settings in the meeting app. Those are setup tasks, not live-call controls. Microsoft documents app-specific shortcuts in its Teams keyboard shortcuts guide (opens new window), which is useful context: every platform has its own command model. Your control layer should hide that complexity during the meeting, not pretend the setup layer disappeared.
Review this layout after real calls. If you never press a button, remove it. If you keep reaching for a missing action, add it. The best screen-share setup is the one you can operate while answering a question.
# Preflight routine for the next meeting
Use this routine five minutes before the audience joins.
- Open the deck, demo, or document.
- Close unrelated windows.
- Disable notifications.
- Confirm microphone, camera, and speaker choices.
- Start a private test share if the meeting is high stakes.
- Check that MuteDeck shows the meeting app you plan to control.
- Verify the mute and camera buttons before presenting.
- Share the smallest possible surface.
- Say the first transition line out loud.
- Keep the stop-share control visible or mapped.
This routine works because it treats screen sharing as a live-control problem. The presenter needs content, privacy, and recovery in the same workflow.
# Conclusion
A screen share safety checklist gives presenters a repeatable way to avoid the usual live-call problems: wrong window, exposed desktop, lost mute control, and awkward recovery. Start with the smallest sharing surface, keep meeting controls reachable, and prepare one reset phrase before the call begins.
MuteDeck fits naturally into that routine. It keeps mute, camera, and meeting visibility controls close while your slides, browser, or demo app has focus. Try the checklist on the next ordinary meeting first. The big presentation will inherit the quieter habits.
KEEP EXPLORING
More guides & tips