# Control Multiple Meeting Apps From One Interface
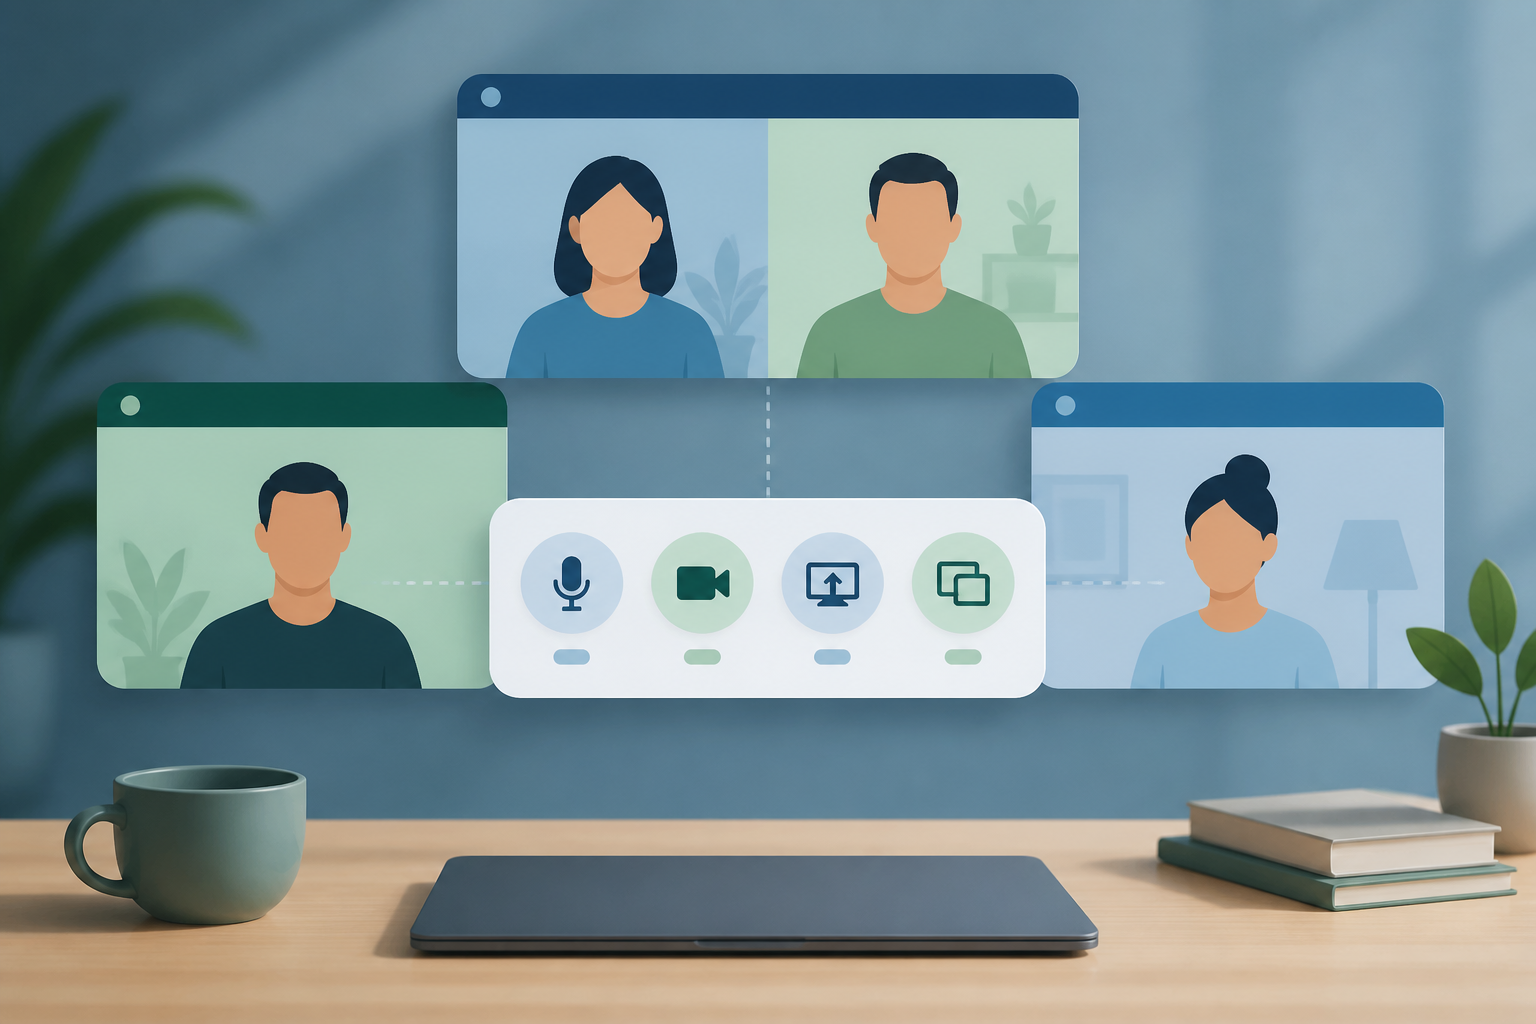
If your week jumps between Zoom, Microsoft Teams, and Google Meet, the fastest fix is not memorizing every control in every app. Control multiple meeting apps from one interface by standardizing the actions that matter: mute, camera, screen share, raise hand, reactions, and recovery checks. Keep one visible control layer for live calls, then let each meeting app keep its own settings underneath.
This approach helps hosts, trainers, and remote teams avoid the tiny failures that make meetings feel chaotic. The wrong window has focus. A browser permission blocks the microphone. A shortcut works in Teams but does nothing in Meet because the slide deck is active. One control interface reduces that friction because your workflow stays the same even when the app changes.
# Why multi-app meeting controls break down
Most meeting apps offer keyboard shortcuts and on-screen buttons. Those controls work well when you are in one app, on one computer, with one routine. The trouble starts when your calendar mixes vendors.
A typical day might look like this:
- A customer call in Zoom.
- An internal standup in Microsoft Teams.
- A workshop in Google Meet.
- A webinar rehearsal with slides, notes, chat, and a second display.
Each app uses different labels, layouts, permissions, and shortcut behavior. Microsoft documents a long list of Teams keyboard shortcuts (opens new window). Google has separate help for Meet keyboard shortcuts (opens new window) and for presenting during a video meeting (opens new window). Those references are useful, but they also show the core problem: each app expects you to learn its own control surface.
The meeting does not care which app caused the delay. People hear silence, see a frozen face, or watch the presenter hunt for a share button. The fix is to separate meeting intent from app mechanics.
# The one-interface model
A one-interface model means you define the meeting actions first, then map them to the apps you use. The interface can be MuteDeck, a Stream Deck profile, a keyboard shortcut layer, or a combination. The important part is that the live-call actions stay visible and predictable.
Think in terms of controls rather than apps:
- Mute or unmute microphone.
- Turn camera on or off.
- Start or stop screen sharing.
- Raise hand or send a reaction.
- Bring the meeting window forward.
- Confirm the selected microphone and camera.
- Recover when audio or video fails.
MuteDeck fits this layer because it focuses on meeting controls across apps instead of turning every meeting into a scavenger hunt through toolbar icons. If you already use hardware controls, MuteDeck can act as the meeting-specific layer that keeps Zoom, Teams, and Meet actions consistent. The same idea is behind our guide to Stream Deck vs keyboard shortcuts for meetings (opens new window): buttons help most when visibility and repeatability matter.
# Decision table: what should control each action?
Use this table to decide where each meeting action belongs. The goal is not to replace every native app control. Put the fragile, repeated actions on the surface you can reach without thinking.
| Meeting action | Best control layer | Why it belongs there |
|---|---|---|
| Mute and unmute | MuteDeck or a dedicated hardware button | It happens constantly and needs visible confirmation. |
| Camera on or off | MuteDeck or meeting app toolbar | It matters most before speaking, presenting, or joining late. |
| Screen share | Meeting app toolbar plus a visible reminder | Sharing depends on app permissions, display choice, and content selection. |
| Raise hand or reaction | App shortcut or mapped button | Useful for large calls, but less urgent than mute. |
| Bring meeting window forward | Keyboard shortcut, MuteDeck action, or window manager | Helps when slides, notes, and browser tabs steal focus. |
| Device recovery | Checklist, not a single button | You need to inspect app device selection, browser permission, and OS privacy settings. |
This split keeps your meeting desk sane. Fast actions get direct controls. Risky actions get a controlled process.
# Build the control set around five recurring moments
A reliable multi-app setup starts with the moments that repeat across every meeting app.
# 1. Joining the call
Before joining, confirm the meeting app, microphone, camera, and output device. If you use browser-based meetings, check browser permissions too. Chrome documents how sites request access to the camera and microphone (opens new window), and those permissions can affect Google Meet or any web-based call.
Create a pre-join routine:
- Open the meeting link early.
- Confirm the selected microphone.
- Confirm the selected camera.
- Join muted when the meeting context calls for it.
- Keep the visible mute control on screen or on a dedicated device.
This routine sounds basic because the basics are where meetings leak time. Nobody wins a prize for discovering the wrong microphone after three people have said your name.
# 2. Taking the floor
The highest-risk control sequence is simple: unmute, speak, watch for confirmation, then mute again. It breaks when the wrong app has focus or when the meeting window is hidden behind notes.
Put this sequence on your most reliable control surface. If you use MuteDeck, keep microphone state visible and reachable. If you use a hardware button, give mute the easiest physical location. If you rely on shortcuts, use the app's official shortcut list and test it while another window is active.
For more detail on the mute chain, see How to unmute in meetings without losing control (opens new window). The short version: the meeting app state is only one layer. Device selection, browser permission, operating system privacy settings, and hardware mute can all block audio.
# 3. Presenting or teaching
Presenting adds focus pressure. Your slides may be full screen. Your notes may sit on a second display. Chat may live in a side panel. The meeting toolbar may hide until your cursor hits the right edge of the screen, because apparently we needed another small treasure hunt.
Treat presenting as a mode, not a single click. Your presentation mode should include:
- A visible mute control.
- A camera toggle you can reach without leaving slides.
- A screen-share confirmation step.
- A way to bring the meeting window forward.
- A backup plan if the wrong screen is shared.
Google's help page for presenting in Meet is a useful reminder that sharing is its own workflow, separate from talking. MuteDeck can help keep the live meeting controls separate from the content you are presenting.
# 4. Handling interruptions
Interruptions test your controls because they arrive when your attention is already split. Someone asks a question. A dog chooses a career in audio engineering. A teammate needs you to stop sharing before a private notification appears.
Your setup should make these responses fast:
- Mute immediately.
- Stop video if needed.
- Stop share or switch share target.
- Raise hand or react without searching the toolbar.
- Return to the meeting window after handling the interruption.
This is where one interface pays off. You should not need to remember whether Teams moved the reaction button or whether Meet has focus. Put the recurring action in the same place every time.
# 5. Recovering from failure
A control interface should not hide the underlying troubleshooting chain. It should make the normal actions consistent, then give you a clear recovery path when the app, browser, or device blocks them.
Use this recovery checklist when mute, camera, or share controls stop behaving:
- Check the meeting app state first.
- Confirm the selected microphone or camera inside the app.
- Check browser site permission for web meetings.
- Check operating system privacy settings.
- Check hardware mute, headset controls, dock controls, and camera covers.
- Rejoin only after the visible checks fail.
Microsoft's Windows privacy guidance for camera and microphone access (opens new window) is a good source for the OS layer. The main lesson is practical: a meeting control can request an action, but the operating system still controls whether the app may use the device.
# Example setup for a mixed Zoom, Teams, and Meet week
Here is a practical layout for someone who hosts customer calls, internal meetings, and training sessions.
Primary controls:
- Mute or unmute.
- Camera on or off.
- Bring meeting app forward.
- Start presentation mode checklist.
- Stop share reminder.
Secondary controls:
- Raise hand.
- Reaction.
- Open chat.
- Switch audio device checklist.
- Open meeting app settings.
The primary controls should be visible during every call. The secondary controls can sit one layer deeper because they are useful but less urgent.
If you use a Stream Deck, keep the labels meeting-specific rather than app-specific. Use labels like Mute, Camera, Share Check, and Meeting Window. If you use MuteDeck, keep it focused on the live meeting state and pair it with your preferred shortcut or hardware layer. Our meeting controls checklist (opens new window) covers the same principle from a reliability angle: define the routine before the meeting starts.
# Implementation tips that prevent real mistakes
A few details make the setup stronger.
First, test controls with the wrong window active. Many shortcuts behave differently when a browser tab, slide deck, or chat window has focus. If your setup only works when the meeting app is frontmost, treat that as a known limitation and add a Meeting Window control.
Second, separate share from mute. Screen sharing carries more risk because it exposes content. Use a checklist or confirmation step instead of making share feel like a casual toggle.
Third, avoid overloading one button with too much logic. A control that sometimes mutes, sometimes opens settings, and sometimes changes devices will eventually surprise you. Meeting controls should be boring. Boring is underrated when twelve people are watching your cursor.
Fourth, document the team norm. If everyone uses Teams for internal calls and Meet for workshops, agree on the common controls: join muted, confirm audio before speaking, stop share before switching windows, and use visible reactions in large meetings.
Finally, review the setup after bad calls. If a meeting went sideways because camera, mute, or share controls were hard to reach, move that action closer to the surface. Your control interface should evolve from actual meeting failures, not from a fantasy dashboard with forty heroic buttons.
# Conclusion
To control multiple meeting apps from one interface, standardize the repeated live-call actions and leave app-specific settings underneath. Put mute, camera, meeting-window focus, and presentation checks where you can reach them every time. Use native Zoom, Teams, and Google Meet controls when they make sense, but keep your meeting intent consistent across apps.
MuteDeck helps by giving hosts and remote teams a practical meeting-control layer for the moments that cause delays. Start with the controls you use on every call. Then add recovery checks for the failures that cost the most attention.
KEEP EXPLORING
More guides & tips