# Logitech Camera Not Detected Windows 11: Meeting Fixes
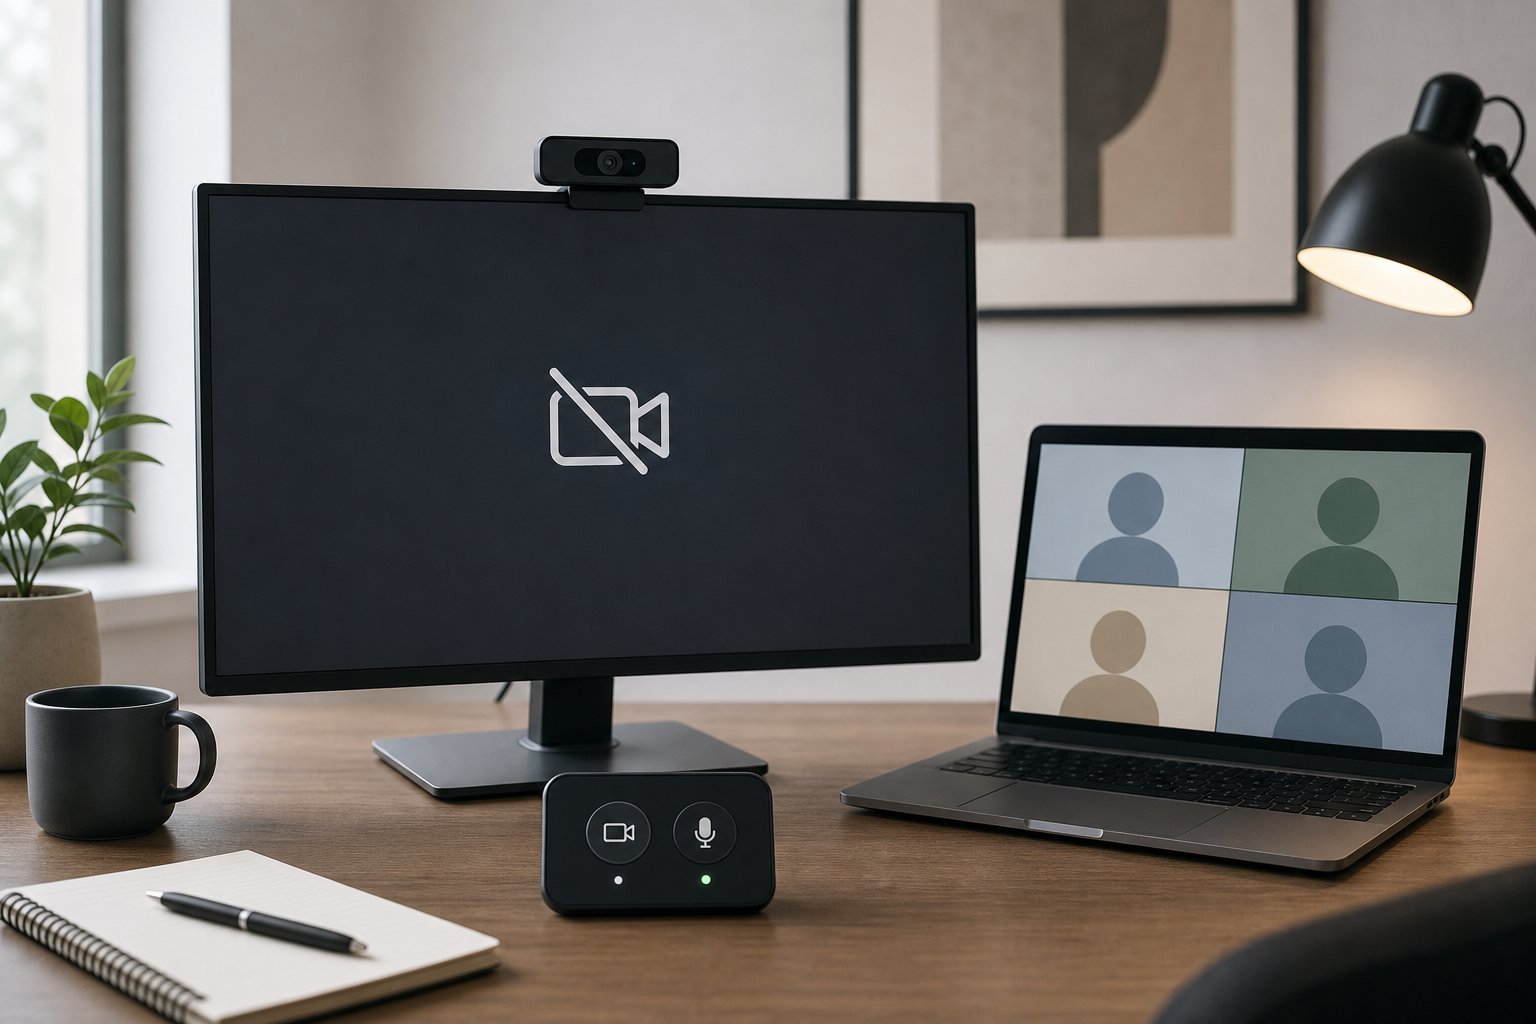
A Logitech camera not detected on Windows 11 usually comes down to one of five layers: the meeting app selected the wrong camera, Windows camera privacy blocks access, the browser blocks camera access, another app holds the webcam, or the USB path is unstable. In a live meeting, fix the visible meeting path first. Switch to any working camera, confirm the preview in Zoom, Teams, or Google Meet, then diagnose drivers and USB hardware after the call.
That order matters because camera troubleshooting gets expensive in minutes. A presenter who disappears into Device Manager while the room waits has already lost the plot. Use this guide to restore video quickly, then make the setup reliable for the next call.
# Start with the meeting app camera picker
When Windows 11 can see a camera but your meeting app cannot, the app selector is the fastest place to check. Zoom, Teams, and Google Meet can remember a previous camera name. A dock, monitor, capture card, or virtual camera can make the wrong choice look credible.
Before changing system settings, open the app's video menu and choose the Logitech camera directly. If the built-in laptop camera works, use it as the temporary meeting camera while you continue the call.
| Symptom during the call | Fast meeting fix | Diagnose after the call |
|---|---|---|
| Black preview in one app only | Select another camera inside that app | Check app permissions and cached device choice |
| Camera missing from all meeting apps | Switch to laptop camera or phone camera if available | Check Windows privacy, USB, and Device Manager |
| Camera works in Teams but not Meet | Check Chrome site permission and Meet device menu | Clear site permission and retest browser access |
| Camera appears, then drops | Move the webcam off the hub or dock | Test cable, port, power, and sleep behavior |
| Wrong camera keeps returning | Set the camera before each important call | Remove unused virtual cameras and document defaults |
Zoom publishes a separate guide for troubleshooting camera issues during a meeting (opens new window), which is the right frame: solve the in-meeting symptom before hunting for a perfect system diagnosis.
# Check Windows 11 camera privacy before driver work
Windows can block camera access even when the USB device is connected. Microsoft documents the Windows camera and microphone privacy layer in Windows camera, microphone, and privacy (opens new window). That page is worth checking before reinstalling anything.
Use this sequence:
- Open Settings.
- Go to Privacy and security.
- Open Camera.
- Confirm camera access is enabled.
- Confirm desktop apps can access the camera.
- Restart the meeting app and check the preview again.
If you use Teams from the desktop app, this Windows permission layer can affect the app. If you use Google Meet in Chrome, Windows permission and Chrome permission both matter. Two permission layers is enough bureaucracy for a small municipality, but it is normal on Windows.
For a broader control workflow, pair this with the device checks in How to Unmute in Meetings Without Losing Control (opens new window). Camera and microphone issues often follow the same chain: app state, selected device, browser permission, operating system permission, then hardware.
# Test Teams, Zoom, and Google Meet separately
Do not assume every meeting app sees the same camera state. Each app has its own device menu, preview behavior, and restart quirks.
In Microsoft Teams, open device settings and confirm the selected camera. Microsoft maintains a current guide for camera problems in Teams (opens new window), including checks for camera selection and access. If Teams sees the Logitech camera but the preview fails, close Teams completely, reopen it, then test again before changing drivers.
In Zoom, test video before the meeting when possible. If the issue appears only after joining, use the in-meeting video menu to switch devices. If the Logitech camera is absent from Zoom and absent from Windows camera settings, move down to the USB and privacy layers.
In Google Meet, the browser adds another gate. Google documents camera and audio setup in Improve your video and audio experience in Google Meet (opens new window). Check the Meet camera menu, then check the browser permission icon near the address bar. If Chrome blocks camera access, Meet can look broken while Windows and Teams still work.
The useful question is specific: where does the camera first disappear? If it disappears in one app, fix that app. If it disappears everywhere, fix Windows or USB.
# Fix the USB path without turning the meeting into a repair shop
A Logitech webcam can be detected poorly when the USB path changes. Hubs, monitor ports, docks, extension cables, KVM switches, and low-power ports can all add failure points. Windows 11 may keep the camera listed while the video feed fails, which makes the problem feel like software even when the cable path caused it.
During the meeting, use the lowest-risk test:
- Turn camera off in the meeting app.
- Unplug the webcam.
- Plug it into a direct USB port on the PC if possible.
- Wait for Windows to settle.
- Reopen the camera menu and select the Logitech camera again.
If the meeting matters, avoid driver reinstalls until the call ends. Reinstalling software while presenting invites Windows to choose that exact moment to become philosophical about progress bars.
After the call, test the camera with a direct port, then with the dock, then with the monitor hub. Change one variable at a time. If the direct port works and the dock fails, the camera is fine. Your meeting setup needs a simpler or powered path.
# Close competing apps and virtual cameras
Webcams can also fail when another app owns the camera. Close camera utilities, recording apps, browser tabs, OBS, video editors, and any old meeting windows. Then reopen the meeting app and test the preview.
Virtual cameras add another common trap. OBS Virtual Camera, Snap Camera remnants, capture devices, and vendor utilities can sit near the real Logitech camera in app menus. If you pick the wrong one, the preview may show black video or a stale frame.
For hosts and trainers, build a short pre-call camera routine:
- Open the actual meeting app, not a generic camera tester.
- Confirm the selected camera name.
- Confirm the preview shows current motion.
- Confirm lighting and framing.
- Close any app that can take exclusive camera access.
- Keep one fallback camera path ready.
This is the camera version of the control habits in Remote Work Best Practices for Meeting Controls (opens new window). The goal is not a perfect desk. The goal is a meeting that keeps moving when one layer fails.
# Use MuteDeck for visible recovery, not hidden diagnosis
MuteDeck cannot make Windows detect a missing USB camera. It can help with the part that matters during a call: keeping meeting controls visible and reachable while you recover. When the camera fails, you still need mute, camera toggle, app focus, and screen-share awareness in front of you.
A practical recovery pattern looks like this:
- Mute yourself if you need to narrate the fix to a co-host.
- Turn camera off in the meeting app so others see a deliberate state, not a frozen face.
- Switch to a working camera if one exists.
- Confirm the camera state visually.
- Continue the meeting.
- Diagnose the Logitech camera after the call.
That sequence fits MuteDeck's role: live meeting control across the messy moments when app windows, browser tabs, and device menus compete for focus. It is especially useful if you host across Zoom, Teams, and Meet rather than living in one app all week.
If you also use a Stream Deck, keep the recovery logic consistent. Buttons are useful when they map to a reliable control state. They become less useful when they hide whether the app accepted the command. For more on keeping camera checks meeting-specific, see MacBook Camera Not Working in Meetings? Host Fixes (opens new window). The same layered thinking applies on Windows.
# After the meeting, make the camera setup boring
Once the meeting ends, create a repeatable webcam setup instead of relying on memory. The notes can stay short:
- Camera model and selected app name.
- USB port or dock path.
- Meeting app where the failure appeared.
- Whether Windows camera privacy allowed access.
- Whether Chrome or another browser blocked access.
- Fix that worked.
Then remove avoidable complexity. Plug the webcam into the same port before important calls. Avoid moving it between a dock and direct PC port unless you retest. Remove unused virtual cameras if they confuse app menus. Keep your backup camera ready, even if it is the laptop camera.
For recurring meetings, document the normal state in your meeting checklist: camera selected, preview tested, microphone selected, mute control visible, screen share ready. This is dull work. Dull is exactly what you want five minutes before a client call.
# Quick checklist for Logitech camera not detected on Windows 11
Use this order when time matters:
- Select the Logitech camera inside Zoom, Teams, or Google Meet.
- If video is still missing, switch to any working fallback camera.
- Check Windows 11 camera privacy and desktop app access.
- For Google Meet, check Chrome or browser site permission.
- Close competing apps and virtual camera tools.
- Plug the webcam into a direct USB port.
- Restart only the meeting app first.
- Restart Windows or reinstall drivers only after the live meeting is safe.
A Logitech camera not detected on Windows 11 is usually fixable without panic if you separate meeting recovery from system repair. Restore a visible camera path first. Then make the USB, privacy, browser, and app layers predictable before the next meeting. MuteDeck fits that workflow by keeping live controls accessible while the rest of Windows does what Windows does: ask you to prove you really meant to have a camera.
KEEP EXPLORING
More guides & tips