# Zoom noise suppression settings: host audio runbook
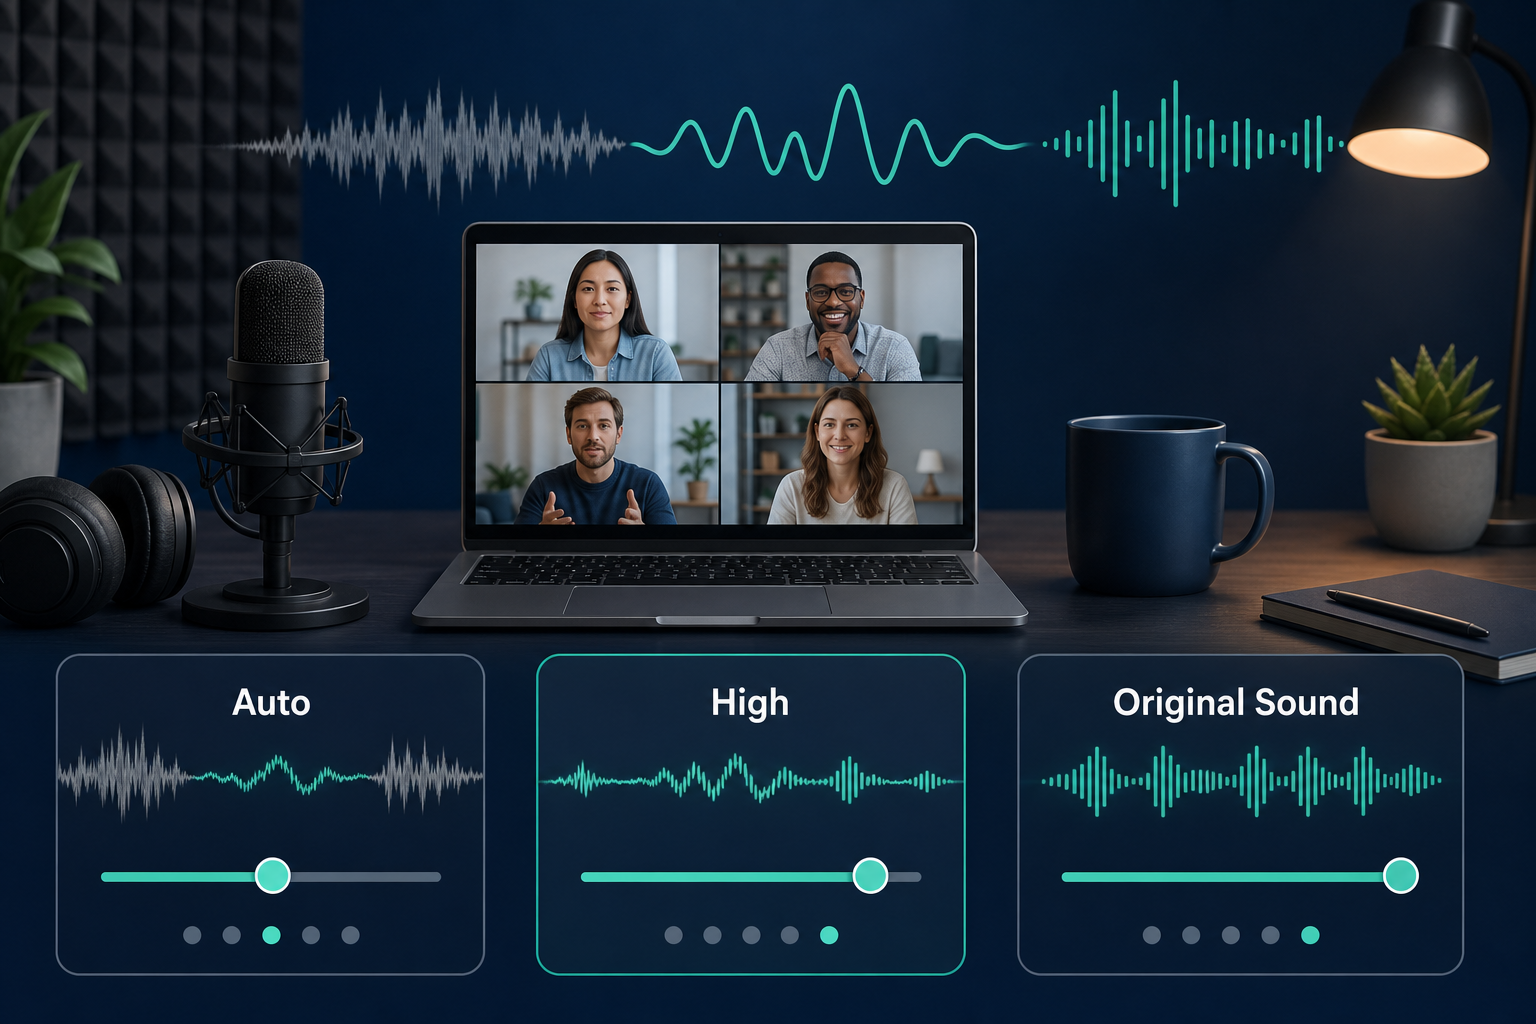
Zoom noise suppression settings control how aggressively Zoom removes keyboard noise, fan noise, room hum, and other background sounds before participants hear your microphone. For most business meetings, use Auto or High, test speech clarity before the call, and switch to Original Sound only when fidelity matters more than noise removal. The operator goal is simple: reduce distractions without clipping words, swallowing soft speakers, or hiding audio problems that need a hardware fix.
Noise suppression feels like a personal preference until one presenter sounds underwater and another brings an espresso grinder into the meeting. Hosts need a repeatable way to choose settings, test them, and recover during live calls. This guide gives that workflow for Zoom hosts, IT operators, and remote teams that care about meeting audio as an operational system.
# What Zoom noise suppression settings actually change
Zoom processes microphone audio before it reaches other participants. Noise suppression tries to identify sounds that are probably not speech, then reduce them in the outgoing audio stream. It can help with typing, HVAC hum, street noise, desk bumps, and low level room noise.
The trade-off is speech quality. Strong suppression can clip consonants, flatten tone, or make quiet speakers harder to understand. Weak suppression preserves more natural sound but leaves more room noise in the call.
Zoom documents these controls in its audio settings and background noise guidance. Keep the official pages nearby when supporting different client versions:
- Zoom audio settings (opens new window)
- Suppressing background noise in Zoom (opens new window)
- Using original sound for musicians in Zoom (opens new window)
The setting matters most when the meeting has a primary speaker, a live demo, or a noisy shared space. Casual internal calls can tolerate some imperfection. Webinars, customer calls, interviews, and executive meetings need tighter control.
# Choose the right Zoom audio setting before the meeting
Use the setting that matches the room and the meeting purpose. Do not wait for participants to complain. Audio problems usually cost more attention than the thirty second preflight they would have taken.
| Meeting condition | Recommended setting | Why it works | Watch for |
|---|---|---|---|
| Quiet home office with headset | Auto | Preserves speech while handling small noises | Sudden typing or desk taps |
| Open office or shared room | High | Removes stronger background noise | Clipped speech from soft talkers |
| Mechanical keyboard near mic | High plus push to talk discipline | Reduces repeated sharp transients | Missed words during typing bursts |
| Music lesson, instrument demo, or audio review | Original Sound | Preserves fidelity and dynamics | Background noise becomes audible |
| Conference room with table mic | Auto, then test High if room is noisy | Avoids over-processing multiple voices | Far-end speakers may sound thin |
| Uncontrolled guest environment | Auto as baseline | Handles unknown rooms with fewer surprises | Ask guests to mute when listening |
Auto is the default for a reason. It adapts to changing room conditions and usually keeps speech intelligible. High is useful when the environment is predictably noisy. Original Sound belongs in meetings where Zoom should stop treating non-speech audio as a problem.
# Run a thirty second host audio preflight
A fast preflight catches most noise suppression failures before people join. Run it before customer calls, webinars, interviews, and any meeting where one person will speak for long stretches.
- Open Zoom settings and go to Audio.
- Confirm the selected microphone matches the physical device.
- Speak one normal sentence, then one quiet sentence.
- Type for five seconds while speaking.
- Tap the desk once near the microphone.
- Switch between Auto and High if noise leaks through.
- Keep the setting that preserves quiet speech while reducing the distraction.
Use a sentence with hard consonants, such as, “Project kickoff starts after the client questions.” If suppression is too aggressive, words like “project” and “client” will lose their edges. That is the little audio goblin showing itself before the meeting, which is polite of it.
If your issue is microphone routing rather than noise, fix device selection first. MuteDeck’s Google Meet microphone runbook covers the same layered diagnosis model for browser meetings: Google Meet microphone not working (opens new window). The platform differs, but the operator sequence is the same: device, permission, app setting, then network or hardware.
# Fix background noise during a live Zoom call
When noise appears during a call, avoid changing five things at once. Use a host script that narrows the cause without derailing the meeting.
Start with the least disruptive action:
- Ask non-speakers to mute.
- Identify whether the noise follows one person or the whole room.
- Ask the noisy speaker to pause typing or move the microphone away from the keyboard.
- Have the speaker switch Zoom noise suppression from Auto to High.
- If speech gets clipped, return to Auto and use mute discipline instead.
- If the room is the problem, switch to a headset or hand off presenting to another host.
The important decision is whether suppression can solve the incident. It can reduce steady noise and some sharp sounds. It cannot fix a microphone inside a loud room, two people speaking over each other, or a laptop speaker feeding back into a built-in microphone.
For screen sharing sessions, audio fixes also need to respect the presenter workflow. A presenter who is sharing slides may not see chat feedback quickly. Assign a co-host or operator to monitor audio reports while the presenter keeps focus. If screen sharing is part of the same incident, use this companion workflow: Zoom screen sharing not working (opens new window).
# Know when to use Original Sound
Original Sound changes the goal. Instead of cleaning speech for meetings, Zoom preserves more of the raw microphone signal. This helps when the content includes music, instruments, sound design, breath sounds in coaching, or product audio that participants need to hear accurately.
Use Original Sound when:
- A musician demonstrates tone or timing.
- A trainer needs participants to hear exact audio artifacts.
- A product demo includes meaningful system sound.
- Suppression removes sounds that are part of the lesson or review.
Avoid it for normal status meetings. Original Sound can make keyboard noise, fans, and room reflections more obvious. It also increases the burden on the speaker to control the room and microphone placement.
A useful operator rule: if the meeting is about the words, use suppression. If the meeting is about the sound itself, test Original Sound.
# Match suppression settings to microphone placement
Software settings perform better when the microphone signal is clean. A headset microphone close to the mouth gives Zoom a stronger speech signal than a laptop mic across the desk. That makes suppression easier and reduces the chance that Zoom mistakes speech for noise.
Use these placement rules:
- Keep headset microphones two finger widths from the corner of the mouth.
- Point desktop microphones toward the speaker and away from keyboards.
- Move laptops off vibrating stands or hollow desks.
- Avoid placing microphones between speakers and keyboards.
- Keep fans and air purifiers out of the microphone path.
If several people are in one room, use one room audio system instead of multiple laptops with open microphones. Multiple live microphones create echo and phase problems that noise suppression cannot reliably solve. For Teams-specific echo isolation, the same room discipline applies: Stop echo in Microsoft Teams meetings (opens new window).
# Build a standard host profile for recurring meetings
Recurring meetings deserve a saved audio routine. The host should know the expected microphone, speaker, suppression level, and recovery action before the call starts.
Create a simple host profile:
- Default microphone: name the exact headset, USB mic, or room device.
- Default speaker: name the output device and volume range.
- Noise suppression: Auto for normal calls, High for noisy rooms.
- Backup setting: headset plus High if room noise rises.
- Fallback host: person who can continue if the main host has audio failure.
- Mute control: keyboard shortcut, hardware button, or MuteDeck action.
This profile reduces decision load. It also makes support faster because operators can ask, “Are you on the standard profile?” instead of diagnosing from scratch.
For hosts who run multiple meeting apps, control consistency matters. Keyboard shortcuts, Stream Deck buttons, and MuteDeck actions should map to the same mental model: mute, camera, share, leave, and status check. That consistency helps when Zoom, Teams, and Google Meet each hide controls in different places.
# Add MuteDeck to the audio control workflow
MuteDeck helps hosts keep meeting state visible and controllable across apps and devices. Noise suppression remains a Zoom setting, but mute state, camera state, and meeting controls belong in the host’s hands. That matters when audio incidents happen under pressure.
A practical setup is to map one hardware or desktop control surface to the actions hosts use during audio recovery:
- Toggle mute when typing starts.
- Toggle camera during device changes.
- Leave or rejoin when audio state gets stuck.
- Show current mute status before speaking.
- Keep controls consistent across Zoom, Teams, and Google Meet.
This prevents the classic meeting tax: hunting for a tiny mute button while everyone hears a keyboard solo nobody bought tickets for. The more reliable path is visible state plus one-touch control.
MuteDeck fits best as the control layer around the meeting app. Zoom handles suppression. Your microphone placement handles signal quality. MuteDeck gives the host fast, explicit control over live meeting state.
# Troubleshooting checklist for bad Zoom audio
Use this checklist when participants report noise, clipping, or robotic speech.
- Confirm the correct microphone is selected in Zoom.
- Check whether the speaker is using a headset, desktop mic, or laptop mic.
- Switch suppression from Auto to High only if background noise is the complaint.
- Return from High to Auto if speech sounds clipped or underwater.
- Turn off Original Sound for normal speech meetings.
- Move the microphone closer to the speaker and away from keyboards.
- Mute non-speakers, especially in shared rooms.
- Close apps that may also control microphone processing.
- Test with a different headset before changing account-level policy.
- Assign an operator to monitor chat for audio reports during high-stakes calls.
If the issue affects every participant, check the speaker’s local setup first. If it affects only one listener, the listener may have playback, network, or device problems. Do not spend ten minutes changing the presenter’s suppression setting for a single participant playback issue.
# Conclusion
Zoom noise suppression settings work best when hosts treat them as part of an audio operating routine. Start with Auto, use High for predictable background noise, and reserve Original Sound for meetings where raw audio matters. Pair the setting with microphone placement, mute discipline, and a short preflight.
For teams that run many meetings, standardize the host profile and give operators one-touch control over mute and meeting state. MuteDeck keeps those controls visible so audio recovery becomes a repeatable action, not a frantic search through menus five seconds after the keyboard starts tap dancing.
KEEP EXPLORING
More guides & tips