# Webinar Host Controls: A Practical Run Sheet
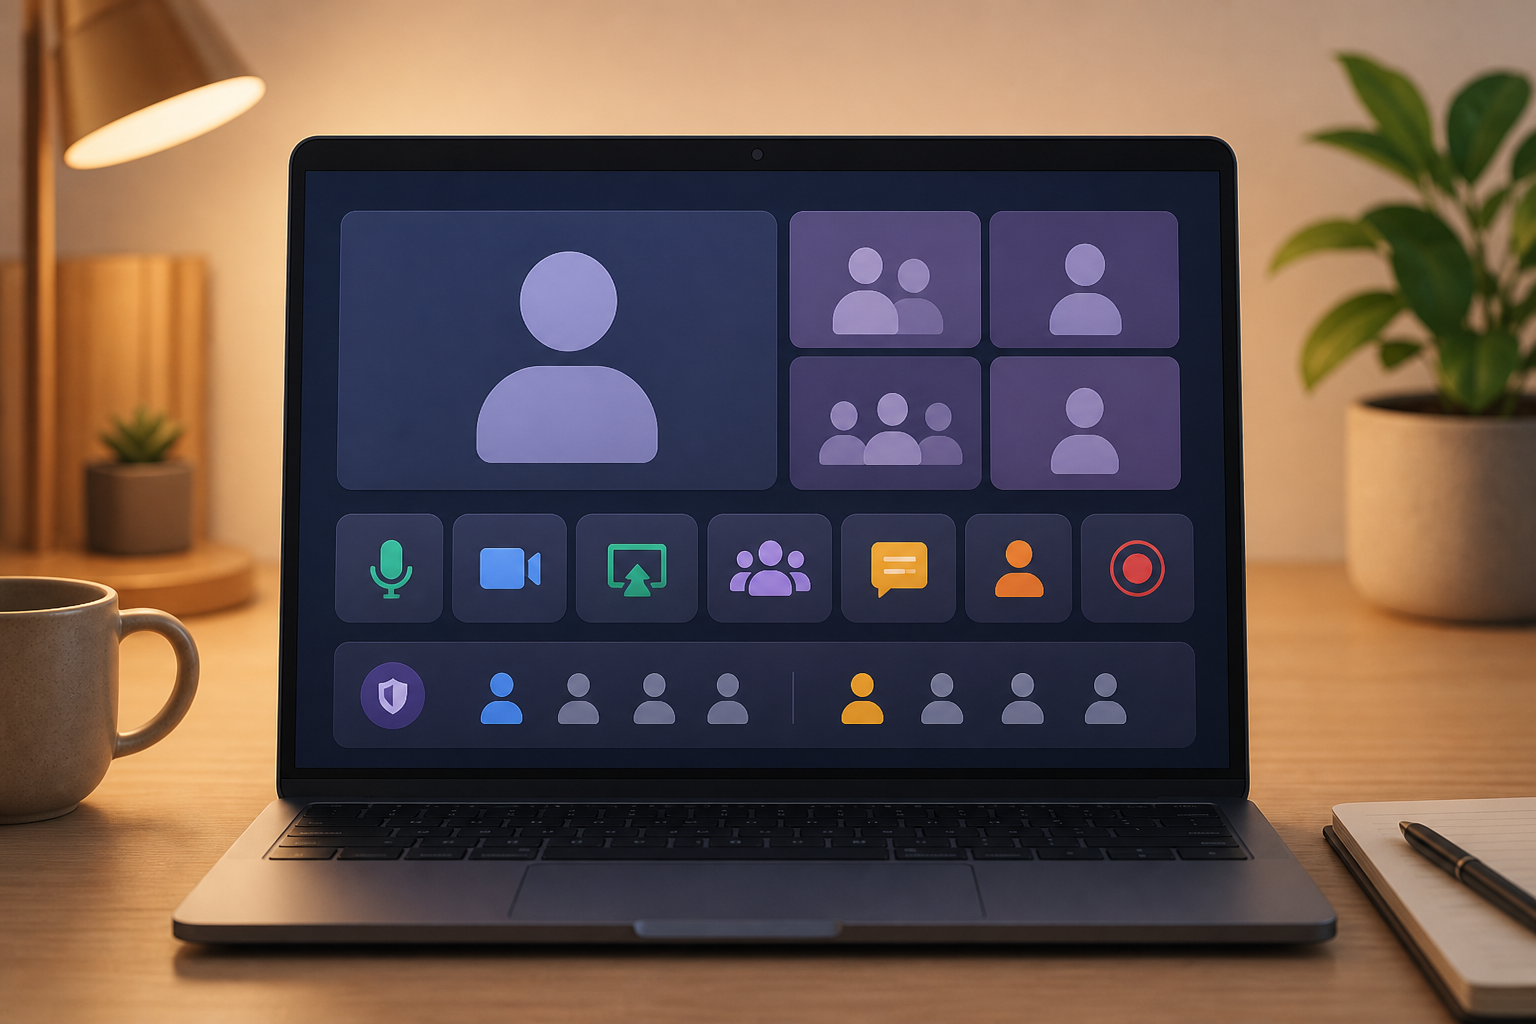
Webinar host controls work best when you decide three things before the session starts: who can speak, who can share, and how the host will recover from common mistakes. Set the platform roles, test mute and camera states, prepare screen share, and keep a visible control surface open for the commands you cannot afford to hunt for live. That gives the host a repeatable run sheet instead of a toolbar treasure hunt with an audience watching.
A webinar has less forgiveness than a normal meeting. People join late. A panelist forgets they are muted. Someone asks for a link while the presenter is already sharing slides. The host needs a control routine that keeps audio, video, sharing, Q&A, and attendee permissions predictable. This guide gives you that routine for Zoom, Microsoft Teams, Google Meet, and cross-platform host setups.
# Why webinar host controls need a separate plan
A normal meeting can survive a little awkwardness. A webinar magnifies every small delay because the audience cannot see your desktop context or your private coordination chat. They only see the pause.
The problem usually comes from scattered controls. Mute lives in one place. Screen share lives somewhere else. Participant roles sit behind meeting options. Q&A may be a separate panel. Recording and captions may have their own state. If the host waits until the live session to find each one, the session turns into menu archaeology, and archaeology pays poorly on camera.
The practical fix is to build a control map before the webinar. A control map lists the live actions the host must perform, the platform setting that enables each action, the visible confirmation state, and the backup action if the first path fails.
Use this simple model:
| Control area | Decide before the webinar | Confirm live | Recovery move |
|---|---|---|---|
| Audio | Who starts muted and who can unmute | Mic state for host and panelists | Mute all, then unmute the current speaker |
| Camera | Which presenters appear on video | Camera preview and active speaker view | Turn camera off, switch device, rejoin if needed |
| Screen share | Who can share and what window is shared | Shared window outline or preview | Stop share, reshare the prepared window |
| Roles | Host, co-host, presenter, attendee | Correct permissions in participant list | Promote a backup host or presenter |
| Questions | Q&A, chat, hand raise, or moderated questions | Active question channel | Pause questions and route through moderator |
| Recording | Whether recording starts automatically or manually | Recording indicator | Restart recording and mark the gap in notes |
This table is the heart of webinar control. The exact buttons differ by platform, but the decisions stay the same.
# Set roles before you touch the live controls
Most webinar mistakes start as role mistakes. A person who should only watch gets presenter permissions. A speaker joins as an attendee. A producer cannot mute someone because they never received host rights.
Zoom, Teams, and Meet each use their own language, but the host should assign three functional roles:
- A primary host who owns the session.
- A backup host or producer who can recover the meeting if the primary host loses connection.
- Presenters or panelists who can speak, show video, and share only when needed.
Microsoft documents meeting roles such as organizer, co-organizer, presenter, and attendee in Teams meeting roles (opens new window). Teams also exposes meeting options for presenter permissions, lobby behavior, chat, mic, and camera controls in meeting options (opens new window). The specific labels matter less than the operating principle: give people the smallest permission set that lets them do their job.
For Google Meet, the host should know where participant controls live. Google's help article on pinning or muting Meet participants (opens new window) covers participant mute behavior, while its guide to presenting during a meeting (opens new window) covers the screen share path. Keep both paths in the host run sheet if your webinar uses Meet.
Role setup should happen before the green room opens. Once attendees arrive, role changes become risky because the host is also managing greetings, audio checks, chat, slides, and timing.
# Build a preflight checklist for mute, camera, and screen share
A webinar preflight should be short enough to run every time. Long checklists look serious, then people skip them. Keep the checks close to the failures that actually derail live sessions.
Use this five-minute checklist before attendees enter:
- Join from the same device, browser, and account you will use live.
- Confirm the host, backup host, and presenter roles.
- Test host microphone mute and unmute.
- Test each presenter microphone.
- Confirm camera selection for speakers who will appear on video.
- Open the exact slide deck, demo window, or browser tab that will be shared.
- Start and stop screen share once.
- Confirm chat, Q&A, or hand raise behavior.
- Start a test recording if recording is manual.
- Agree on one private backchannel for producers and presenters.
The screen share step deserves extra care. Many hosts test that screen sharing starts, then forget to verify what the audience will see. Share the prepared window, not the whole desktop, when the webinar includes notes, customer tabs, admin consoles, or private chat. If you need a broader screen share, close unrelated apps first.
For more detail on keeping share state clean during live sessions, the MuteDeck guide to screen share controls (opens new window) covers the common presenter mistakes and setup habits.
# Keep the live control surface visible
The host should not rely on memory alone during a webinar. Keyboard shortcuts help, but they are fragile when app focus changes. A shortcut that works in the meeting window may do something different when the slide deck, browser, or demo app has focus.
A visible control surface solves that by separating control intent from window focus. MuteDeck keeps meeting controls available across Zoom, Teams, and Google Meet, so hosts can see and change the important states without digging through each app's toolbar. It is most useful for recurring presenters, trainers, support teams, and anyone who hosts from a busy desktop.
This does not mean every webinar needs a dedicated hardware deck or elaborate automation. Match the control layer to the risk:
| Webinar type | Control setup | Why |
|---|---|---|
| Small internal training | Native app controls plus checklist | Low audience risk and familiar participants |
| Customer demo | MuteDeck for mute, camera, and share visibility | The host changes apps often while speaking |
| Panel discussion | Producer plus visible participant controls | Speaker handoffs matter more than slide control |
| Public webinar | Host, producer, backup host, and prepared recovery steps | More attendees and less tolerance for dead air |
| Technical workshop | MuteDeck plus a private backchannel | Demos, questions, and screen sharing collide often |
If you already use Stream Deck, keep the meeting actions simple. A button for mute, camera, and share state beats a crowded page of rarely used commands. The MuteDeck guide to Stream Deck mute channel setup for meetings (opens new window) explains how to keep meeting actions predictable without turning the deck into a tiny cockpit for a very nervous plane.
# Write a live recovery script
A webinar recovery script is a plain-language set of actions for the failures that happen most often. The host and producer should know it before the session starts.
Here is a practical script:
- If the presenter is muted, the producer says in the private backchannel, "You are muted." The host waits two seconds, then unmutes or prompts the presenter according to platform permissions.
- If screen share shows the wrong window, the host says, "I am going to reset the share so you see the right view." Then stop share and reshare the prepared window.
- If a presenter loses camera, keep audio moving. The producer checks camera selection and permissions while the host continues.
- If the host loses connection, the backup host continues from the run sheet and assigns roles again if needed.
- If Q&A gets noisy, the moderator pauses question intake, names the next question, and returns control to the presenter.
The script should include words the host can say out loud. Silence makes small fixes feel larger. A short sentence gives the audience context and buys the host a few seconds.
Recovery scripts also reduce overcorrection. Without a script, a host may change three settings at once and make diagnosis harder. Fix one layer at a time: meeting app state, selected device, browser permission, operating system permission, then hardware.
# Use platform controls, then standardize the host habit
Every platform has its own control layout. Zoom has its webinar and meeting controls. Teams centers many host choices in meeting options and roles. Meet keeps several host actions in participant and presentation controls. A host who runs webinars across platforms should learn the platform differences, then standardize the habit around them.
The habit is simple:
- Assign roles first.
- Test audio and video second.
- Prepare share third.
- Confirm audience interaction fourth.
- Keep live controls visible during the session.
- Use the recovery script instead of improvising under pressure.
That sequence works because it follows the failure chain. Permissions decide what people can do. Devices decide whether people can be heard and seen. Sharing decides what the audience sees. Interaction decides how questions enter the session. Visible controls keep the host from losing state.
If Zoom is your main webinar platform, read the MuteDeck guide on how to control Zoom without switching windows (opens new window) and adapt the same idea to webinars. The platform changes, but the host still needs command access and state confirmation at the same time.
# Do a ten-minute rehearsal, not a theatrical production
A useful rehearsal tests the handoffs and the failures. It does not need the full script, every slide, or the exact attendee count. Ten focused minutes usually reveals the control problems that matter.
Run this rehearsal pattern:
- Host opens the webinar room.
- Producer joins and confirms backup rights.
- Presenter joins and tests microphone, camera, and screen share.
- Host starts the recording test.
- Producer sends one test question.
- Presenter intentionally mutes, unmutes, starts share, and stops share.
- Host simulates a wrong-window share and resets it.
- Producer confirms the private backchannel.
End the rehearsal by updating the run sheet. If a control took too long to find, write down the exact path. If a presenter used the wrong microphone, write down the correct device name. If screen share exposed the wrong window, change the desktop setup before the real session.
The point is not perfection. The point is removing surprises while the audience count is still zero.
# Conclusion: make webinar host controls boring on purpose
Webinar host controls should feel routine before the audience arrives. Set roles, test mute and camera, prepare screen share, choose the question channel, and keep a visible control surface ready for live changes. A short run sheet gives the host and producer the same map, which makes recovery faster when something inevitably needs attention.
If you host webinars often across Zoom, Teams, or Google Meet, MuteDeck can keep the main meeting controls visible while your slides, demo, notes, and chat compete for focus. Build the checklist once, rehearse the risky parts, and let the live session be about the content instead of the toolbar.
KEEP EXPLORING
More guides & tips