# Logitech Webcam Not Detected in Windows 11 Meetings
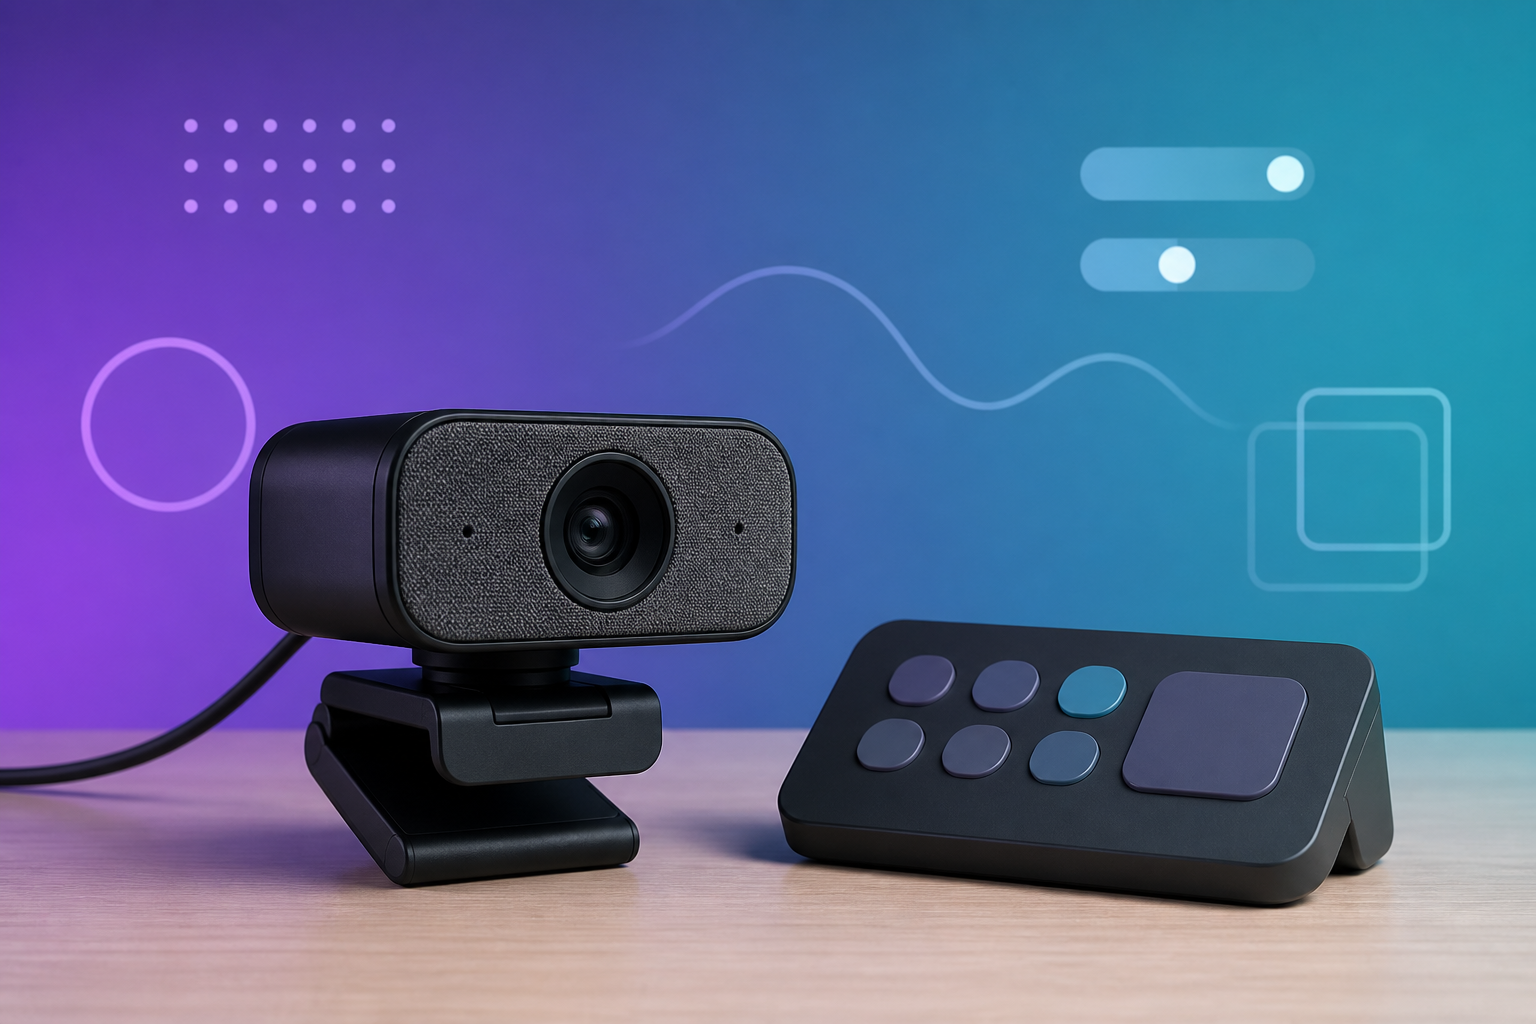
When a Logitech webcam is not detected in Windows 11, fix the live meeting first: switch to any working camera, confirm the right camera in the meeting app, check Windows camera privacy, check browser permission for web meetings, then inspect the USB path. Driver work can wait until people can see you again.
The frustrating part is that Windows may see the camera while Zoom, Microsoft Teams, or Google Meet still shows a black preview, wrong lens, or no camera at all. Treat the failure as a chain, not a mystery. Each layer can block the feed.
# The 60 second live-call recovery path
Use this when the meeting has already started and your external webcam disappeared. The goal is presence first, diagnosis second.
- Turn camera off in the meeting app so nobody watches the preview flicker.
- Open the app camera menu and select another available camera, even the laptop camera.
- If you are presenting, stop sharing only if the camera issue distracts from the session.
- Tell the room once: “Switching cameras. Audio is still working.” Then keep going.
- After the call stabilizes, check the external webcam from app layer down to USB layer.
That order matters. A Logitech camera problem can eat the first five minutes of a call if you debug Windows before restoring a usable video path. Keep the built-in camera enabled, know where each app’s camera picker lives, and keep one visible control for camera on or off. MuteDeck fits this part of the workflow because it gives you meeting controls without hunting through the active app window.
# Why Windows 11 detects a camera differently than your meeting app
Windows 11, browser, and meeting app each make separate decisions. A camera can pass one layer and fail another.
| Layer | What it controls | Fast check | Common meeting symptom |
|---|---|---|---|
| Meeting app | Which camera Zoom, Teams, or Meet uses | Open video settings and choose the exact camera name | Wrong camera, black preview, or no video in one app |
| Browser permission | Whether a web meeting can use the camera | Check Chrome site permission for the meeting domain | Google Meet works in one browser profile but not another |
| Windows privacy | Whether apps can access cameras | Check Windows camera privacy settings | Camera missing across desktop apps |
| USB path | Whether the device stays connected | Try a different port, cable, dock, or hub | Camera appears, disappears, or freezes |
| Competing app | Whether another tool owns the feed | Close camera utilities, recorders, and virtual camera apps | Preview works elsewhere but fails in the meeting |
Microsoft documents the OS layer in Windows camera, microphone, and privacy (opens new window). Microsoft also has a Teams guide for when your camera is not working in Microsoft Teams (opens new window). For browser calls, check the browser you actually use: Google explains Chrome camera and microphone access (opens new window), Mozilla explains Firefox camera and microphone permissions (opens new window), and Google Meet documents video setup in Improve your video and audio experience (opens new window).
Those sources point to the same practical lesson: app settings and operating system settings are related, but they are not interchangeable.
# Start with the meeting app camera picker
Open the meeting app’s video settings and choose the exact Logitech camera name. Avoid “default” during troubleshooting. Default devices change after docks wake up, monitors connect, browsers restart, or Windows updates finish.
In Microsoft Teams, use the camera settings inside Teams before changing Windows settings. Teams can have its own device selection and preview behavior. In Google Meet, check the camera menu inside Meet and the browser permission prompt. In Zoom, open video settings and confirm the selected source before restarting the app.
This catches the boring failure: the external webcam works, but the app selected a laptop camera, virtual camera, capture device, or disconnected monitor camera. Boring failures are good. They end quickly.
A useful test is to select the built-in camera, wait for the preview, then switch back to the Logitech camera. That forces the app to reopen the feed. If the preview returns, you had an app state issue. If it still fails, move down the chain.
# Check Windows 11 camera privacy before reinstalling anything
Windows privacy settings can block camera access even when the USB device appears connected. Open Windows Settings, go to Privacy and Security, then Camera. Confirm camera access is on, app access is allowed, and the specific desktop or Microsoft Store app has permission where Windows exposes that control.
For browser meetings, Windows permission is only one half of the browser path. Chrome can still block the meeting site. Open the site settings for Google Meet or your web meeting tool and confirm camera access is allowed for that site. If you use multiple browser profiles, check the profile where the meeting actually runs.
Restarting the meeting app after a permission change is worth the ten seconds. Some apps do not pick up the new camera permission while the call window remains open. Close the settings panel, leave and rejoin only if needed, then confirm the camera picker again.
Avoid uninstalling device drivers before you check permissions. Driver changes create a longer recovery loop, and they rarely help when the real block is a privacy toggle or a site permission.
# Inspect the USB path, especially docks and hubs
External webcams depend on stable USB. A Logitech webcam connected through a monitor, USB-C dock, KVM switch, or long cable can fail in ways that look like software trouble.
Use this order:
- Unplug the webcam and reconnect it directly to the computer.
- Try a different USB port, preferably one on the laptop or desktop itself.
- Remove the dock, hub, adapter, or extension cable from the test.
- Check whether the camera appears in Windows Settings or Device Manager.
- Reopen the meeting app and select the camera by name.
- Add the dock or hub back only after the direct connection works.
If the camera works directly but fails through a dock, the dock is part of the problem. It may need firmware, external power, a different upstream cable, or a less crowded USB path.
Do not overlook cable movement. A camera that works in a pre-call test and disappears when you adjust your monitor may have a loose USB connector or strained cable. The fix may be routing the cable with slack, not touching Windows at all.
# Close competing camera apps and virtual cameras
Only one tool may control the camera feed cleanly in some setups. Close camera preview apps, recording tools, streaming software, virtual camera utilities, background blur tools, and vendor configuration apps before blaming the meeting platform.
This matters with external webcams because useful setup tools are easy to forget. You may open a camera utility to adjust framing, then leave it running. The meeting app joins next and receives a busy device, a stale frame, or a virtual camera source that points nowhere useful.
Build a pre-call habit:
- Open the camera utility only when you need to adjust framing.
- Close it before joining the meeting.
- Keep one virtual camera tool active at most.
- Name your scenes and sources plainly if you use production software.
- Test the final feed in the meeting app, not only in the camera utility.
If the webcam works in one app and fails in another, restart the failed app after closing competitors. If it fails everywhere, return to Windows permission and USB checks.
# App-specific fixes for Teams, Meet, and Zoom
| App | First setting to check | Second setting to check | Live-call fallback |
|---|---|---|---|
| Microsoft Teams | Teams device settings and camera preview | Windows camera privacy for Teams | Switch to built-in camera, then reselect the Logitech camera after the call |
| Google Meet in Chrome | Meet camera menu | Chrome site camera permission and Windows camera privacy | Change camera in Meet, then refresh only if audio is stable |
| Zoom | Zoom video settings | Windows privacy and competing camera apps | Stop video, select another camera, then troubleshoot outside the call |
For Teams, follow Microsoft’s camera troubleshooting flow before deep USB work if the camera appears in Windows but not in Teams. For Meet, browser permission is often the missing middle layer. For Zoom, the in-app camera picker is still the fastest first stop.
The main mistake is treating every app the same during a live call. The recovery script can be consistent, but menus differ. Put the script somewhere visible: restore a working camera, verify selected device, check permission, inspect USB, close competing apps.
MuteDeck helps when you move across apps because high-frequency actions stay visible. Camera on, mute, share state, and app focus do not need to be rediscovered every time the meeting tool changes. The deeper settings remain in Zoom, Teams, Meet, and Windows.
# Build a pre-meeting webcam check for repeatable setups
If you run interviews, webinars, demos, classes, or customer calls, camera reliability should be part of the room setup. Add a two-minute check before important sessions.
- Plug the Logitech webcam into the same port or dock you will use during the call.
- Open the actual meeting app, not a generic camera preview.
- Select the external webcam by name.
- Confirm the preview stays live for 30 seconds.
- Check lighting and framing once.
- Close vendor camera utilities before joining.
- Confirm the built-in camera remains available as a backup.
- Put mute, camera, and screen-share controls where you can see them.
This check pairs well with a broader control routine. The MuteDeck guide to a meeting control surface setup (opens new window) covers the visible control layer. If you also present, the screen share safety checklist (opens new window) helps you avoid fixing a webcam while accidentally showing the wrong window. For Mac-specific camera failures, use the separate MacBook camera troubleshooting guide (opens new window).
Keep the webcam check boring and identical each time. The value comes from repetition. A checklist that catches one bad dock connection before a client call has already earned its tiny spot on the desk.
# When to update drivers or replace hardware
Driver updates and device replacement belong near the end of the flow. Use them when the camera fails across apps, fails on direct USB connection, or disappears from Windows itself after permission and cable checks.
Before replacing anything, test the webcam on another computer. If it fails there too, the camera or cable is the likely culprit. If it works elsewhere, focus on the original Windows machine: privacy settings, USB controller, dock, hub, or a competing app.
Update the camera utility, dock firmware, and Windows only when you have a stable window to test. Do not start firmware work ten minutes before a webinar. That is how a camera issue becomes an archaeology project.
For shared desks, label the working USB route. A small note that says “webcam direct to laptop” can prevent failures after someone tidies the desk.
# Keep the meeting moving
A Logitech webcam not detected in Windows 11 usually comes down to the meeting app selection, Windows camera privacy, browser site permission, USB stability, or a competing app. Work through those layers in that order during a live call.
The durable fix is a repeatable meeting setup: a known working camera path, a tested backup camera, and visible controls for mute, video, and screen share. MuteDeck gives those live controls a dedicated surface so you can recover without turning the meeting into a settings tour.
KEEP EXPLORING
More guides & tips