# Increase Microphone Volume for Clearer Audio
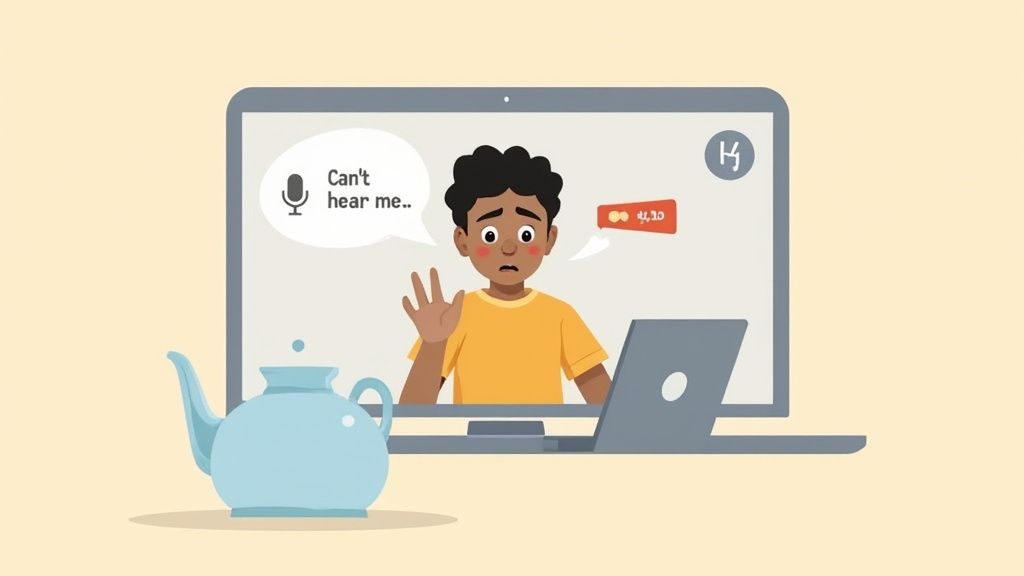
"Can you speak up? We can't hear you." It’s the dreaded phrase of every virtual meeting.
Low microphone volume is one of those incredibly common frustrations that can instantly undermine you, whether you're trying to nail a job interview on Teams or lead a critical project update on Zoom. The good news is, the fix is almost always simple.
It usually isn't a broken mic. More often than not, the problem is a setting buried deep in your computer's system preferences or within the app you're using. Many conferencing tools try to be helpful by automatically adjusting your mic level, but in the process, they can accidentally turn you down into oblivion.
# Common Causes of a Quiet Microphone
Before you start unplugging cables or shopping for a new headset, let's look at the usual suspects. Your low volume is likely coming from one of these four places:
- System Input Volume: The master volume control for your microphone in Windows or macOS might just be set too low.
- Application-Specific Settings: Zoom, Teams, or Google Meet often have their own volume controls that can override your system-wide settings.
- Wrong Mic Selected: Your computer might be defaulting to the tiny, low-quality microphone built into your laptop instead of that nice external one you plugged in. A practical tip is to always unplug and replug your external mic if it's not being detected.
- Pesky Driver Issues: Outdated or corrupted audio drivers can cause all sorts of weird performance problems, including low volume.
This quick visual guide shows just how close the fix usually is—just a few clicks away in your main system settings.
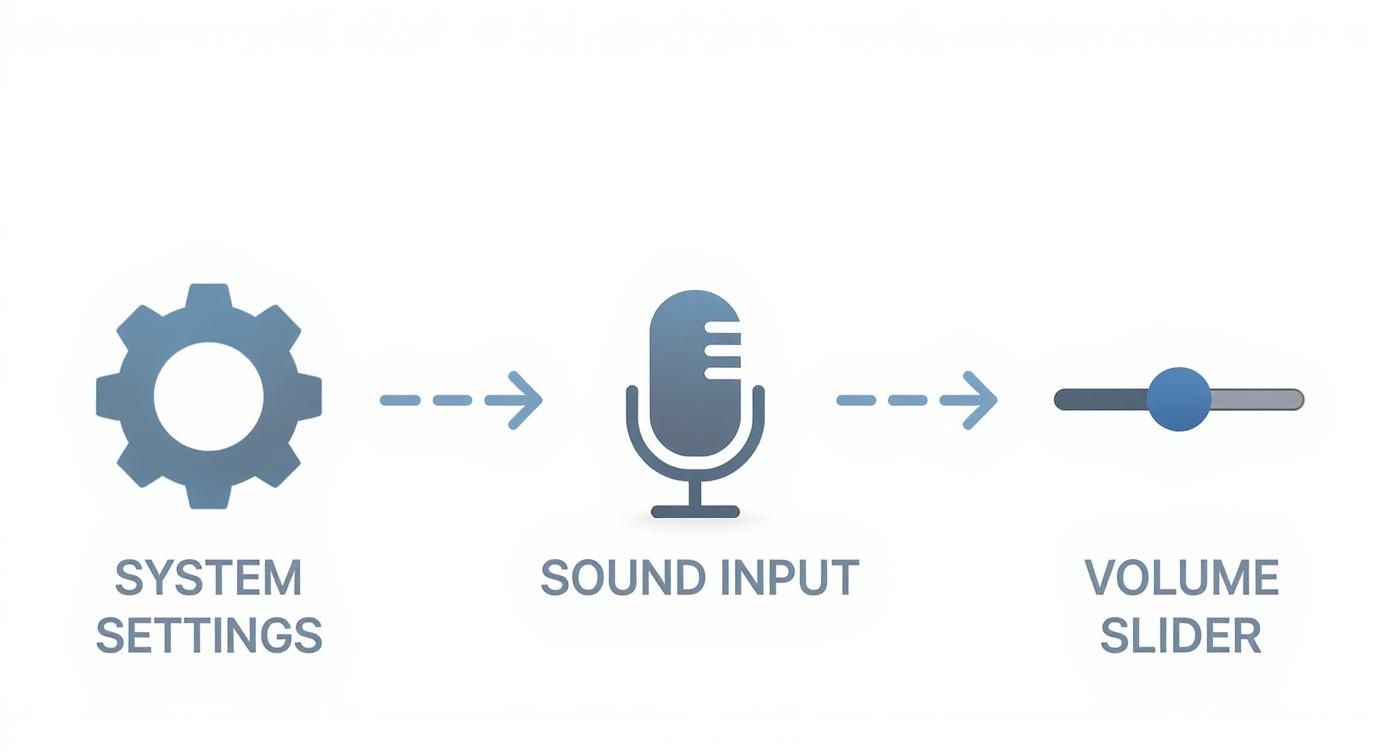
The path from your settings panel to that crucial volume slider is shorter than you think.
# Immediate Actionable Fixes
Before we dive into the step-by-step guides, here's a quick reference table for the fastest way to check your mic volume on Windows and macOS.
# Quick Fixes for Low Microphone Volume
| Operating System | Primary Setting Location | Key Action to Take |
|---|---|---|
| Windows 11/10 | Settings > System > Sound > Input | Select your microphone and drag the Input volume slider to the right. |
| macOS | System Settings > Sound > Input | Choose your microphone and adjust the Input volume slider. |
In most cases, a quick trip to these settings will solve the problem.
And it's no wonder clear audio has become so important. The global microphone market was valued at around USD 7.36 billion in 2024 and is expected to hit nearly USD 12.69 billion by 2034. That growth is fueled by the massive shift to remote work and content creation, where being heard clearly is non-negotiable.
If you've tried the simple fixes and are still running into trouble, it might be a sign of a deeper issue. Sometimes, persistent mic problems are related to other system conflicts. This guide on how to fix voice typing issues (opens new window) offers some broader troubleshooting steps that can help.
Don't forget that your physical environment matters, too. A quiet, dedicated workspace can make a huge difference in your audio quality, which ties directly into the importance of a dedicated work-from-home space (opens new window).
# Mastering Your Microphone Settings in Windows
Windows has a knack for tucking its audio controls into several different layers, which can sometimes make finding the right slider feel like a treasure hunt. If you want to get your microphone volume just right, you need to know exactly where to look. Both Windows 10 and 11 have made things a bit simpler, but the most powerful settings are still often hidden away.
Your first stop should always be the main Sound settings panel. The quickest way there is to right-click the speaker icon in your taskbar and hit "Sound settings." This is your central hub for managing all audio devices.
# Navigating the Main Sound Settings
Once you're in the Sound settings, scroll down to the "Input" section. You'll see a list of every microphone connected to your computer, and it’s critical you select the right one. This is a super common trip-up—you might have just plugged in a slick new USB podcasting mic, but your system is still stubbornly listening to the tiny built-in laptop mic. That’ll make you sound distant and quiet.
After picking your primary microphone, you'll see the Input volume slider. This is your main control.
- For daily meetings: Using your laptop's built-in mic, a setting around 75-90% is usually enough to be heard clearly without picking up every little background noise.
- For a new USB mic: These are often way more sensitive. I'd start with the volume around 50-60% and test it. You probably don't need to crank it all the way up.
Just below that slider, you’ll find a "Test your microphone" bar. Give it a try—speak into your mic at a normal volume. You should see the blue bar jump. If it barely moves, you definitely need to slide that input volume up.
A classic mistake is blaming the microphone itself. More often than not, Windows just defaults new devices to a really conservative volume level. Always check this input slider before you start thinking your hardware is busted.
# Unlocking Microphone Boost for Extra Power
So, what happens if you’ve maxed out the volume slider and people still say you're too quiet? This is where an older, more powerful feature comes into play: Microphone Boost. It acts like a pre-amp, adding extra gain to the signal before it even gets processed. A word of caution, though: use it sparingly, as boosting too much can introduce a lovely hiss or static to your audio.
Here's how to find it:
- In the Sound settings, under the Input section, click on Device properties for your microphone.
- On the next screen, hunt for Additional device properties over on the right-hand side. Clicking this will pop open the old-school Control Panel window.
- Now, navigate to the Levels tab. You'll see the standard Microphone volume slider and, for many devices, a Microphone Boost slider right below it.
I recommend starting with a boost of +10 dB. This is often the sweet spot, giving you a noticeable bump in loudness without much distortion. If you're still too quiet, you can try +20 dB, but listen carefully for any unwanted noise. This one tiny adjustment can be a complete game-changer, especially for microphones that are just naturally on the quiet side.
# Adjusting Microphone Input Volume on macOS
Macs are famous for their slick, user-friendly design, but their audio settings can sometimes feel a bit hidden. If you’re a Mac user who keeps hearing "you're too quiet" on calls, the fix is usually just a few clicks away in your System Settings. It's all about finding that sweet spot between being loud enough and staying crystal clear.
The steps to increase your microphone volume can change a little depending on your gear. Tweaking the built-in mic is simple, but external USB mics and audio interfaces often play by their own set of rules. We’ll walk through it all.
# Finding the Right Controls in System Settings
The first place you should always check is the Sound panel inside System Settings. Think of it as your audio command center.
- Open System Settings (what used to be called System Preferences).
- Click on Sound in the left-hand sidebar.
- Hop over to the Input tab at the top.
You'll see a list of every microphone connected to your Mac. First, make sure you've selected the right one. Then, your focus should be on two things: the Input volume slider and the Input level meter right below it.
Speak into your mic and watch those little blue bars on the meter. For a strong, clean signal, you want them consistently bouncing up to about three-quarters of the way full.
The big no-no is hitting the red. If that meter maxes out, your audio is "clipping," which sounds like a distorted, crackly mess to everyone else. Imagine a musician recording a demo—they'd adjust the input so even their loudest vocals don't push the meter all the way to the right. That’s how you get a clean recording without nasty digital distortion.
For anyone working from a busy or noisy space, nudging the input volume up can help your voice cut through the background chatter. Just don't crank it so high that you start amplifying the dog barking more than your own voice. The sweet spot is usually between 70% and 85% on the slider.
# Advanced Mac Audio with Aggregate Devices
Got a more complex setup, like a couple of mics or a fancy audio interface? macOS has a powerful hidden tool for you called the Audio MIDI Setup utility.
Here, you can create something called an Aggregate Device, which cleverly bundles multiple audio inputs into one virtual device. This is a game-changer for podcasters or streamers who might want to mix a USB mic with another sound source at the same time. It gives you precise, granular control over each input's volume before it ever reaches your meeting or recording app—a level of control the standard Sound settings just can't offer.
This all ties into the massive leaps we're seeing in microphone technology. The market for wireless microphones alone is projected to grow at a CAGR of 6.3% through 2030. Plus, professional broadcast mics now routinely include gain controls that can boost a signal by 20–60 decibels, something that was almost unheard of a decade ago. You can read more on the evolution of microphone technology from Grand View Research (opens new window).
# Controlling Mic Volume Within Calling Apps
You’ve tweaked your system settings to perfection, but the moment you join a call, someone says it: "Sorry, can you speak up? You're really quiet."
It happens all the time. Why? Because apps like Zoom, Microsoft Teams, and Google Meet have their own audio settings that love to override your computer’s defaults. To get consistently good audio, you have to go into the app itself and tell it who's boss.
Most of these platforms have a feature called "Automatically adjust microphone volume." It sounds helpful, but it’s often the secret villain behind your audio woes. It tries to guess your volume level, but a little background noise or a long pause can trick it into dropping your gain when you least expect it.
# Taking Control in Zoom
Zoom's audio controls are front and center, which is great. Just click the gear icon for Settings, then pop over to the Audio tab.
Once you're there, look for two things:
- Microphone: Double-check that the right mic is selected in the dropdown. It’s super common for Zoom to default to your laptop's built-in microphone instead of that nice new one you plugged in.
- Input Volume: Say a few words and watch the "Input Level" bar. If it's barely moving, you know what to do.
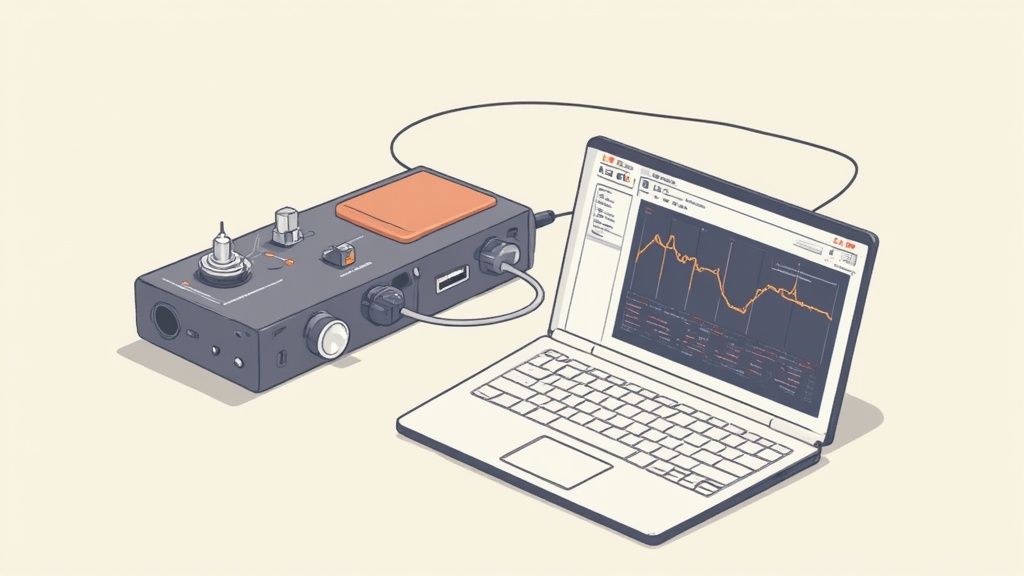
This screenshot shows exactly where to find these settings in Zoom’s audio panel.
That "Automatically adjust microphone volume" checkbox is the one to watch.
If you’re a presenter, teacher, or anyone who needs their audio to be rock-solid, unchecking this box is almost always the right move. A teacher, for instance, can lock in their volume this way, ensuring their voice stays clear and consistent throughout a class, no matter what’s happening in the background. Manually setting the slider gives you the control, not the algorithm.
For more tips on mastering your meeting presence, check out our ultimate guide to productive Zoom meetings (opens new window).
# Adjusting Your Mic in Microsoft Teams and Google Meet
Microsoft Teams and Google Meet bury their settings a little deeper, but the same logic applies.
In Teams, click the three dots by your profile picture, head to Settings, and then choose Devices. Under "Audio devices," pick your mic and make sure the "Automatically adjust mic sensitivity" toggle is switched off.
In Google Meet, you'll find the controls during a call. Click the three vertical dots, select Settings, and go to the Audio tab. You can select your mic here, just like in the other apps. Meet's auto-adjustment is usually less aggressive, but if you're experiencing volume drops, it's the first place to look.
Taking a moment to check these in-app settings before a big meeting is the difference between being heard and being ignored. It’s how you move from being a victim of the software to being in full command of your audio.
Once you've got your mic sounding crystal clear, you can focus on the quality of the call itself. Using one of the best international calling apps for clear communication (opens new window) can make a huge difference, ensuring your message lands perfectly, no matter where your team is.
# Advanced Troubleshooting for Low Microphone Volume
So you’ve fiddled with every volume slider in Windows, macOS, and your meeting apps, but you’re still coming in too quiet. Frustrating, right? When the usual fixes don’t cut it, it’s time to look deeper. The problem usually isn't the app—it's often a breakdown between your mic and your computer.
Nine times out of ten, a stubborn volume issue points to outdated audio drivers, a shoddy hardware connection, or the need for a little software muscle. Let’s walk through the advanced steps that can solve even the most persistent audio headaches.
Think of your audio drivers as the translators between your microphone and your operating system. If they’re old or corrupted, they start miscommunicating, leading to glitches like low input volume. It’s a surprisingly common culprit.
# First, Check Your Drivers and Hardware
Before you even think about downloading new software, a quick health check on your drivers and physical setup can often uncover the root of the problem.
- Update Your Drivers (The Right Way): Head directly to your computer manufacturer’s website—think Dell, HP, or Lenovo—or your motherboard maker's site (like ASUS or Gigabyte). Download the latest audio drivers straight from the source. Don't just trust the default Windows update; a direct install from the manufacturer is always more reliable.
- Inspect Your Connections: Is your USB cable looking a little frayed or sitting loosely in the port? A bad cable can seriously degrade your signal quality. If you're using a USB mic, try plugging it into a different port. Pro tip: always use a port directly on the motherboard (at the back of a desktop) instead of a front-panel port or a USB hub.
- Use the Gain Knob: Many of the best external microphones and nearly all audio interfaces come with a physical gain knob. This is your best friend. It’s the most direct way to increase microphone volume right at the source, giving you a much stronger and cleaner signal before it even hits your computer.
# Give Your Mic a Software-Based Boost
If your drivers are fresh and your hardware is solid, your next move is to add software gain. This acts like a digital preamp, boosting your mic's signal before it gets to Zoom or Teams. It's a clean way to get more volume without introducing a ton of static.
For anyone streaming or podcasting, a virtual mixer like Voicemeeter (opens new window) is a total game-changer. It lets you add a clean preamp effect to your microphone, giving your voice that polished, broadcast-quality loudness.
The need for crystal-clear audio in our remote-first world has completely reshaped the microphone market. In fact, the global market is projected to hit USD 10.50 billion by 2025, largely driven by people demanding better sound for collaboration. Manufacturers are listening, building mics that do a better job of isolating and amplifying your voice right out of the box.
This brings up a crucial point: software can only do so much. Starting with a quality microphone makes a world of difference. If you're thinking about an upgrade, our guide on the best microphones you can buy in 2024 (opens new window) can help you find a mic that delivers clear, loud audio from the get-go.
# Hardware vs Software Solutions for Mic Volume
Knowing when to twist a knob versus tweak a setting can save you a lot of headaches. Here’s a quick breakdown of where each approach shines.
| Solution Type | Best For | Pros | Cons |
|---|---|---|---|
| Hardware Gain | Mics with a physical gain knob or audio interfaces. | Cleanest signal boost, no software latency, direct physical control. | Limited to hardware with this feature, can be more expensive. |
| Software Gain | Mics without physical controls, or when you need an extra boost. | Free or low-cost, works with any mic, highly customizable. | Can introduce latency or digital noise if pushed too hard. |
Ultimately, hardware adjustments should always be your first step. They provide the cleanest possible signal. Think of software gain as the final polish to get your volume just right after you’ve maxed out what your hardware can do.
# Common Questions About Microphone Volume
Even after digging through all the system settings and app controls, a few stubborn questions always seem to surface. Let's tackle some of the most common head-scratchers so you have an answer for every tricky audio situation.
These are the kinds of specific, frustrating problems that can pop up at the worst times, from sudden volume drops to wondering if you need to just buy new gear.
# Why Did My Microphone Volume Suddenly Get Lower?
This is a classic, and it often strikes right after a software update. Your operating system or an app like Zoom (opens new window) might decide to "help" by resetting your audio settings without asking. Another frequent culprit is an application taking "exclusive control" of your microphone and forgetting to let go.
The first thing to try is the oldest trick in the book: restart your computer. Seriously, it works more often than you'd think.
If that doesn't fix it, retrace your steps through the system and app-specific sound settings we covered earlier. Make sure your preferred mic is still selected and the volume levels haven't been mysteriously cranked down. And don't forget the obvious—give your microphone cable a quick jiggle to make sure it hasn't come loose.
# Can I Increase My Microphone Volume on a Phone?
You can, but the controls are much more limited than on a desktop. During a standard phone call, your only real control is the physical volume buttons on the side of your device.
When you're recording audio or video, pay close attention to how you're holding the phone. It’s incredibly easy to muffle the sound by accidentally covering the tiny microphone port with your finger or a bulky case. Some recording apps do offer their own software gain settings, which can give you a little boost.
For a real jump in mobile audio quality, an external microphone is your best bet. A small mic that plugs directly into your phone's charging port will capture far louder and clearer audio than the built-in mic ever could.
# Will Buying a New Microphone Fix My Low Volume Problem?
Not necessarily. It's tempting to think a new piece of hardware is the silver bullet, but it's usually not that simple.
A high-quality USB microphone will almost certainly sound better than your laptop's built-in mic, but it won't magically override bad software settings. If your system's input volume is set to 10% or a meeting app is aggressively auto-adjusting your gain, even a professional-grade microphone will sound like a whisper.
Think of it this way: a powerful engine won't make a car go faster if the parking brake is on. Always exhaust the software and settings fixes first. You can often solve the problem for free and increase microphone volume significantly without spending a dime. Only after you've confirmed your settings are dialed in should you start thinking your current microphone is the real bottleneck.
Never get lost searching for the mute button again. With MuteDeck, you get universal, one-touch controls for your microphone, camera, and more across every single meeting platform. Stop fumbling and start communicating with confidence. Try MuteDeck free for 7 days (opens new window).