
# Share Screen on Zoom: The Ultimate Guide
Ready to share your screen in Zoom? It all starts with that green "Share Screen" button in your meeting toolbar. One click is all it takes to start presenting, collaborating, or walking someone through a problem.
# Your Quick Guide to Zoom Screen Sharing
Let's be honest, mastering the screen share isn't just a neat tech trick anymore—it's a core skill for anyone who works remotely. With Zoom (opens new window) hosting over 300 million daily meeting participants, its features are now a central part of how we all get work done.
And screen sharing is right at the top of the list. A massive 46.5% of all Zoom meetings involve someone sharing their screen, making it one of the platform's most essential tools.
This guide will walk you through everything you need to know, from the absolute basics to the pro-level tricks that make your presentations look polished and professional. It doesn't matter if you're on a PC, Mac, or your phone; you'll learn how to share exactly what you mean to, every single time.
Key Takeaway: Nailing your screen share isn't just about showing your desktop. It's about keeping everyone focused, avoiding embarrassing distractions, and making sure your message lands perfectly—a cornerstone of any productive Zoom meeting (opens new window).
# What to Expect in This Guide
We'll start with the fundamentals so you can get up and running in seconds. We’ll cover real-world scenarios, like how to pick the right monitor in a dual-screen setup so you don't accidentally broadcast your private Slack messages or a messy desktop. My goal is to help you present with total confidence.
This guide will help you:
- Start Sharing Instantly: Find and use the 'Share Screen' button on any device.
- Choose the Right View: Figure out when to share your whole desktop versus just one specific window.
- Level Up Your Presentations: Learn to share video with sound, pull up a whiteboard for brainstorming, or present a PowerPoint deck flawlessly.
- Fix Common Glitches: Quickly solve annoying problems like a black screen or missing audio.
By the end, you'll be able to share your screen on Zoom with precision and ease.
When it's time to share your screen on Zoom, you're immediately faced with a choice that can make or break your presentation. You have to decide exactly what your audience sees: your entire desktop, just one app window, or a specific slice of your screen. Getting this right is a small detail that has a huge impact on how professional you look.
Sharing your entire Desktop (or "Screen") is the go-to when you need to jump between different programs. Think of it as a live demo where you're showing a workflow that moves from a browser to a spreadsheet, and then maybe over to a design tool. It's fluid, and you don't have to awkwardly stop and restart the share every time you switch apps.
But it comes with a big risk. Every single notification—a Slack message, a personal email preview, a calendar reminder—flashes on screen for everyone to see. A messy desktop full of random files can also be a major distraction. Before you ever share your full screen, do a quick cleanup and turn on your "Do Not Disturb" or "Focus" mode. It's a non-negotiable step.
This visual guide breaks down the decision-making process, helping you pick the perfect sharing method for any situation.
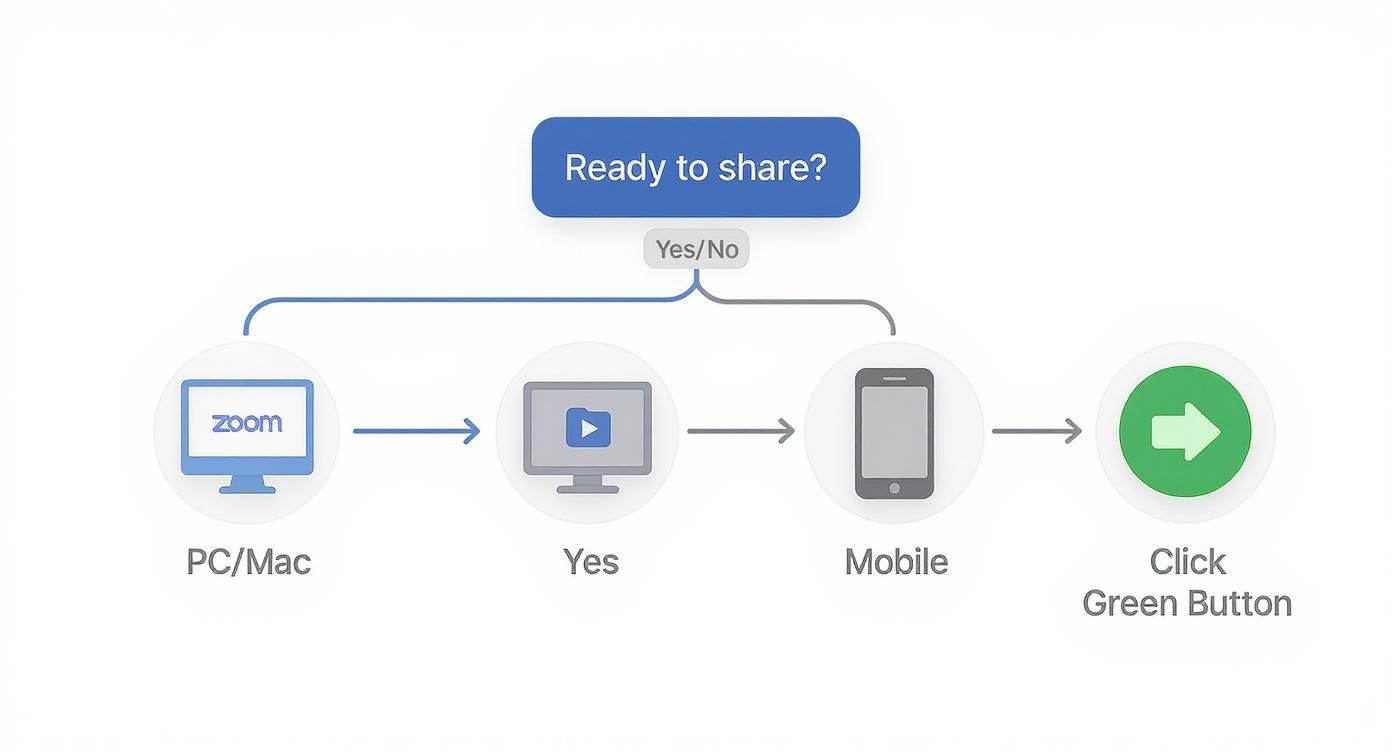
As you can see, the best option really depends on your goal. This flow helps you quickly figure out the most effective choice for your device and what you need to show.
# Sharing a Single Window
For most day-to-day presentations, sharing a single application window is your safest bet. If you’re walking through a slide deck, just share the PowerPoint or Google Slides app. This completely isolates your content, so your audience sees nothing but the presentation itself. No distractions, no risk of showing the wrong thing.
Practical Tip: When you're sharing a PowerPoint, start the slideshow first. Then, use Alt+Tab (on Windows) or Cmd+Tab (on Mac) to pop back over to Zoom. Now when you click "Share Screen," you'll see the active slideshow as an option. Select that, and your audience gets the polished, full-screen view instead of your presenter notes.
This method keeps the meeting tight, focused, and private. Your attendees won’t see you frantically searching for a file on your desktop or get a peek at your inbox. The only minor drawback is if you do need to show something else, you have to stop sharing and start a new share for that other app. It can feel a little clunky but it’s a small price to pay for privacy.
# Using Portion of Screen
One of Zoom’s best-kept secrets is the Portion of Screen feature. It’s a game-changer. This tool lets you draw a green box around a specific area of your screen, and only what’s inside that box gets shared with the audience. The box is completely resizable, giving you surgical control.
It’s perfect for a few common scenarios:
- Showing a specific feature in a cluttered software interface without overwhelming people with the entire dashboard.
- Reviewing a single paragraph in a long legal document without showing the whole page.
- Focusing everyone's attention on one chart on a busy financial report.
You'll find this option under the "Advanced" tab in the sharing window. It gives you incredible control, making sure your audience sees exactly what you want them to see—and absolutely nothing else.
# Sharing with Audio, Video, and Interactive Tools

Going beyond a basic slide deck means tapping into Zoom's more dynamic tools. These are the features that can turn a passive audience into an engaged one, especially when you’re dealing with multimedia or need to collaborate on the fly.
This has become more critical than ever with the rise of remote work. Back in 2020, Zoom issued around 385,200 new licenses as teams moved online. During that time, a whopping 89% of users relied on it for work meetings, making dynamic screen sharing an essential skill for getting complex ideas across.
# How to Share Your Computer Audio
Ever played a video in a meeting only to be met with blank stares? The most common culprit is forgetting to share your computer's audio. It’s a simple mistake, but a crucial one to avoid.
When you click that green "Share Screen" button, a window full of options pops up. Before you pick what to share, look down to the bottom-left corner. You’ll find a little checkbox labeled Share sound.
Give that box a tick. This simple action ensures any audio from your computer—a YouTube clip, a training video, an epic sound effect—is broadcast directly to your audience. No more silent movies.
Practical Tip: I always do a quick sound check with a colleague before a big presentation. Just ask, "Can you hear this?" once you start your media. It’s a five-second check that can save you from a lot of awkward silence.
# Optimizing Your Share for Video Clips
Playing a standard video over a screen share can often look choppy and unprofessional. Your viewers get a low-frame-rate mess, and your point gets lost. Zoom has a specific setting to fix this, but it’s surprisingly easy to miss.
Right next to the "Share sound" checkbox, you'll see another one: Optimize for video clip. Checking this tells Zoom to prioritize a smooth, high-frame-rate stream for your content. It might slightly reduce the resolution to maintain that fluidity, but it's a worthwhile trade-off for a professional-looking video presentation.
When should you use this?
- Product Demos: Showing a pre-recorded video of your software in action.
- Training Sessions: Playing instructional videos for your team.
- Marketing Presentations: Sharing a promotional video or a customer testimonial.
Pairing these settings with reliable hardware like MuteDeck takes it to the next level. You can manage your share and audio without fumbling for on-screen buttons, keeping your flow uninterrupted.
# Using the Whiteboard for Brainstorming
Sometimes, you just need to think out loud with your team. Zoom’s built-in Whiteboard is a fantastic tool for turning a one-way presentation into a real-time brainstorming session. Instead of just talking through an idea, you can sketch it out together.
To get started, click "Share Screen" and select the "Whiteboard" option. This pulls up a blank digital canvas that everyone in the meeting can see.
It's perfect for things like:
- Diagramming a complex workflow during a technical deep-dive.
- Creating a quick mind map for a new project.
- Gathering and organizing team feedback on a design mockup.
You can even allow participants to add their own notes and drawings, creating a genuinely collaborative space. It's a simple but effective way to visualize concepts and make sure everyone leaves on the same page.
# Streamlining Your Workflow with Shortcuts
If you present often, you know the feeling. You’re in the middle of making a great point, and suddenly you have to stop, find your mouse, and hunt for the “Share Screen” button. It completely kills the momentum.
That awkward pause where everyone watches you navigate menus? It's a flow-killer. But with a couple of keyboard shortcuts, you can make those transitions seamless and keep your audience focused on what you're saying, not what you're clicking.
# The Essential Keyboard Shortcuts
Learning these commands is a game-changer. It makes you look polished and in control, letting you toggle your screen share without ever touching your mouse.
- Start or Stop Screen Share (Windows): Alt+S
- Start or Stop Screen Share (macOS): ⌘+Shift+S
Imagine you're presenting a report. You can talk through your introduction face-to-face, then hit one key combo to instantly bring up your data. When you're done, another quick press brings you right back to the main meeting, ready for questions. It just works.
There’s also a shortcut for pausing and resuming your share, which is perfect for when you need to quickly check a private message or find a file without your audience seeing your entire desktop.
- Pause or Resume Screen Share (Windows): Alt+T
- Pause or Resume Screen Share (macOS): ⌘+Shift+T
# Building a True One-Tap Workflow
While built-in shortcuts are a huge step up, you can take your setup even further by mapping these critical actions to physical hardware. That's where a tool like MuteDeck comes in, letting you control your meeting with a single, dedicated button.
With a device like an Elgato Stream Deck, you can program one key to do it all. Picture this: you press a single button, and it simultaneously starts your Zoom screen share, mutes your mic, and kills your camera. You’re instantly in "presentation mode." This level of control keeps you focused on your message, not the software.
Assigning meeting actions to physical hardware minimizes distractions. It frees up your mental energy so you can focus on your content and your audience, not on managing the meeting itself.
This approach is especially powerful if you jump between different platforms like Zoom, Teams, and Google Meet. Instead of memorizing different shortcuts for each app, you have one consistent button that does the same job everywhere.
You can explore how these global hotkeys can automate your meeting controls (opens new window) to create a truly professional and stress-free environment. It’s all about making the technology serve you, not the other way around.
Even the most seasoned presenters get hit with technical glitches. We’ve all been there—a perfect presentation suddenly derailed by a mysterious black screen or choppy video. Knowing how to quickly fix these common Zoom screen sharing hiccups is a lifesaver.
Most of these problems aren't signs of a major meltdown. They're usually caused by a simple setting or a missed checkbox. Once you know what to look for, you can get back on track in seconds.

# The Dreaded Black Screen Issue
It’s a classic problem: you share your screen, but your audience just sees a black void. This is almost always a graphics card issue, especially on laptops with both integrated and dedicated GPUs fighting for control.
Don't panic. There’s a quick fix tucked away in Zoom's settings. Just go to Settings > Video > Advanced. Look for Video Rendering Method and change it from "Auto" to something else, like "Direct3D11" or "OpenGL." This forces Zoom to use a different graphics engine, and poof—the black screen is usually gone.
# Fixing Choppy Video and Missing Audio
"I can't hear anything," or "The video is really jerky." If you hear this, you likely forgot to check two crucial boxes before you started sharing. This is, by far, the most common mistake people make.
When the screen share window pops up, your eyes need to dart to the bottom-left corner. You’ll find two little checkboxes there:
- Share sound: You have to check this. If you don't, your computer's audio won't go through to the meeting.
- Optimize for video clip: This tells Zoom to crank up the frame rate for smooth playback. It's a must for any kind of video.
Make it a mental habit to check these every single time you share content with sound or motion. It’ll save you a world of hurt.
Pro Tip: If your video is still stuttering even after you’ve optimized it, you might be running into a bandwidth problem. Close any extra browser tabs or apps you don’t need. Freeing up your computer’s resources can make a huge difference.
# Dealing with Permission Problems
You hit the share button and get slapped with: "Host has disabled participant screen sharing." It’s frustrating, but it's just Zoom's default security setting.
Luckily, it's an easy fix for the host. They just need to click the tiny upward arrow right next to the green Share Screen button. In the Advanced Sharing Options menu that appears, they can switch "Who can share?" from "Only Host" to "All Participants." Problem solved.
If you're the host and just want one other person to share, a better move is to make them a Co-host. Find their name in the participants list, click "More," and hit "Make Co-host." This gives them full sharing powers without opening the floodgates to everyone else.
When trouble strikes, it's easy to get flustered. Use this quick-reference table to diagnose and solve the most common screen sharing headaches on the fly.
# Troubleshooting Common Zoom Screen Share Issues
| Problem | Potential Cause | Solution |
|---|---|---|
| Black Screen | Graphics card incompatibility or driver conflict. | In Zoom, go to Settings > Video > Advanced and change the Video Rendering Method from "Auto" to another option like "Direct3D11". |
| No Sound | The "Share sound" checkbox wasn't selected before sharing. | Stop the share, click Share Screen again, and make sure the "Share sound" box is checked in the bottom-left corner. |
| Choppy Video | You didn't enable the video optimization setting. | Stop the share, start a new one, and this time, be sure to check the "Optimize for video clip" box. |
| Can't Share | The host has restricted screen sharing to themselves. | Ask the host to click the arrow next to "Share Screen," go to Advanced Sharing Options, and allow "All Participants" to share. |
With these fixes in your back pocket, you can handle just about any screen sharing issue Zoom throws at you and keep your meeting moving forward smoothly.
# Frequently Asked Questions
Even if you’ve shared your screen a hundred times, tricky situations pop up. Here are the most common questions I get asked, with practical answers to get you out of a jam.
# Can I Share My Screen If I'm Not the Host?
Yes, but only if the host lets you. If that green "Share Screen" button is grayed out or throws a warning, it's because the meeting is locked down to "Host Only" sharing, which is Zoom's default setting.
You'll have to ask the host to fix it. They just need to click the tiny upward arrow (^) next to their "Share Screen" button and pick Advanced Sharing Options. Under "Who can share?", they can switch it from "Only Host" to "All Participants." It's a two-click fix that opens the floor to everyone.
# How Do I Stop People from Drawing on My Shared Screen?
Unwanted doodles are the fastest way to derail a professional presentation. The good news is that you can shut this down easily by disabling annotations.
Once you start sharing, your meeting controls will appear in a floating toolbar. Look for the Security shield icon and select Disable Annotation for Others. This puts you back in control and stops any distracting scribbles. You can always re-enable it later if you want to collaborate on-screen.
Practical Tip: I do this every single time I run a client demo. It prevents them from accidentally drawing on the interface while I'm presenting, keeping the focus squarely on the product and my message.
# Why Does My Shared Video Look So Choppy?
This is probably the most common screen-sharing issue, and the fix is dead simple but so easy to forget. Choppy video happens because Zoom is trying to treat your video clip like a static PowerPoint slide.
You have to tell Zoom it’s a video before you start sharing. When you click the "Share Screen" button, look in the bottom-left corner of the pop-up window. You'll see two little checkboxes:
- Share sound
- Optimize for Video Clip
You must check the Optimize for Video Clip box. This signals Zoom to prioritize a smooth, high frame rate, which makes a world of difference for your audience. Forgetting this step is the number one reason shared videos look like a jerky mess.
# Can I Share Two Screens at the Same Time?
If you have a dual-monitor setup, you can choose to share either Screen 1 or Screen 2, but you can't broadcast both of your own screens at once as a single stream.
However, if the goal is to have multiple people share their screens simultaneously, the host can make that happen. In the same Advanced Sharing Options menu, the host can select "Multiple participants can share simultaneously." This lets a few people share their content at the same time, and viewers can toggle between the different feeds.
Tired of fumbling with on-screen buttons? MuteDeck gives you one-tap, hardware-driven control over mute, camera, and screen sharing. It works with any meeting platform, putting you back in command. Learn more at MuteDeck.com (opens new window).